

A box arrived August 2024 – for my (then) new Apollo Air-1 C02 sensor and other items. No information, thankfully the Apollo Automation website is full of it. The device, like others in the range, at the time of writing came in a low-volume 3D printed casing – always nice to see something new popping up and had early access – I’m quite sure if the pricing is sensible – this and other Apollo products will be successful. Apollo Automation are based in Kentucky – USA. I’m not the only one reviewing this ESP-home-based stuff – but read on… In late February 2025 I’ve added the new Temp-1 sensors and I’m having lots of fun with these….
But first – the Air-1 etc…
So off I went to find out what to do next: “Plug into a 1A 5V USB supply” – done. Look for the hotspot using your phone… “Apollo Air-1 Hotspot” – UI address 192.168.4.1
I told the Air-1 about my normal WiFi access point and password. Once done, I then went to look for apollo-something in my list of items on the network – no joy. Time to read the instructions.
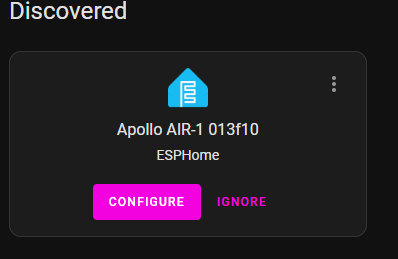
The web instructions said to make sure I have the ESPHOME integration added to Home Assistant – I do – so I went to that tab and hey presto..

Just like magic, the Apollo Air-1 appeared in the list. Next instruction “click adopt”. Next – “need to install the configuration on the device” – another single button press – can it really be this simple? Looks like I have a device called apollo-air-1-xxxxxx (real number concealed) on my (Docker-based) Home Assistant RPi5 installation.
Next: HA Developer TOOLS- 1 new device….
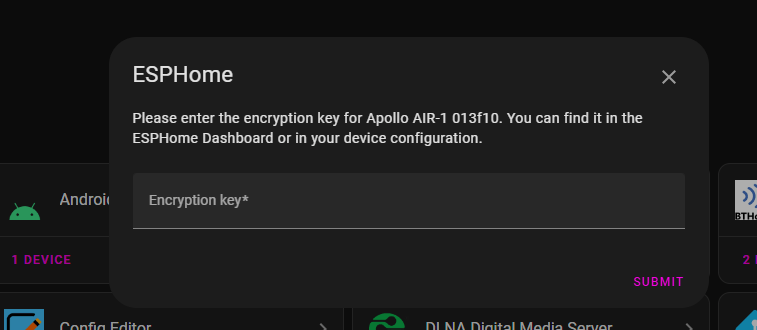
Next: Configure – goodness.. for a second there I panicked – but no need… sure enough – ESPHOME – EDIT that project to have a look and there’s the encryption key – a careful copy and paste and it’s all (apparently) done. I should have a new device and a ton of entities appear in Home Assistant. Honestly I’ve not missed out any steps here, it was all over in no time.
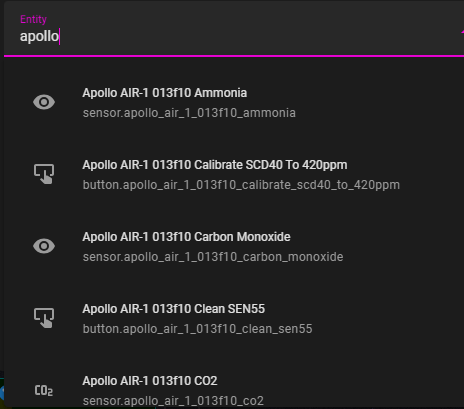
Now, in my SENSORS page in HA, I added a sensor tile… and started looking for entities that matched Apollo… I found the CO2 sensor… there are all sorts of other sensors and some light control – I’ll get dowwn to it – but the prime reason for wanting this device was a quality CO2 sensor (there’s an (optional) SCD40 module plugged inside the Apollo) – someone on the web suggested that CO2 levels are worth checking for anyone who tends to doze off at the keyboard – that’s me.
For reference, the plug-in module you see in the image below (top right of the image, metal module – white top – on a sub-pcb) is the CO2 sensor.
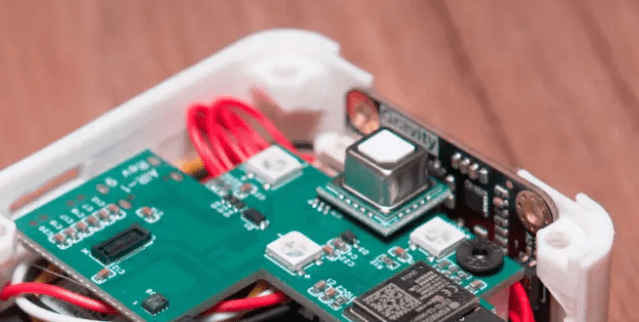
The CO2 module was packaged separately – however it is easy to fit – just drop it in place making sure it’s the right way around.

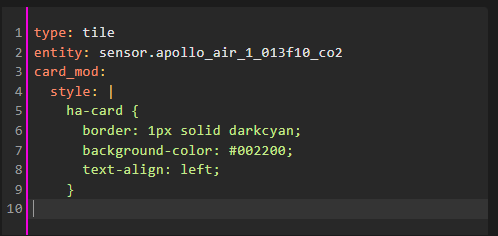
I dropped in the CO2 sensor – I’ll even show you my standard card_mod styling I add to my tiles (below) – completely un-essential – I just like pretty colours…. And what appeared? Now I just need to know the relevance of 912 parts per million…apparently 400-1000ppm is normal.
Entities – OOOh I love it – an RGB LIGHT entity… and so much more…. I can see my future now – high levels of CO2 in the room – a bright red light if CO2 levels above a certain level – otherwise a dim green light (just to prove the device is connected).. A simple HA automation should do that.
I couldn’t resist – I HAD to breath on the device…. seconds later…


Comment: The Apollo Air1 is a great gadget – however, the sooner the company move to mass produced cases the better as I found that cosmetically, the lack of a bolt in the 4th corner meant the box didn’t COMPLETELY close – also I initially had a minor issue with the USB connector – the hole wasn’t QUITE big enough to include the outer shell of my USB-C lead and when pushed in, the internal motherboard has a tendancy to move slightly as it is not firmly held in place by screws – not the best way to make a perfect power connection – I’ll investigate further. It would seem these are early days. Read on – the case has been improved.
I’m rather intrigued to see they’ve used the ESP32-C3, elsewhere I ended up binning mine in favour of the Wemos D1 ESP32 boards as I could not get them to load WLED or run ESP-HOME projects – mind you I was using binaries, not building projects from scratch.
There is so much to learn about this Apollo Air-1 device and I’m only touching the surface. In Home Assistant, I looked at all the sensor data available and made a simple test panel as you’ll see below:
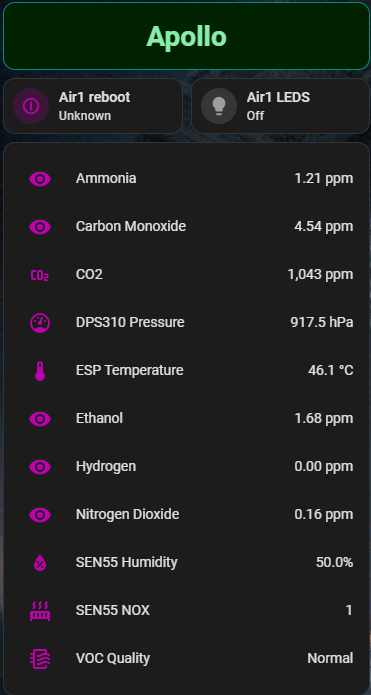
Looking at the sensors above you’ll see that quite a bit comes out of the standard setup – SOME sensors need the second sensor sub-board (MiCS-4514 Gas Sensor) which in my case IS fitted down the side: Ethanol, hydrogen and Nitrogen Dioxide seem to fall into that category.
I don’t currently get any values out of HYDROGEN though apparently the average level of hydrogen at ground level is 0.6ppm – I live 900m above sea level for what that’s worth. I asked the question and straight away the company came back with “Regarding the MiCS-4514 readings, yes, many gases will register as 0 unless they exceed a certain threshold. We’ve recently updated the code to improve accuracy at lower concentrations.”
I had a problem with rubber feet easily dropping off the case when mounted vertically and the quick response from the company: “The pads on the initial design were 3M, so we expected good quality, but we’ve since updated the AIR-1 case. The new design removes screws, mesh, and feet for an easy, no-tool snap-fit assembly.”
Can’t ask for more than that… see update at the end.
To get the list above I used the HA ENTITIES tile – in practice I guess you’d choose what was of interest and only show those – perhaps in SENSOR tiles – or show nothing and simply use the data to drive automations (I see an ALERT “if CO2 levels are too high” in my future).
I have 2 temperature sensors on my desk – less than 3m away from the Apollo sensor – one says humidity 64%, the other says 66% – the Apollo says 50% but then the first 2 sensors are right next to me and I’m breathing near them.
One last thing for now – in the webUI for the device (it’s IP address port 80) – a complete list of sensors and controls after giving the device 15 minutes to settle…. still no hydrogen or methane (I’ve asked Apollo to comment – see above response)…

Dev-1 ESP32C3 board
This little board was included in the package I received. I believe the idea is to “give people a choice instead of a D1 Mini or NodeMCU on Amazon”.
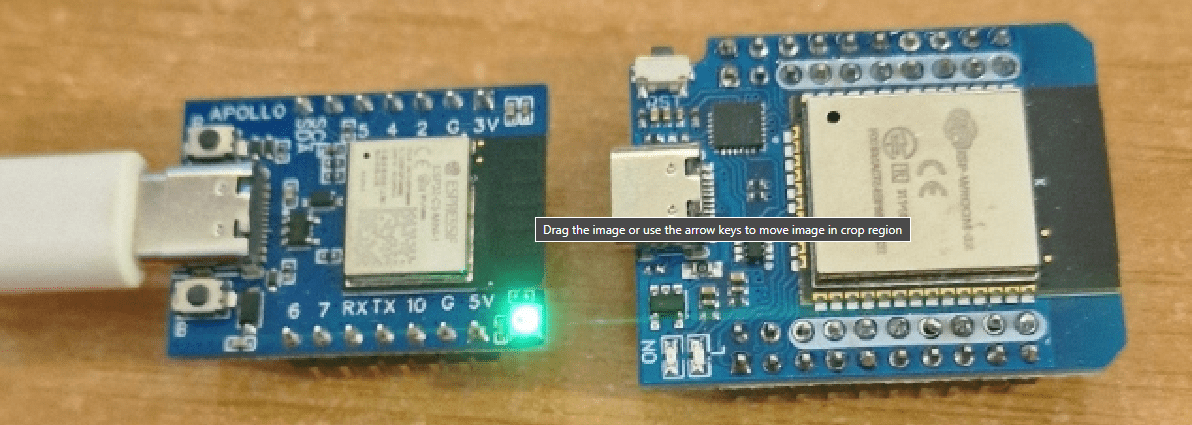
The little ESP32C3-based board is similar size to an ESP8266-based Wemos D1 and considerably narrower than an ESP32-based Wemos D1 as you’ll see in the photo below – BUT – three things – who buys ESP boards from Amazon? I certainly don’t know anyone who does (USA sitiation may be different for all I know) – AliExpress in Spain and in the UK are typically a fraction of Amazon prices, also – this board is based on the C3 version of ESP32 – I already know that WLED won’t cooperate with the C3 chips – and personally I’ve been unable to get ESPHOME to run on the C3 either.
I’m told this board makes a good base for ESP-Home projects but too late for me to test as I’ve now put Tasmota on it. I do like the WS2812 RGB LED they fitted – but then the ESP32C3 board I purchased a month ago had the same – and I simply stopped using them because of issues described above. Anyway – not documented yet but that RGB light is on GPIO3. Note that the DEV-1 board has FAR fewer pins than the Wemos D1 ESP32 board.
Elsewhere I’m covering the MTR1 and MSR-2 sensor units from the same company. This entry is going to grow as I find out more about the fascinating Apollo-1.
February 2025 Update – new Apollo Air-1 case and the new Temp-1 devices
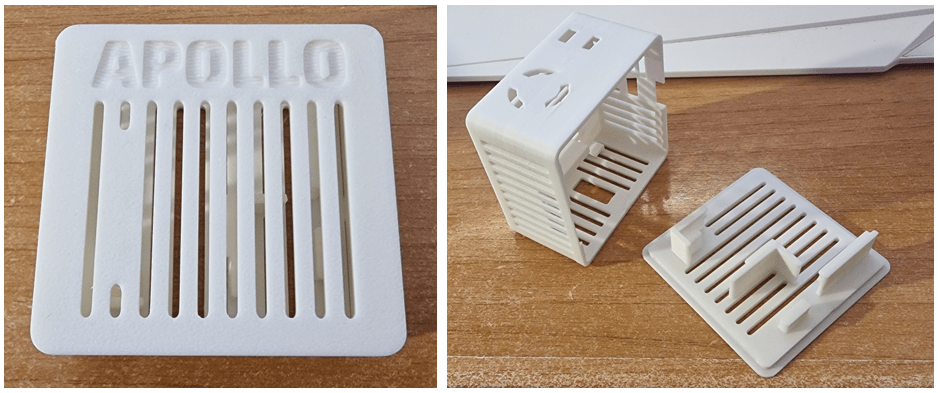
The company did say they had an updated case for the Apollo-1 (which sits in my office 24/7 working perfectly) – and this week the new case arrived – no more inserts, no more badly fitting bolts – the new case is snap-fit and much better-looking for it. Here it is sitting on my desk…
Everything fitted just fine – though the main board positioning could be better. I noted on the box, likely handy for anyone trying the Apollo-1 for the first time:
- Plug device into power
- Connect to Apollo hotspot
- Open browser and go to 192.168.4.1
- Select WiFi and password
- Check Home Assistant discovered devices.
Simples.
Temp-1 and Temp-1B Sensors
And NOW, something about the latest Temp-1 and Temp-1B units – just received them – Here’s an FAQ from the company on the subject.
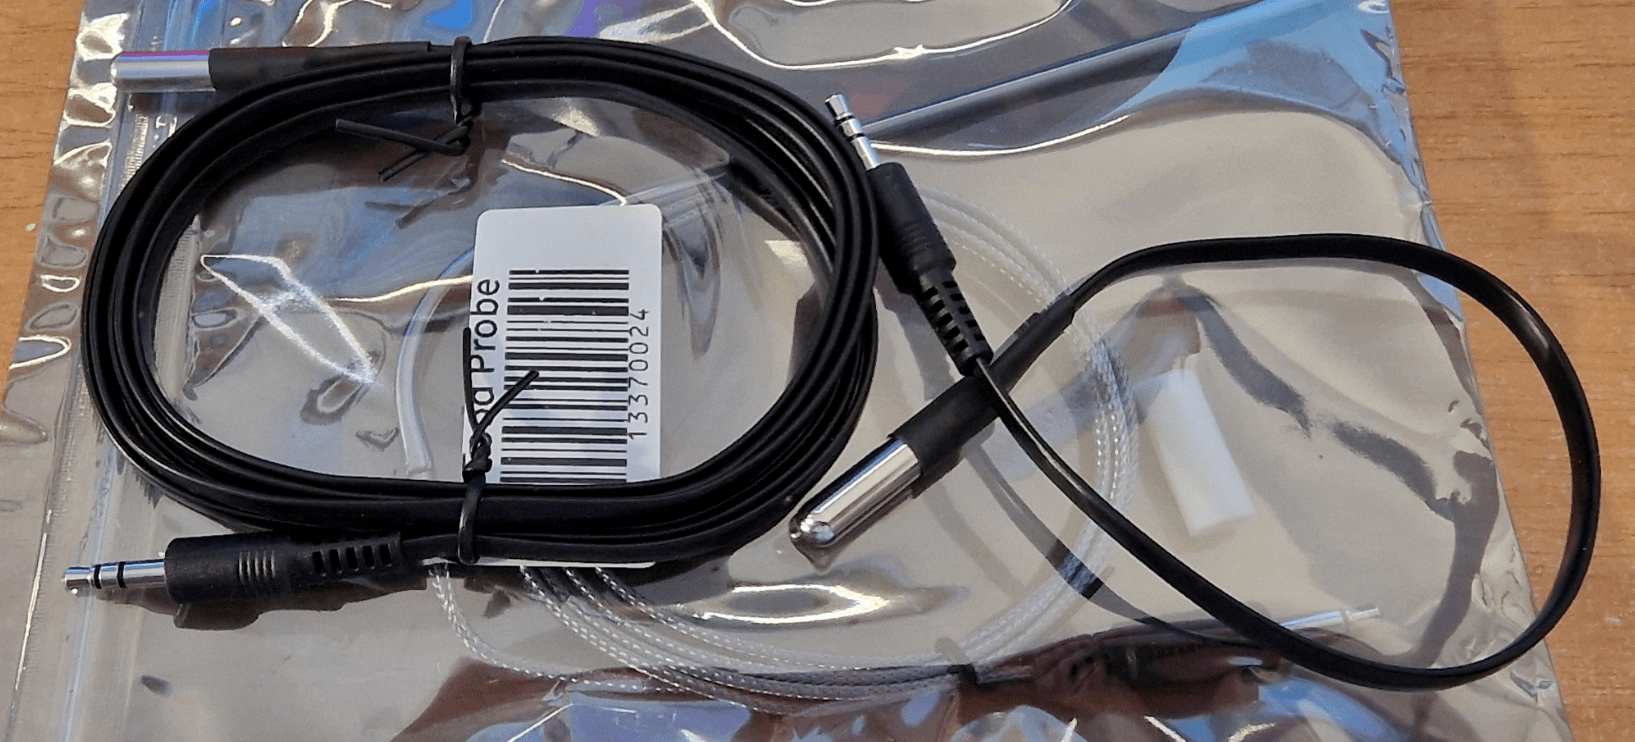
And in front of me – the Temp-1B on the left, Temp-1 on the right – the former needs a 16340 battery (not supplied) – the Temp1 does not. Both have USB-C connectors – and both also have 3.5mm stereo connectors for external sensors. The company provided a short sensor, long sensor and a food probe. Not gone deeply into it but the 2 sensors have stainless ends and look like typical 18B20 enclosed sensors as you might get from Sonoff for some of their temperature-measuring devices.

So – in at the deep end – plug in one of the probes to the temp-1 and see what happens… the 16340 is rechargeable and I neither have one of those batteries nor a suitable charger right now so that’ll have to wait.
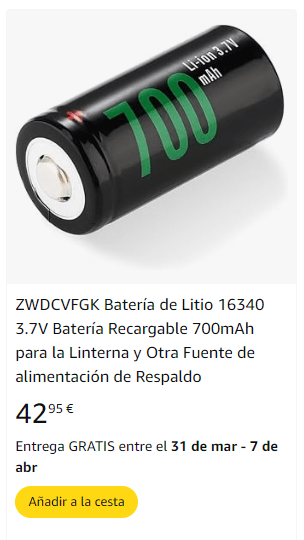
Also I have to question the use of that battery – Amazon Spain for example on the right – that and the charger – WHAT?? That’s a ridiculous price for a battery… someone at Amazon is having a laugh?
The Temp-1 on the other hand is just fine – I love it.
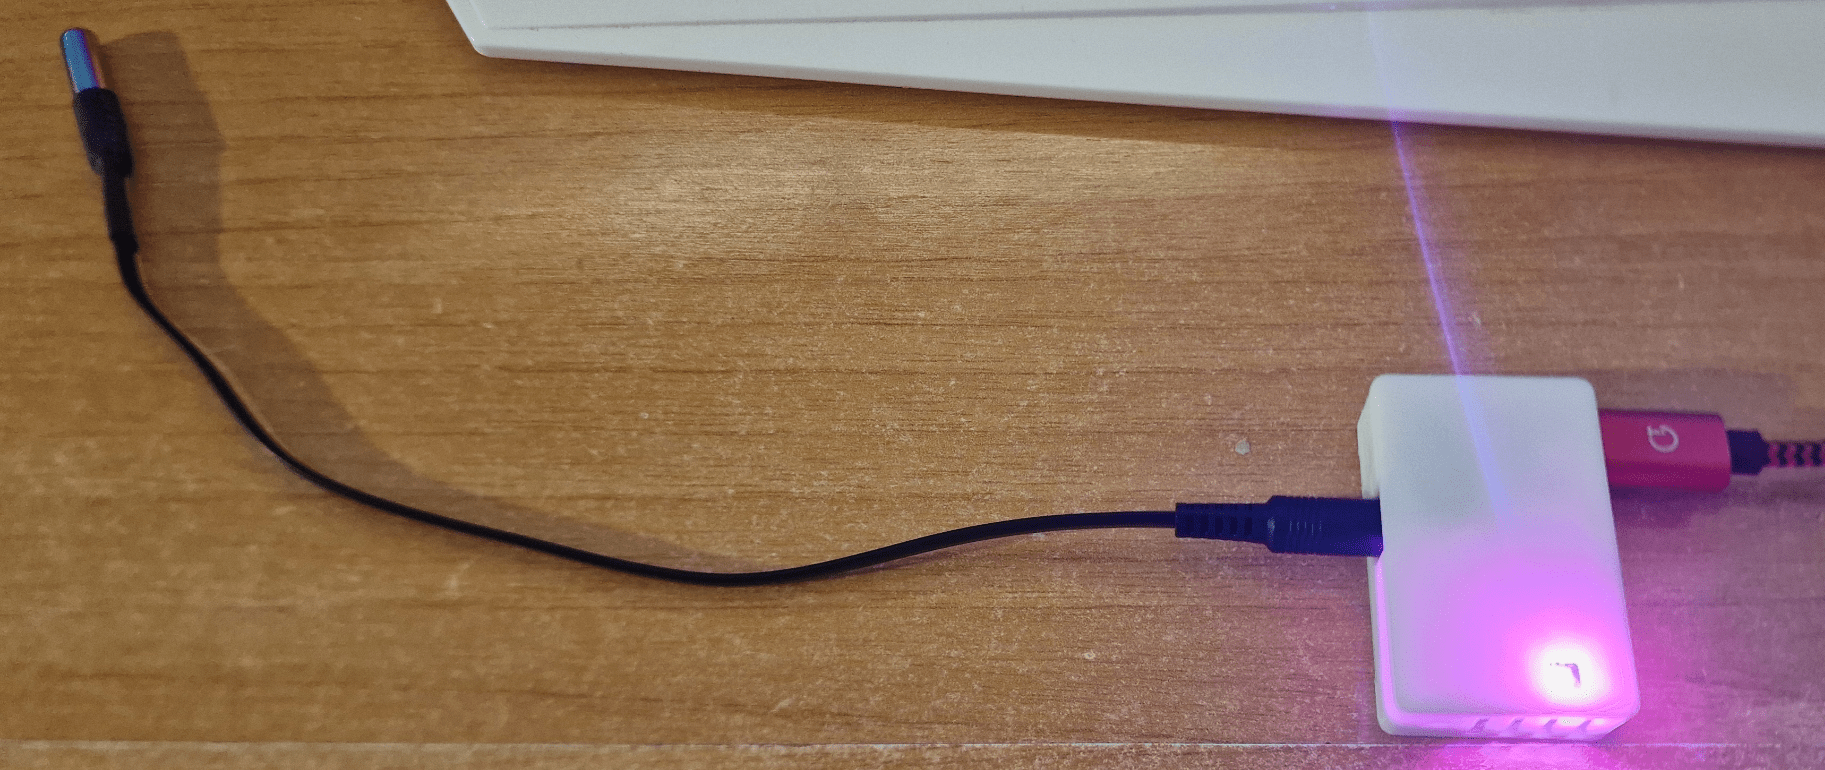
I simply plugged the sensor into the Temp-1 then plugged in USB-C power. After a few seconds a bright green light came on then went off. I checked my phone and sure enough, “Apollo TEMP1 hotspot” became available. I went off to 192.168.4.1 in my phone browser and was given a choice of WiFi access points to connect to. I hooked into my nearest WiFi access point… same room as my Home Assistant setup.
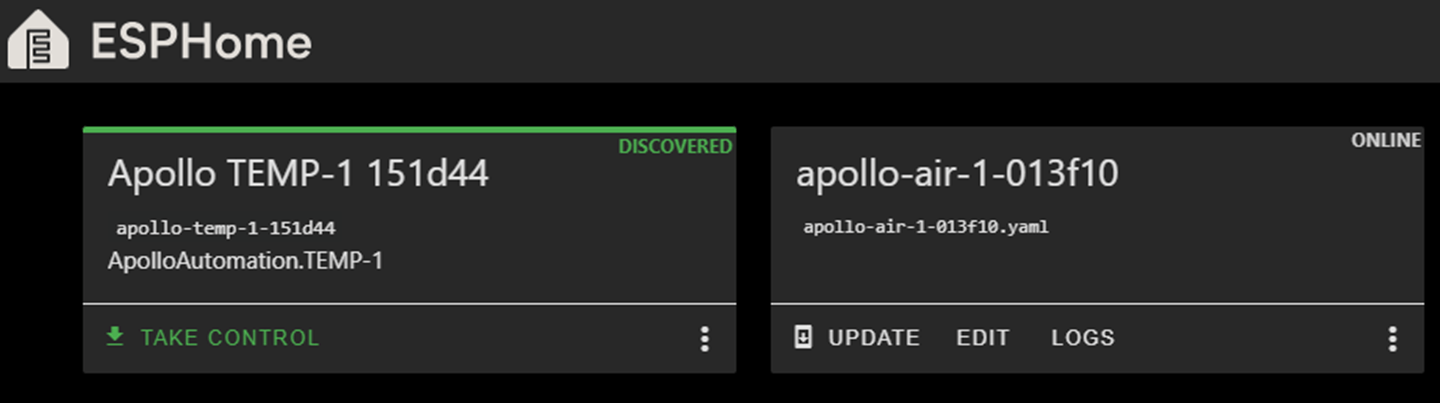
I waited a couple of minutes and made sure my phone had reconnected to my normal WiFi – and went off to the PC to check that my router knew about the new board. sure enough – “apollo-temp-1-151d44”
Next stop (not looked for instructions yet) – off to Home Assistant to see if it has seen anything new…

Looks that way… I did nothing more than I’ve described above and Home Assistant immediately spotted the device and asked me if I wanted to add it. Any why not indeed… that started a whole new ball rolling.
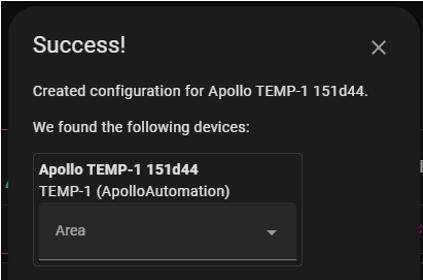
I filled in the blank and told Home Assistant to put it in area office – just for the sake of completeness.
And then even more started happening completely automatically: An update to ESPHome Device Builder (don’t ask what that does).
At that point I let HA update the ESPHome Device Builder… took a few seconds..

And then… ready for this???
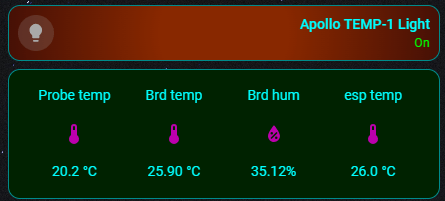
Home Assistant already knew about the Apollo-Air-1 but now a new device had automatically added itself – the Temp-1. I next went into my HA sensors page and attempted to add a sensor – I looked up Apollo – and an amazing 22 new entities appeared – all including apollo_temp_1 in the name – this is going to keep me going for ages… there is also (typical of Apollo kit) an RGB light entity – and it’s bright and full colour… I’ll soon find a use for that – meanwhile – board humidity – board temperature, ESP temperature, outside temperature… updates – and so on.
What fun…
And so to the TEMP-1B sensor. This one needs a rechargeable 16340 battery – the USB does NOT recharge it… to use this unit you’d need the battery and a suitable charger. I tried running the unit off USB alone – it works – BUT the LED doesn’t work reliably – I confirmed this with Apollo support… so be aware. Personally I think I’ll stick with the USB-powered TEMP-1 unit. The batteries for the TEMP-1B are not the cheapest in the world and AliExpress are currently offering nearly 2 month’s lead time.
I’ve yet to try out the cooking probe… so in total they have a short probe, longer probe and a long probe able to withstand oven heat – all connected by simple 3.5mm sereo jack connectors.