Some months ago, Algolaser contacted me re: their 20w laser engraver – and while I still plan to progress this in the future, for now they asked me if I’d build and review their DIY Engraver KIT with the 5.5w laser. As you’ll see looking around the blog, I’ve reviewed several 5w-laser-based engravers and they are definitely not all the same, several including this model can be used for cutting as well as engraving.
As it happens, up to now this new Algolaser laser engraver is looking to be one of the better 5.5w devices I’ve come across to date possibly because of the fine beam? I should clarify we’re talking 5.5w optical output power, not input. I’ll be putting links in here so let’s get this out of the way – I do NOT make commission on this device or accessories and have no connection to the company. The company approached me and asked if I’d like to build and review their engraver – that’s it.
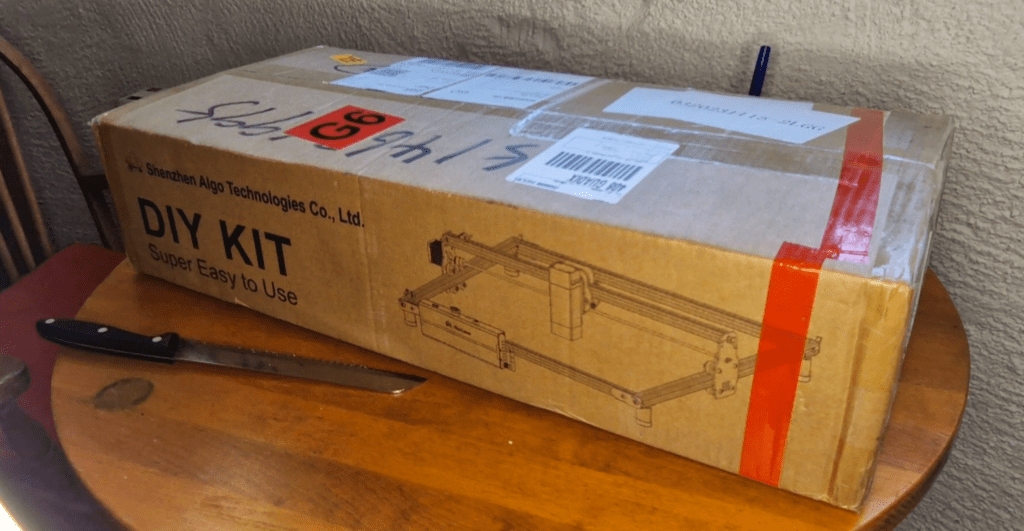
With that in mind I agreed to build their kit. When the product arrived – I started making a video to show the build process but then discovered that the company have already made a construction video – link is here – no point in re-inventing the wheel so I’ll keep that part brief.
What attracted me to the engraver in the first place was the WiFi antenna on the front panel controller – the unit like most laser engraving machines in this class, connects to the likes of LightBurn software (my preferred software for all laser engraving) by serial port. Lightburn doesn’t have default settings for the Algolaser but has GCODE compatibility and every engraver I’ve come across up to now runs GCODE – so all I had to do was select the serial port and maximum XY dimensions of the work area – i.e. 400*400mm. Just after doing that, I noted a Lightburn PROFILE file on their website which would have saved me the effort. I’ve now entered that profile.
You’ll see all of that in the company videos images of the engraver – but take note, this is the first one I’ve reviewed with proper rubber FEET and it sits rock-solid on my plywood bench.
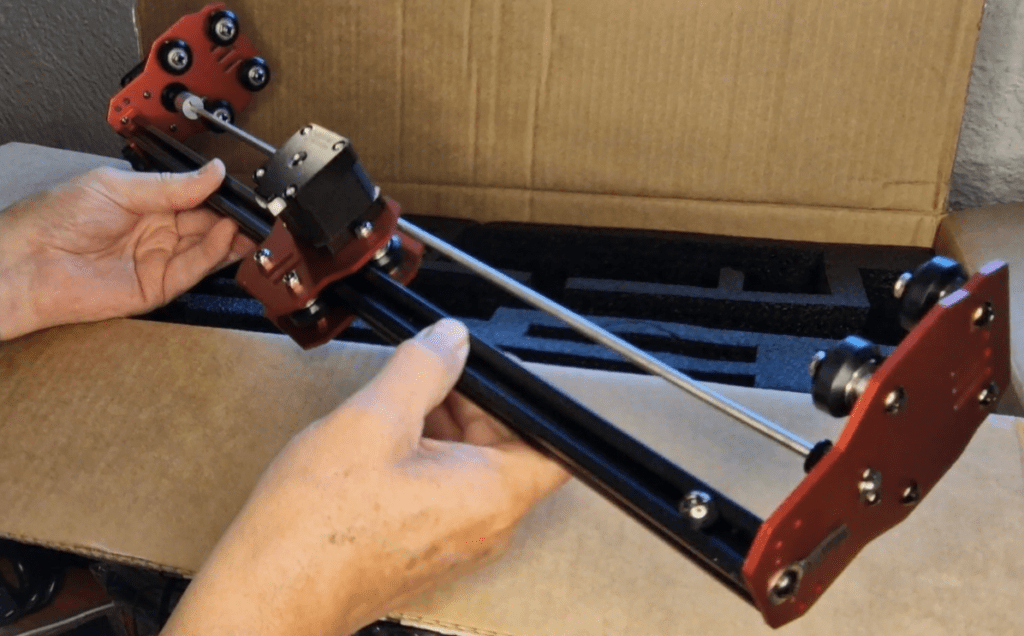
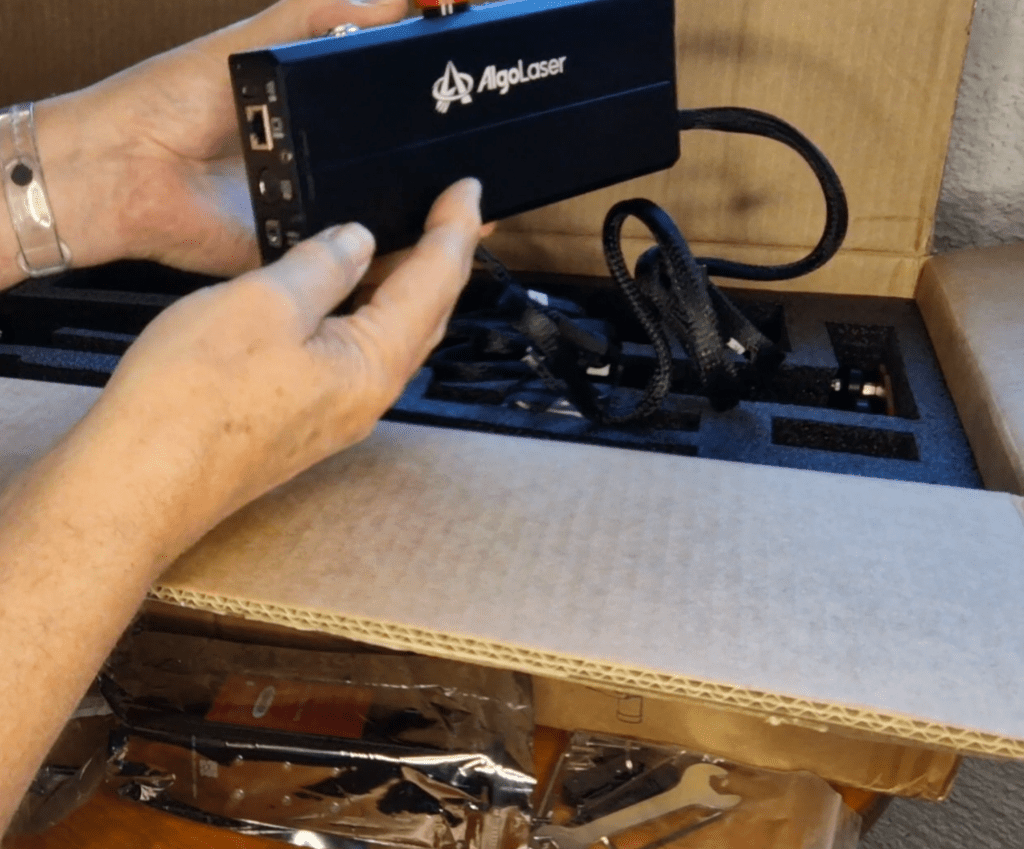
I put the engraver together – a process consisting of little more than assembling the main frame, adding the pre-built top gantry, dropping the laser into place, fitting the three belts and adding the control unit. Most of the hard work was already done by the manufacturer.
I USB-connected the engraver to my PC, turned it on and I then went straight to my Windows-based Lightburn software, told it about the working dimensions, adding in that the engraver is GRBL-compatible… that’s about it. See comment about their downloadable PROFILE file.
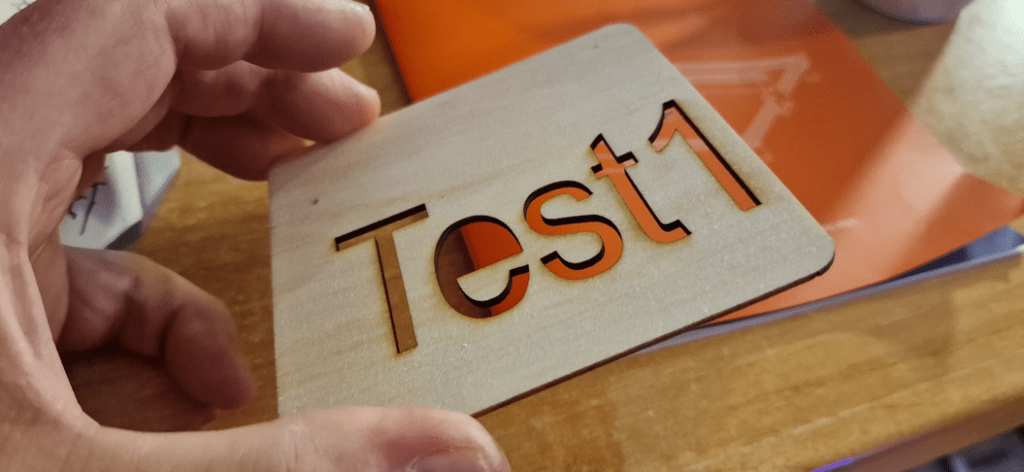
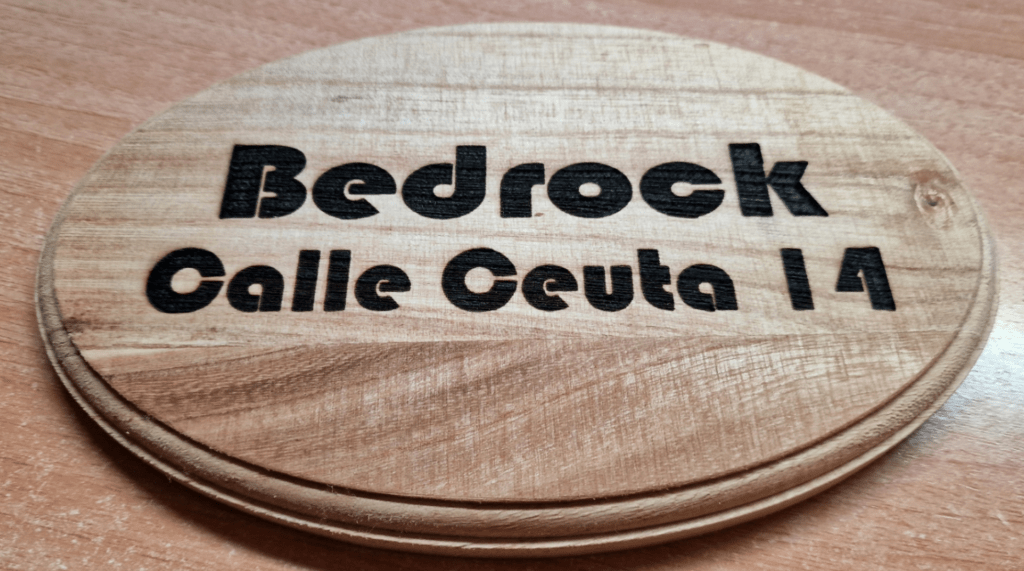
I then created a test with a thin piece of wood supplied with the engraver (which also came complete with samples of plastic and aluminium) and (we’ll not dwell on engraving my bench due to incompetence) I then went straight into creating a sign for the front of our house and engraving a bread-board for my wife – you’ll see the sign in the video above. Here’s my first test…
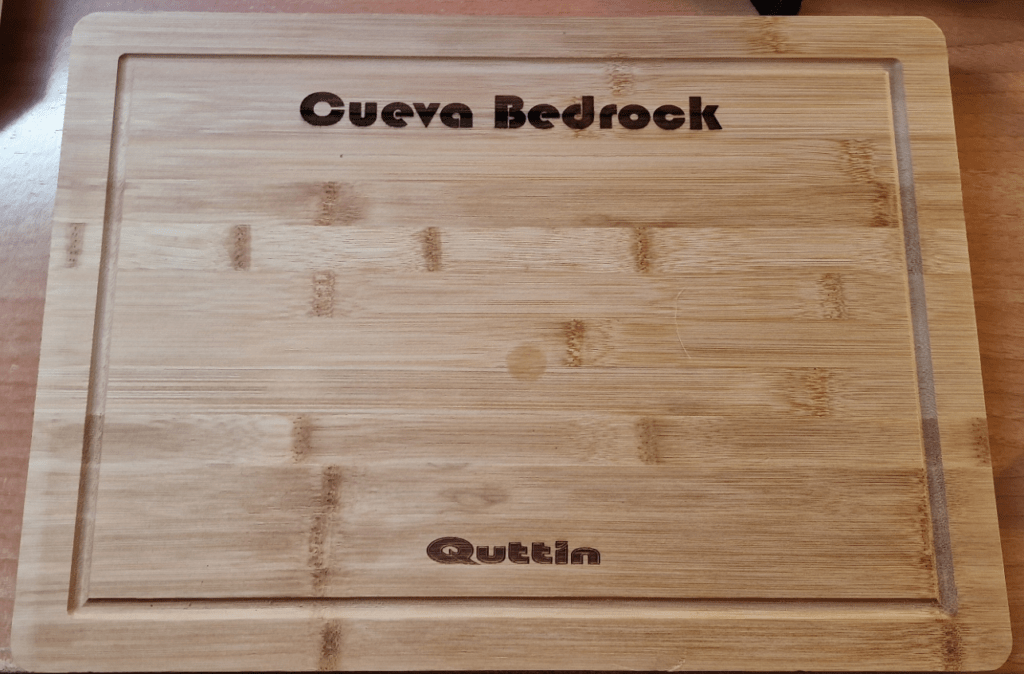
Claimed laser spot size is 0.04mm by 0.09mm – certainly I found I could easily engrave very fine lines. In the board image below, the “Quttin” was already on the board, purchased at a local hardware store and I added the “Cueva Bedrock” at the top, which I may add is quite deeply engraved, more that 1mm – perfectly adequate for the job.
Claimed maximum speed is 12,000mm/min. I’ve not pushed that to the limit but as I got anywhere near it, I found my bench vibrating so I backed off to a more leisurely pace.
No chemicals were used to achieve that nice black engraving above or the one below.
Up to now, great. I then discovered that on a light wood test, end letters were slightly more deeply engraved than the rest of the text – I contacted Algolaser and their engineer suggested changing a setting in Lightburn – to turn OVERSCAN ON – this was set to OFF by default. I turned it on – situation improved.
So overall, PC-USB-wise I’m happy.. But then most engravers will do that and surely, part of the point of this device is that it has WiFi capability. I should clarify that – when using Lightburn 1.2 I could not get the WiFi to work reliably – the top half of my tests were not being printed. Algolaser suggested turning “GRBL clustering off” – that feature was not available (at least not obviously) in V1.2 – so I upgraded to Lightburn V1.4.05 and my prints are working perfectly with no adjustments.
HEY there’s a thought…
I spotted this orange box on the web (apologies to the author Simon Kirby for grabbing the photo) – I could make one of these for my Christmas lights ESP8266 controller for next year, using a 3D printer or even the engraver…. complete with USB-C hole and LED cable holes – GOOD IDEA.
Well, I only have non-transparent red and black acrylic handy but it’ll do.
Anyway, I have a Samsung S22 Ultra Android phone and noted in the Algolaser list of videos, reference to their own APP… I went off to the PlayStore and seconds later I had the Algolaser APP (Alpha V1.2 – really? that suggests no-where near production-ready). The APP asked me to enable notifications so I went off to settings and did just that.
I was asked to select my 2.4Ghz WiFi access point – I did that. Next – “with the engraver turned on, press the power button 5 times in a row”. Well, that part didn’t prove to be that easy – optimistically, some of the documentation appears still a work in progress – suggesting in one place that one of the two green indicator LEDS will go WHITE – another part suggesting the LEDs will colour-cycle or show yellow. NO – I get nothing but green LEDs.
So,there are, it seems to me, only a pair of GREEN LED indicators on the top of my engraver, I cannot imagine what the references to other colours are about. I checked this on both my physical QUICK START GUIDE and the online version… same content. I have pointed this out to Algolaser – something wrong with the documentation (page 25) or the firmware on my engraver I guess. I’m still awaiting a good answer on this issue.
Within a day of checking with Algolaser, I had updated instructions and have already done my first engraving from the APP over WIFI but not without major issues. The laser has an RJ45 connector but it is not for Ethernet – the control panel uses an ESP32 which has WiFi and BT only, no Ethernet… However note above – the Algolaser with WiFi and Windows-based Lightburn v1.4.05 IS working more or less perfectly.
By contrast I should mention that the documentation for assembly that came with the engraver was excellent and their online assembly video is a bonus.
Algolaser’s own assembly video.
Lightburn costs about €55 or equivalent – (and you can get a 30 day free trial) is the best and only inexpensive and useful complete package for engraving using such engravers IMHO – other packages such as the free LaserGRBL will engrave – but only from imported image files – to me that would be like having to use separate support programs for WORD just to edit and print a DOC file. LaserGRBL has NO editing ability – not even text. It’s a goo cop-out for manufacturers as it costs nothing – but also does very little so I tend to ignore it.
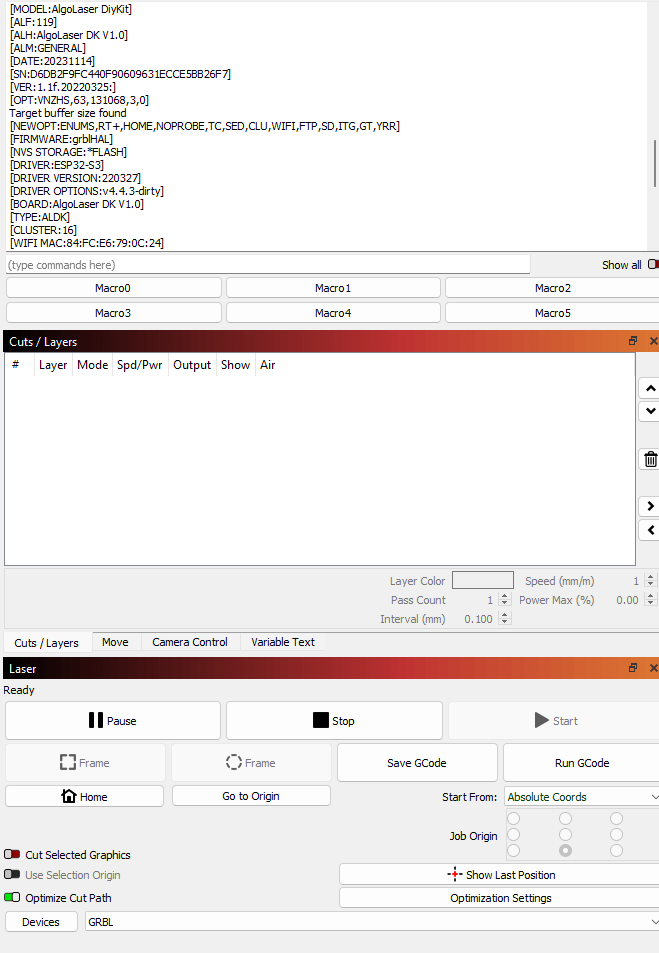
For WiFi and Lightburn, you can easily send GRBL commands to the USB-connected engraver to reset the engraver from within Lightburn, tell it the access point name of my WiFi and it’s password….Tell Lightburn there’s a new GRBL device and choose the Ethernet/WiFi option for connection, give it the IP address of the engraver and it’s done. $74=mywifi then $75=mypass then $WRS – remove USB lead. All that info is spelled out in their connection document WIFI PC CONNECTION TUTORIAL.
In the end I found that connecting the engraver to USB first was the best way to set up the WIFI. In Lightburn you can enter GCODE directly and entering $73=3 then $WRS would set the unit into AP (Access Point) mode. $74=mywifiaccesspoint then $75=mypassword then $WRS would make the unit use my WiFi access point. All very nice when it works but both their APP and Lightburn want to know the address of the unit – which is not set in stone – the router may give it a different address from time to time – I solved that by using MAC-IP settings on my router to ensure the address would always be the same. There is also an Algolaser setup tool that allows you to fix the IP address.
It seems to me that given they are using an ESP32 in the controller, it’s a shame you have to physically USB-connect the machine to do this setup when Bluetooth would have been a simple alternative – I’ve used lots of smart-bulbs and similar which use this very method for setup. And of course if you don’t have a PC and simply want to use the Android APP – you immediately have a problem.
SO – their APP – once I got the WiFi connected – all looked well until I tried engraving something – the default font – even set to highest quality and CONTOURING ON would give very jagged edges – I tried another font, that worked perfectly – I tried a third font – slightly jagged – so (it seems to me) this APP and the documentation is clearly a work in progress. I’m currently talking to their engineer on Whatsapp to see if we can resolve this one.
I also found that with the APP (I’m using as far as I can tell the latest version) if I went into CONTROLS, to have the laser on (low power) when homing – I had to enable the laser and more than once, messing with the controls turned the engraver off – so not very intuitive – or simply buggy – hopefully I’ll work through these issues with Algolaser but for now, I’m back to using Lightburn (which is not free) on the PC. There are other issues with the Android APP …
More as I find out more. I would in passing like to say that my contact at Algolaser has been consistently helpful. Once we got into technical issues she passed me onto their engineer who did his best over the Christmas period and continues to be helpful – I’m more than able to find answers to most issues on the web – but in this case I’m seeing no un-sponsored useful info out there so it’s as well they’re being helpful.
As always if and when I get satisfactory answers to remaining questions, the blog will be updated – but I’m quite happy with Windows/Lightburn operation, so much so I’ve sold my last non-Algolaser engraver locally.


