Elsewhere I’ve written about the new Apollo Air-1 gas sensor for Home Assistant (based on ESP-home). In that blog I also mentioned their DEV-1 ESP32C3 board. As the blog entry was starting to get a little long, I decided to separate out the MTR-1 and MSR-2 sensors – so here goes:
The MTR-1 is described as a Multitarget Radar Multisensor for Home Assistant whereas the company calls the MSR-2 a mmWave multisensor for Home Assistant. Both devices are small units comprising PCBs and sensors, currently housed in low-volume white 3D printed cases. They both also come with optional stands with rotator joints – I have to say the 3D printing construction does not make either of these stands particularly easy to manipulate but thats a minor detail. I also ended up with a USB-C to USB-C 90 degree rotator piece to give a choice of side or bottom mounting for one of the two sensor units. See for yourself in the main photo here.
To start the ball rolling, MTR-1 – out of the box, I plugged it into USB-C and checked my phone to see if any new WiFi access points had appeared. Yes – “Apollo MTR-1 Hotspot”. I connected the phone to it and the phone took on the address of 192.168.4.100 – which meant I could access the device at 192.168.4.1
Sure enough – a rather un-pretty panel appeared in my phone browser – MAC address – xx:xx:xx:xx:xx:xx and Wifi apollo-mtr-1-cdxxxx
Several seconds after entering my nearest WiFi access point and password, nothing happened – and I could still see a SAVE button. It turns out the operation had succeeded – but didn’t redirect the browser – so I went off to ADVANCED IP SCANNER to find the MTR-1 sitting on my network… and in my PC browser went to the address shown (I could have used the hostname)…
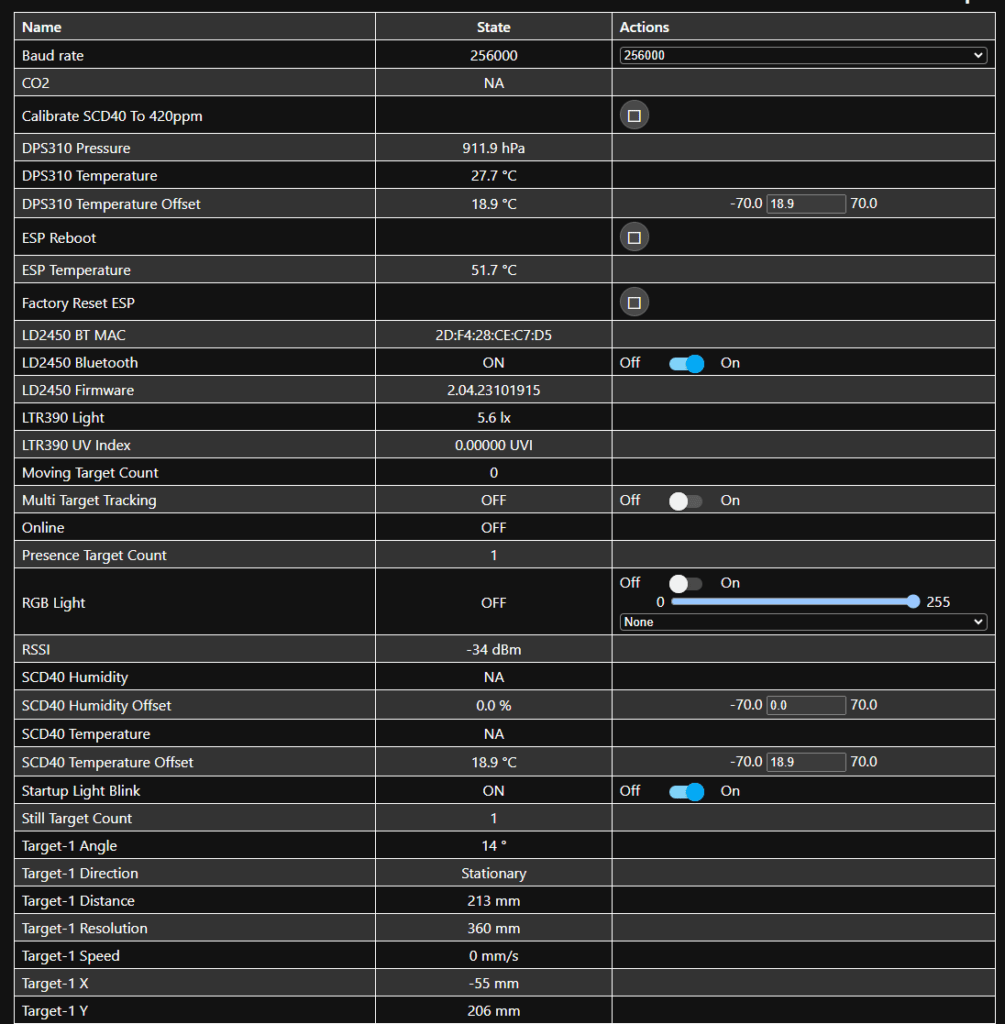
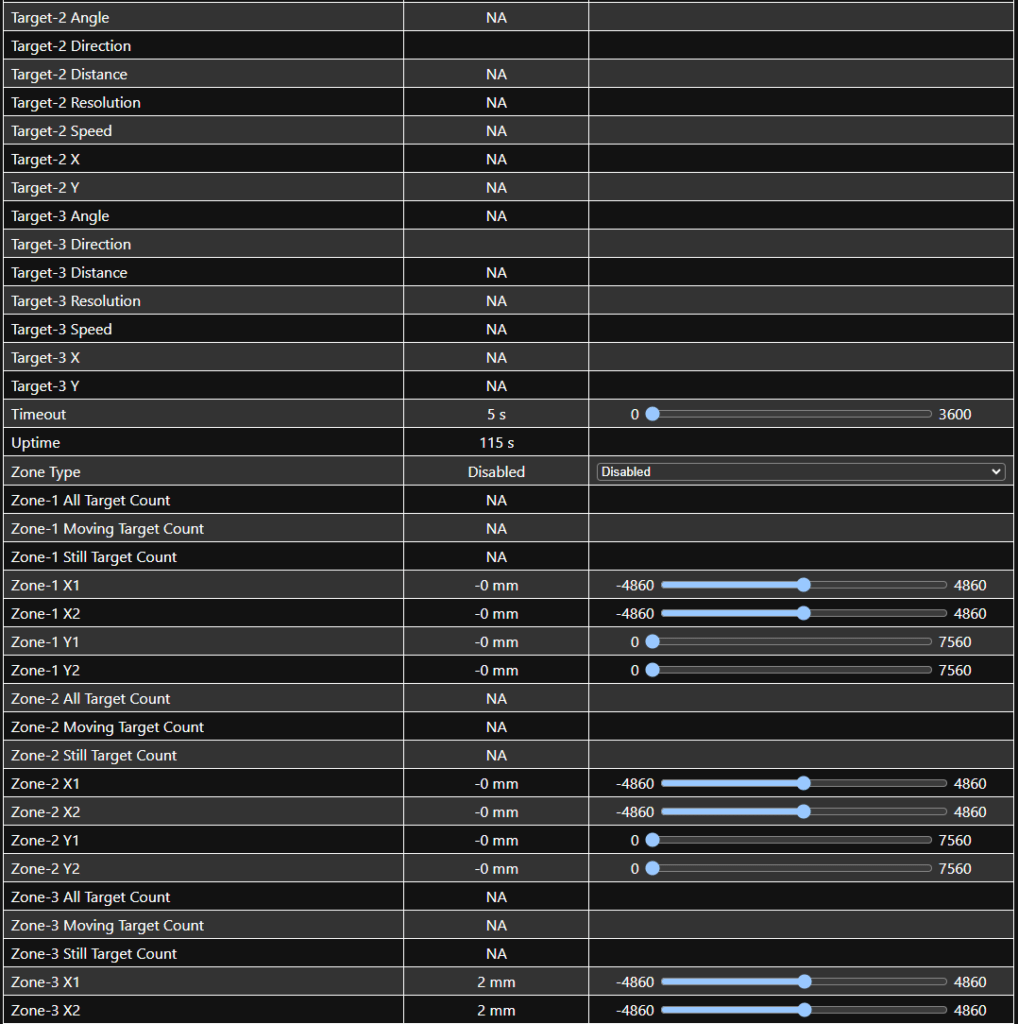
WOW – a SHEDLOAD of information – too much to fit into one screen on the PC… so this lot are stitched..
Firstly to make sure it was working I used the little button to the right of RGB LIGHT to turn the light on and bright it is…
Where do I start….well, as it happens I had a spare CO2 module and so carefully opened up the box and mounted that. I plugged the unit back into USB-C and at first – nothing then after a minute…
So we have: CO2 levels, pressure, temperature, ESP temperature, Bluetooth presense options (default off).
Presense Target count – 1 – hopefully me. I asked my wife to pop into the room… Presence Target count – 2. She left. Back to 1.
I bent over in my seat – Target-1 Angle – -40 degrees. Target – distance 400mm. I moved back from my desk something over a meter – still sitting still – target 1 distance – 1200mm.
I LOVE THIS ALREADY. If I sit DEAD STILL…. Presense Target count remains 1. SO MUCH to check – but first – Home Assistant… did I dare hope it would just appear magically…
YES, just need adoption (ADOPT – bottom left). Done – There was some script message came up but it’s working.
So… in Home Assistant, I added a sensor tile with the target 1 distance in it..
Firstly, out of the room – nothing – value 0mm which can be treated as “away” I guess.
Setting this up took SECONDS incidentally…
I’m looking at this on my phone – so the images coming up – are me walking into the room and sitting down at my desk. I’ve not taken a tape measure out – but near enough. And that’s just one target.
And it’s doing the CO2 in the room – just like the Apollo-1 – these are great gadgets and I’ve not touched the surface yet… SO much to play with… This may not (yet) have the smart case of the Aqara units but I can see SO much potential…
And Now, the MSR-2
I plugged the MSR-2 into a Handy USB-C charger/supply and after a few seconds went off to look for a new access point appeating on my phone – it did – just like the previous device.
After ensuring the phone was now using this access point, I went to 192.168.4.1 on the phone – another not-particularly pretty interface asked me for my local WIFI access point details. Done.
More seconds later – I simply went to my ESPHOME integration menu in Home Assistant and this new device magically appeared – inviting me to ADOPT – and a whole load of compilation started to appear in the ESPHOME window – thankfully I already know that once an ESPHOME device is initialised, updates are done by OTA – i.e. no connection to the PC and pretty much automatically. It took a few minutes as a LOT of stuff seemed to be getting compiled and linked – yet in the next step, the automatic upload to the device took no time.
So now I went to VISIT the device via Home Assistant’s ESPHOME page so I didn’t even have to figure out the IP address.
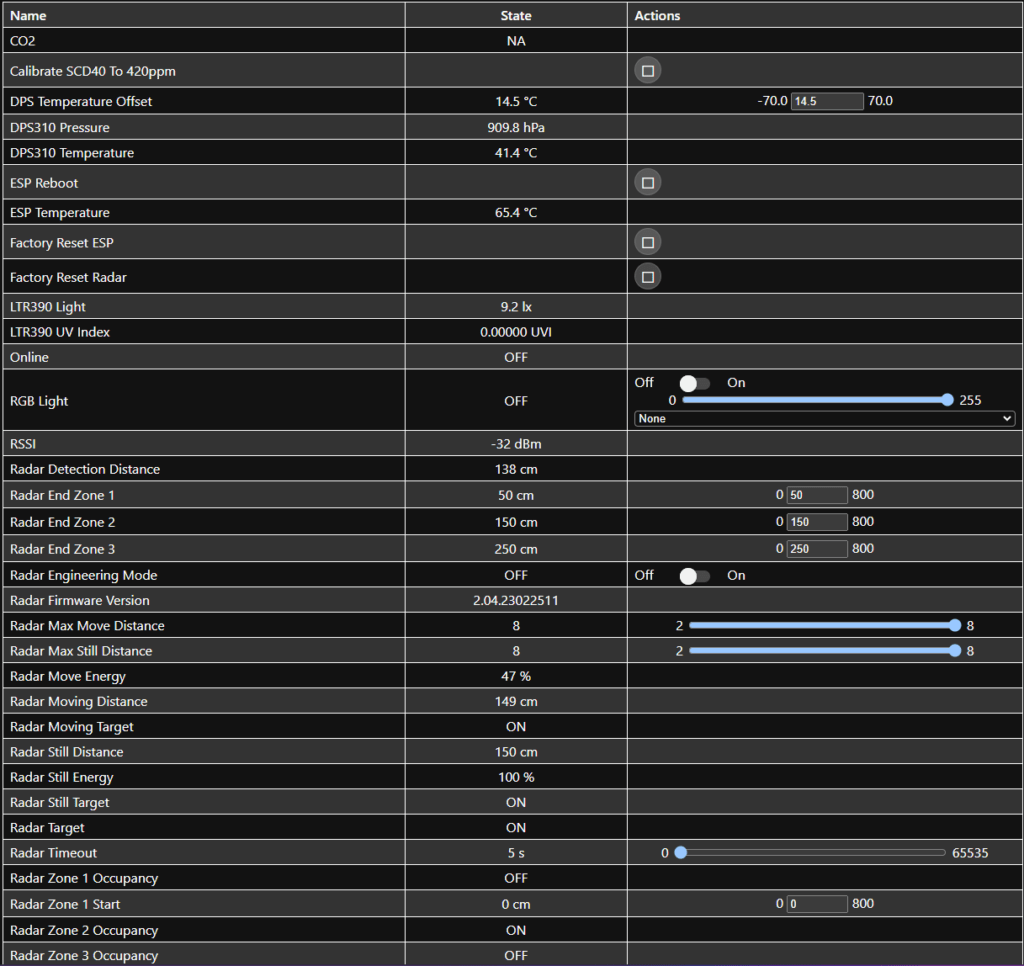
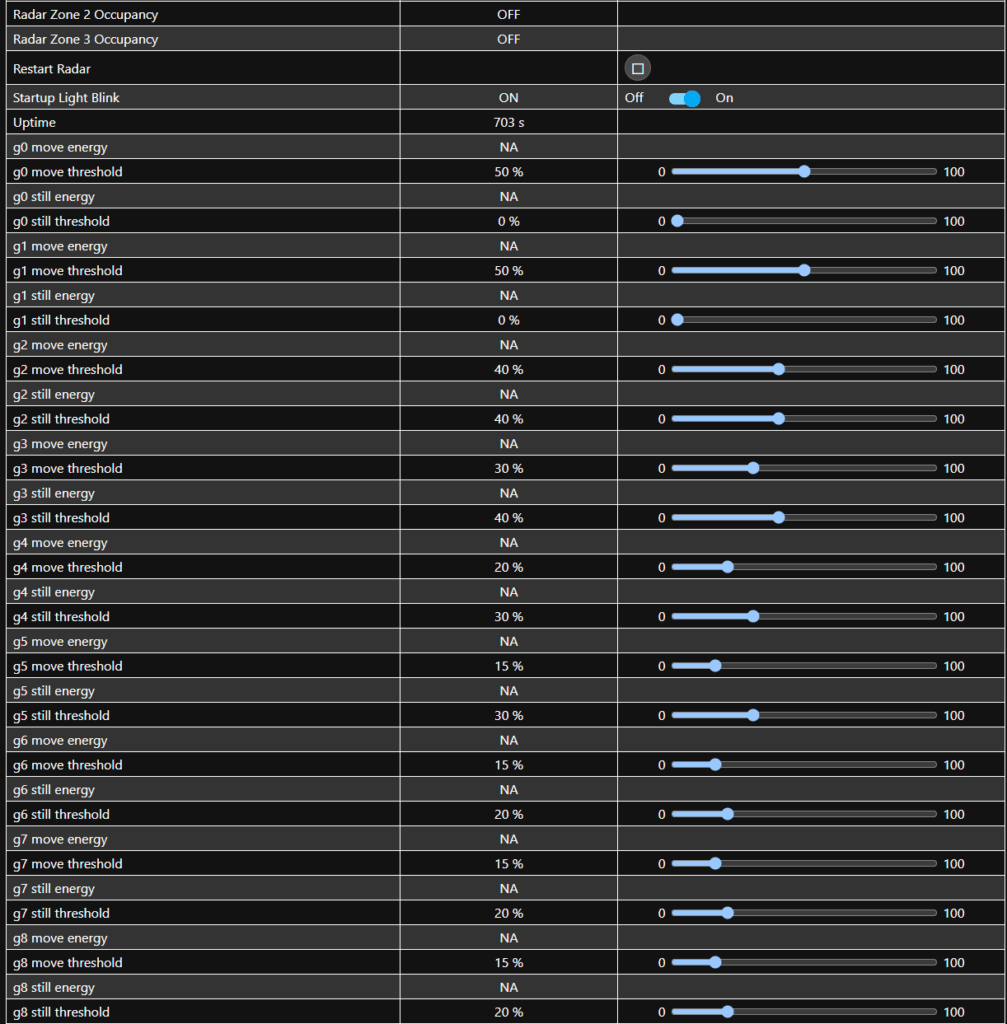
Once again – a shedload of potentially useful items available to Home Assistant. I won’t bother with CO2 (I could put one of my CO2 sensors in there as I did with the MTR-1 but that would not provide any new info and the CO2 sensors are not cheap).
This is going to take a while as the radar sensing looks different to the sensing on the previous device – once again we have light levels, pressure and temperature as well as the radar stuff – all of which can easily be brought into Home Assistant.
Next-morning UPDATE
A couple of things – I’m still not sure I understand the radar well enough to comment on the MTR-1 and MSR-2 but there is someone who has gone into this – and from his write-up I discovered a free tool for Android/Apple called HLK Radar Tool – here’s a link to the article I read. And with both the modules in the same room as my phone – I get this output from the APP which is possibly Chinese as some of the text is a bit IFFY but the imagery is great – 2 images below from the 2 different devices..
The phone seems to have to be within a couple of metres of the second device to connect – not much use really as persuably you;d want to monitor remotely – but as a learning tool…
The above is reminiscent of my Aqara FP2 – with a phantom image appearing (there is only me in the office) – the green person however does move around realistically.. The above two images have nothing to do with Apollo Automation as such – this is a free third party too. Fun, though. That last image – device HLK-LD2450_C7D5, Bluetooth disconnected when my phone was no more than 2.5m away from the sensor.
Second thing is – out of no-where I’ve suddenly learned about CO2 levels. When I discovered that the Apollo-Air-1 and MTR-1 both equipped with the (factory calibrated) CO2 sensor were giving WILDLY different readings (one twice the value of the other), I at first panicked – then decided to learn… it seems that CO2 levels outside and away from industry, tend to be fairly stable – so 420ppm is not unusual.
So, I took both sensors outside (still within WiFi range) before sunrise – I’m outside of our quiet village, and took readings – still wildly different – so I pressed the calibrate “button” for each device, not without issue as the MTR-1 first time around showed 0ppm for 15 minutes or so – however after a couple of attempts, both devices settled on around 400-430ppm. They are now back in my office and the sun is up… 90 minutes later – Apollo Air-1 452ppm, MTR-1 477ppm.
Ok, happy with that and learned a lot in the process.
End note: a quick request – if you’ve not subscribed to the blog – and my YouTube Tech playlist – please do – it helps me a lot..


