
I’ve had lots of Shelly products in my time – I recall trying out MQTT on them and even got some partially integrated into Node-Red (I hate using lots of APPs) but now as I begin to feel my way around Home Assistant – I have my first couple of shelly products properly integrated along with Sonoff, Smart life and many more. See also – Shelly and Sonoff shout-out…
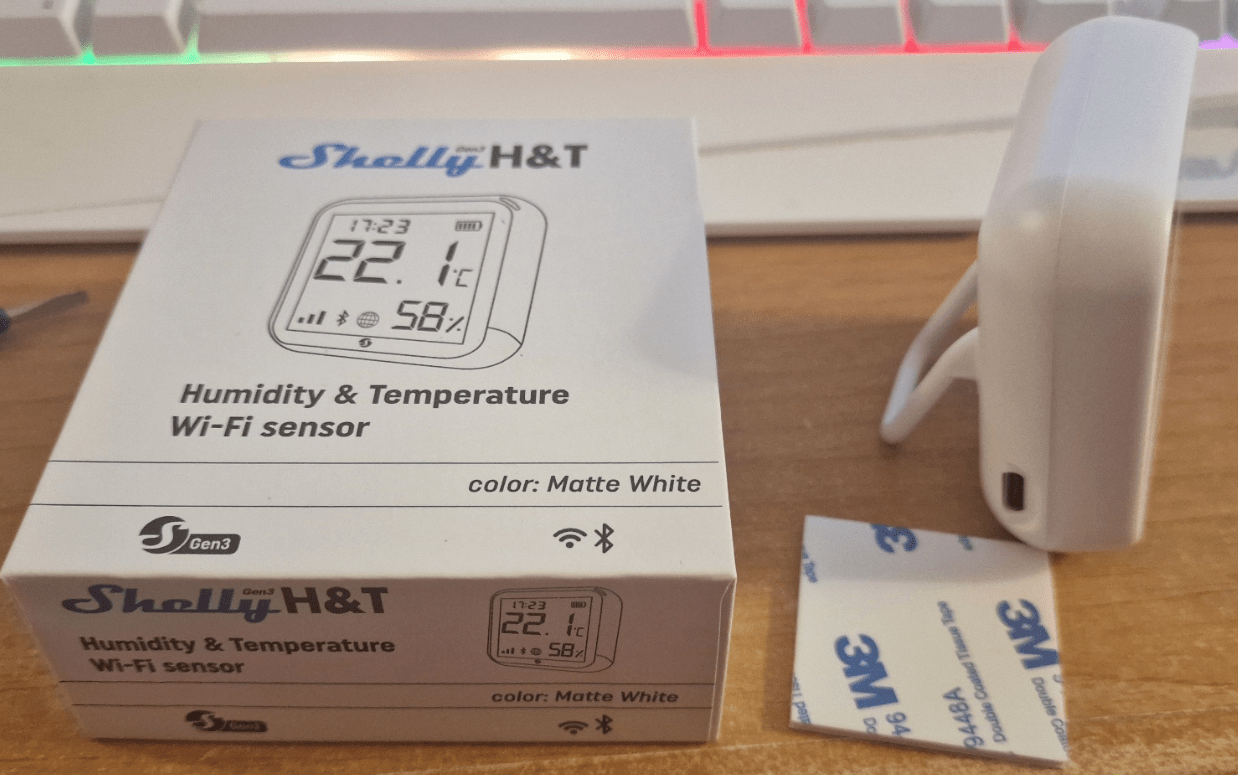
Firstly – the Shelly H&T Gen 3
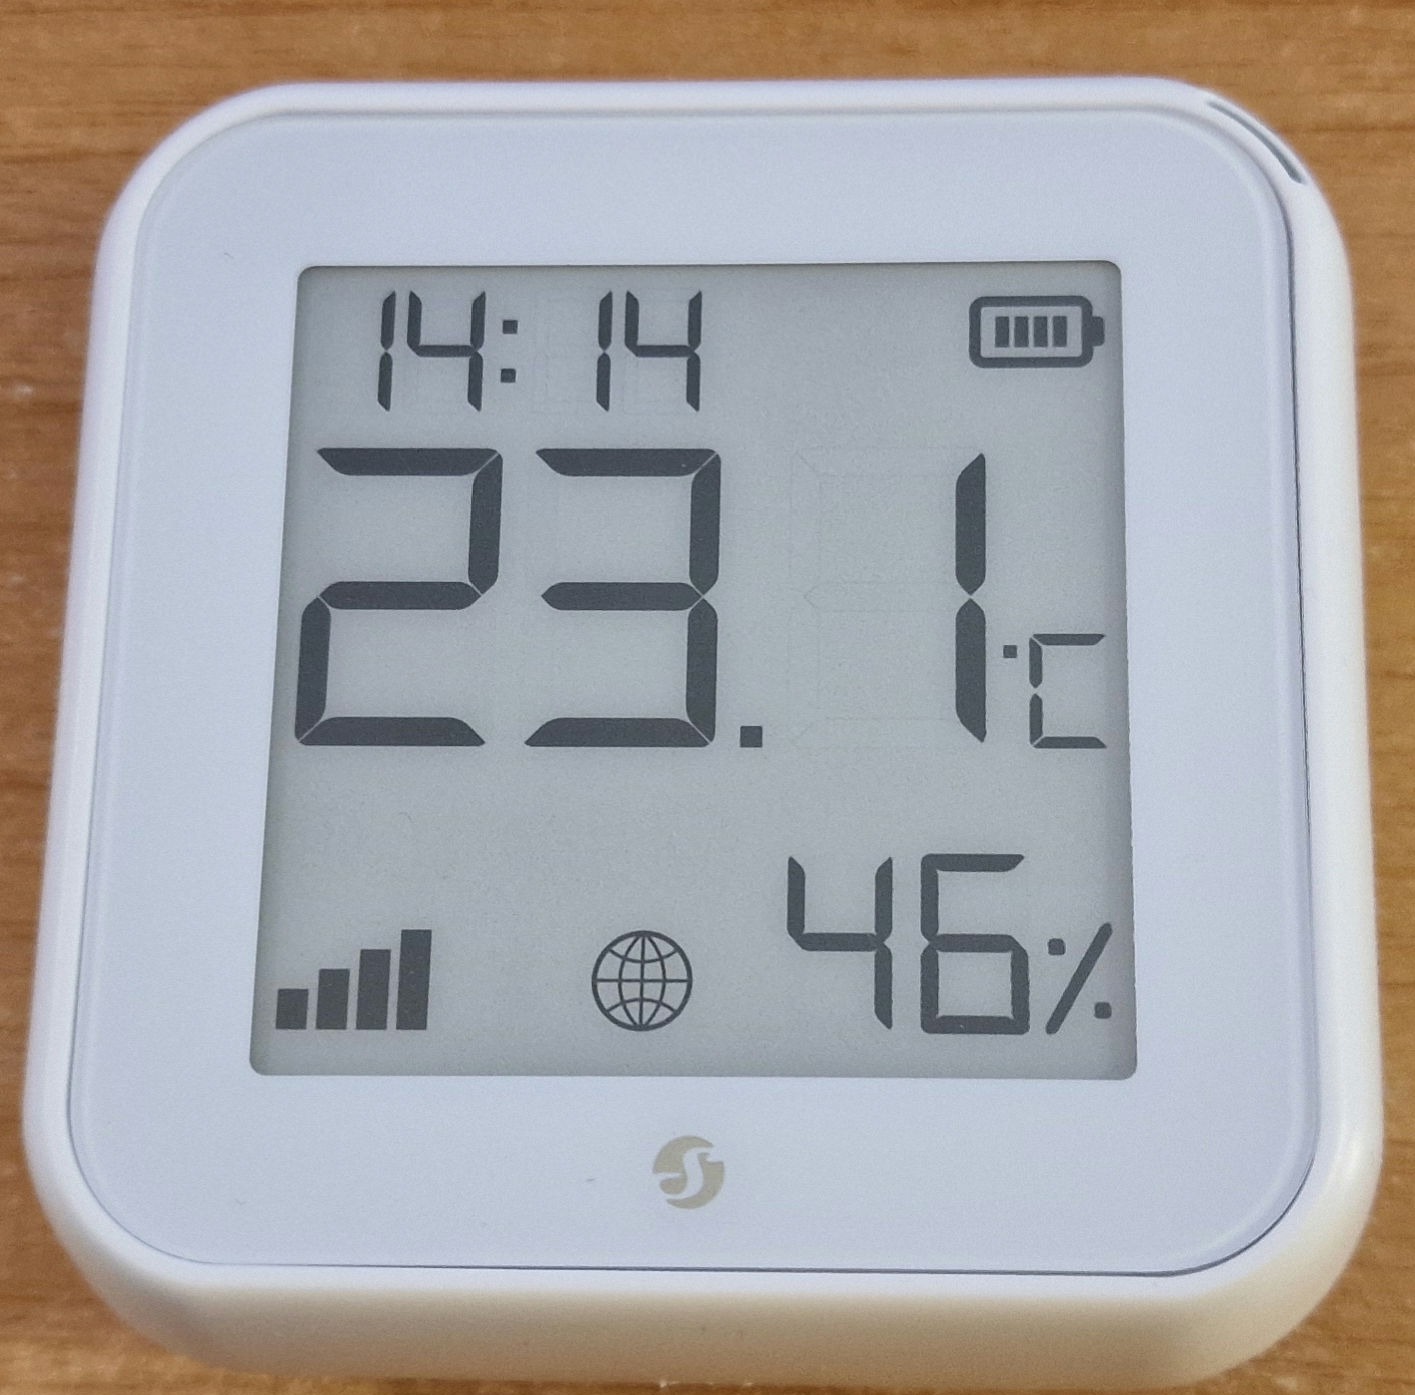
What’s ANOTHER wall mounted stat you may ask – no big deal? Well, THIS one is LOVELY – the display is big enough to see at a distance and in pretty much any kind of light including BRIGHT SUNLIGHT (if only my expensive phone would do that). I love it…
In itself that would be nice but in the past that would mean another app or the somewhat interesting Shelly MQTT integration into my Node Red setup but now, thanks to Home Assistant.. no problem. Omce Shelly is integrated into Home Assistant, all I’ve had to do to add these devices into HA is give them fixed IPs. Fixing the IP address can be done in the Shelly App but I find it easiest to do a mac-ip reservation in my router – and the job’s done – local Shelly H&T Gen 3 – done.

Nice white display for my office and temperature/humidity readings in Home Assistant.
See on the left the little globe – I believe that means cloud – I turned that off as I no longer need cloud access for the Shelly and other devices thanks to Home Assistant and Tailscale VPN – I can access everything when on the road as if I was home.
Now, Always short of room I was about to throw the box in the bin when I spotted inside… a handy desk mount (which fits into the wall mount holes on the back of the unit – now fitted and in the instructions – I noted that the device can be powered off 4 AA batteries (claimed life 1 year – wow they know that without jknowing what batteries I picked is beyond me, I’ve found Amazon BASICS to be not worth a light and Energiser Alkaline to be generally very good) – already done that – or USB-C – I think I prefer the latter as I’m sick of changing batteries on my many sensor devices. When you connect USB-C power – the battery power indicator (top right on the paper-white display) disappears.
Ok, I’m noting from the box that this device has it’s own embedded web page – but then so do all the other Shelly products I have.
I have to say this is far better than the somewhat ill-fated original Shelly H&T with it’s overpriced CR123A battery (no display).
Next: the Shelly 1 Mini (Gen 3)
The Shelly 1 Mini (Gen 3) a miniscule approx 33mm*16mm*27mm. So, what else does this simple Smart switch have to offer>8A/2000w (max) at 240vAC or 5A/150w at 30vAC. It also has a switch option.

I’m showing photos above to give you a better idea of scale compared to pervious Shelly smart switch products.. and below – compared to one of the latest Sonoff mini products. hy is this important? For fitting into typical EU (for example) back-boxes. Earlier this year I left one of my Sonoff controllers in a hall light back-box in the UK and was it a tight fit? Sure was.
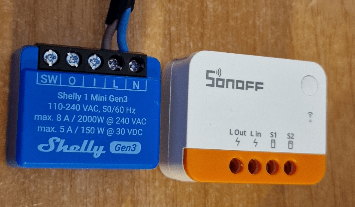
On the right is the Mini 1 sitting next to a similar Sonoff product.
And now, the 1 Mini is sitting on the floor, plugged into 240v power and its little red indicator is flashing which means it needs pairing with the “Shelly Smart” App on my phone.
Without any other interaction, on opening Shelly Smart, I see the indication on the left…

“New device found” – THAT was easy… next hit “add device” aqt which point the APP wants be to disable Bluetooth in the device and turn it’s access point of assuming I’m happy to connect to my 2.4Ghz Wifi access point.
Of course I had to go and write this up didn’t I – so the APP timed out. So I tr4ied again – “starting inclusion” “getting status” “device included”. Done. I was then given the option to keep the default name – Shelly 1 – as I have an olcer model, I’m choosing to called the device “shelly 1 gen 3″. I’m then given the option to put it in an existing”room” or pick a new one. I pick office. All done.
In my list of shelly devices I now see “shelly 1 gen 3” – “pending connection”. The latter immediately went away the first time I pressed the “on” button in the APP for that device. at which point I heard the little relay click in the Shelly 1.
By clicking on the device area (not the actual on-off button) I see this by now very familiar menu….

Initially at least, the only thing I need is to do a MAC to IP in my router.
Under the little globe symbol (right), I find the IP address of the device and get sidetracked into doing a firmware update. The latter took well under a minute. I also see reference to the MAC number of the device.
And finally I see an option to fix the IP address. As I know where this is I can set it in the APP OR (to save altering my DHCP range in the router or changing the address of this device to one out of DHCP range) I can do a MAC-IP binding in my router. I choose the latter.
Seconds later – done. NEXT – in Home Assistant – under settings – DEVICES – SHELLY (set up when adding in the Shelly H&T) I see a second device has magically appeared. Looks right – it wants me to CONFIGURE..
I hit CONFIGURE – no changes – finish.

Back on my (for now) main page in HA, I’ll add a new block.. see the 2 “available entities” of the Shelly H&T I’ve used.
In HA – edit – I click on a new empty box in my GENERAL section and go lookling for entries “by entity” – a concept alien to me no more than 2 weeks ago but one which rapidly becomes second nature.
Under the SEARCH box I enter in SHELLY and see a bunch of Shelly entities – I’ll show you the lot – I’m only interested in SWITCH_0 – shame they’d not chosen to use the name I gave the device for the entities – but here goes.. you can pobably change them – I’m right at the beginning of learning Home Assistant.

I select SWITCH_0 then ADD to DASHBOARD – DONE and the simple on-off switch now responds to being pressed.
When I click the shellyplus…. (hold – that name is useless in the small window – going back into edit – appearance – name – “plus 1 g3” will do for now) – done – I now have a new button called plus 1 g3.
You can see below how important it is to use meaningful names. Click on plus 1 g3 and voila – the controller output turns on. I can of course use other “entities” like “overheating” – “energy” etc.

And finally, Shelly PM Mini Gen 3
Once again a really tiny device with Bluetooth, embedded web server and the ability to monitor up to 16A max current. The device itself has a claimed power use of up to 1.2w.
The Shelly App spotted it immediately – new device found….getting status – device access point disabled – device namee ? I called it shelly pm mini as I only have one.
In the web page UI for the device under the globe icon – under access point 1, I noted IP address 192.168.1.213 – the main page showed me the device ID which is it’s MAC so between the two I went off to my router to reserve the IP for that MAC. Done.

I then put that address into Home Assistant as before. Done.
Just need a known load now to give it a hammering.
But you can’t really compare Shelly 1 Mini (Gen 3) with Sonoff ZBmini Extreme that does not need neutral wire for operation, I agree Shelly is smaller, but if you are retrofitting an older house, when there is only phase available behind the switch, Sonoff takes the cake 🙂
I must admit – I like the Sonoff product – which brings me to my next article – I’m back from my winter break in the UK to get my eyes fixed and I’ve come back to my new sample of the Sonoff MINI DRY – more on that in the forthcoming article of the same name…