Way back in February 2019, I reviewed the little Z8350-based, Windows-based AcePC T9 Box from Banggood though they don’t seem to have that right now as my old link is dead (I think Gearbest have killed it off too). As it turns out, this inexpensive mini-computer wasn’t that good with Windows 10 in it, partly down to storage and partly speed.
November 1, 2019: I’m leaving this October writeup here for reference, but I just contacted AcePC who say the T9 is no longer on sale…. and they can’t help with my bios question for auto-on. No doubt I’ll acquire something more modern soon… but this might be interesting anyway for you. A shame, really.
The box has SD and USB2+3 expansion of course but ultimately by the time I had it all kitted out, I was running short of room and the SD expansion will not work with all Windows programs, Dropbox for example wasn’t that keen.

Ultimately I managed to get a SEVERE virus in the box and that was the end of that. So, off we went to Spain for the summer as the box sat languishing in my office.
Until this week. My choices were to re-install Windows, put the unit in the bin or try something else. I took the last path. Just recently, Debian as used (more or less) on the famous Raspberry Pi has seen an upgrade from “Stretch” to “Buster” (which is lovely incidentally) and having gained some experience with this on the RPi machines, I figured I’d give it a shot. As this machine for all it’s limits has more memory than a typical Raspberry PI, I thought I’d go for the full graphical desktop, especially as I have available in “the Script” the one-liners to turn this on and off at will.
Incidentally for anyone who thinks that using a script is old hat compared to Docker (Andreas are you watching) – this took no time at all. “The Script” has made life easy on numerous occasions.
So, armed with a dead machine, I grabbed an SD and installed the Debian Buster 64 bit release installer onto the SD. Thanks to Antonio for his help in picking the right version. I then by a combination of buttons, installed Buster onto the T9 unit (power off, hold F7 through a power cycle and install Debian from the SD – a painless operation which also involves selecting a password for the initially unavailable ROOT user, picking a general user name and a password for that.. First hurdle, especially for someone used to the Raspberry Pi and it’s extensive use of the “sudo” (super user do) command is that this “Super User DO” facility, though built into the Pi, does not come installed by default in Debian and getting to ROOT user isn’t that easy, either by SSH or on the desktop. “su -” (substitute user) to the rescue.
After doing the full install (which needs little interaction other than to ask if you want a web server installing – NO and SSH access installing – YES, then telling you to create a general user – I chose “pi”) I went onto my normal Windows PC (Mobaxterm, you could use WinSCP or similar) and as user pi, hit the “su -” command to give me enough privilages to then install “sudo”. Throughout all of this I chose hardwired networking to avoid adding complication. Actually thinking about it I saw an error whiz by in the install – I think the non-free wireless driver code is missing?
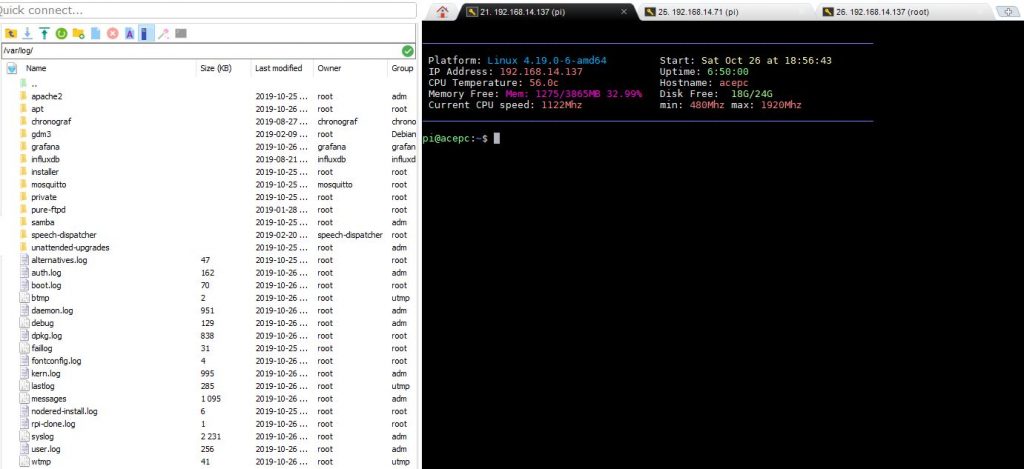
Of course in all of this, the graphical desktop on the T9 worked first time but I was only midly interested in that. Once I could remotely SSH into the unit (generally as user Pi but occasionally I find it useful to go in as user root) I was getting into more comfortable territory.
I edited this file using the rather crappy NANO editor:
sudo nano /etc/ssh/sshd_config
In that file I found:
#
PermitRootLogin without-password
Commented out of course, so I uncommented it and changed it to YES
PermitRootLogin yes
I then closed and saved the file and did a quick reboot.
I could of course have just restarted the sshd service with:
/etc/init.d/ssh restart
Thst looks like a lot of work but the rest was easy. I then logged in as user root and added “the script” in the root folder.
wget https://bitbucket.org/api/2.0/snippets/scargill/kAR5qG/files/script.sh
After the WGET command I used BASH to run “the script”.
bash script.sh
And I have to say that aside from giving user pi some useful permissions, it ran more or less as it would on a Raspberry Pi and I soon had working Apache, PHP, Node-Red, Mosquitto and Grafana on my T9 unit which of course unlike the Pi comes all cased up and ready to go. The T9 unit has one USB2 and one USB3 connector as well as HDMI and a microSD slot. I should have handled one more US slot but there you go.

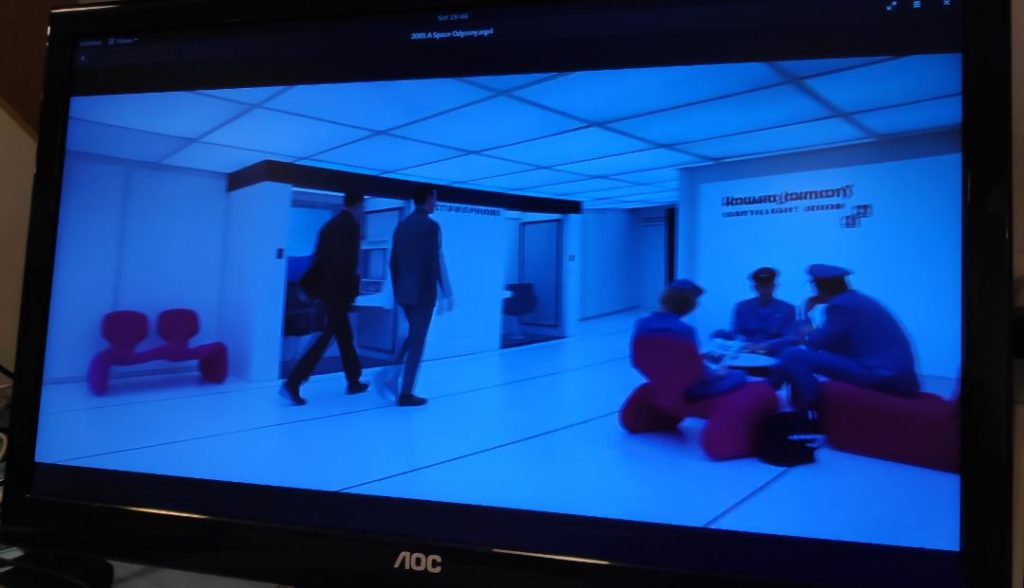
I will write more later about how well this unit works with Buster in command line mode but for now a quick word on the graphical desktop. The T9 runs videos no problem – I took my 256GB cheap SD formatted in Windows and loaded up with videos (in a folder called movies) and after plugging it into the T9 and with a simple few instructions, made this part of the Buster installation.
sudo mkdir /home/pi/sd
sudo mount -t exfat /dev/mmcblk2p1 /home/pi/sd
sudo nano /etc/fstab
I then added this line to /etc/fstab, saved and rebooted…
/dev/mmcblk2p1 /home/pi/sd exfat defaults 0 0

So now I could easily play movies on the T9 using Buster’s standard video player. There’s also a half-decent photo viewer called ShotWell – of course I added the free GIMP for editing photos which I can pull straight off my Pocophone F1 mobile phone using Airdroid App on the phone.
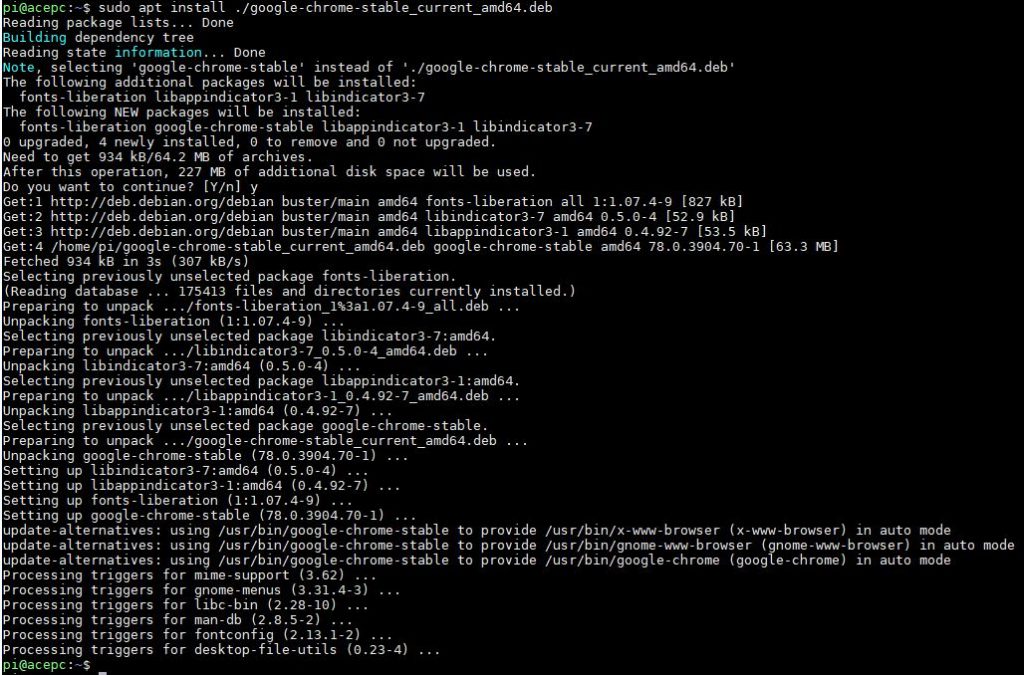
Of course I COULD use the somewhat dated looking Firefox, but I’ve replaced it with Chrome already. I read this to install Chrome. Almost as easy as Windows.

Chrome setup looks complicated but you don’t DO anything other than paste/click the one-liner at the start.
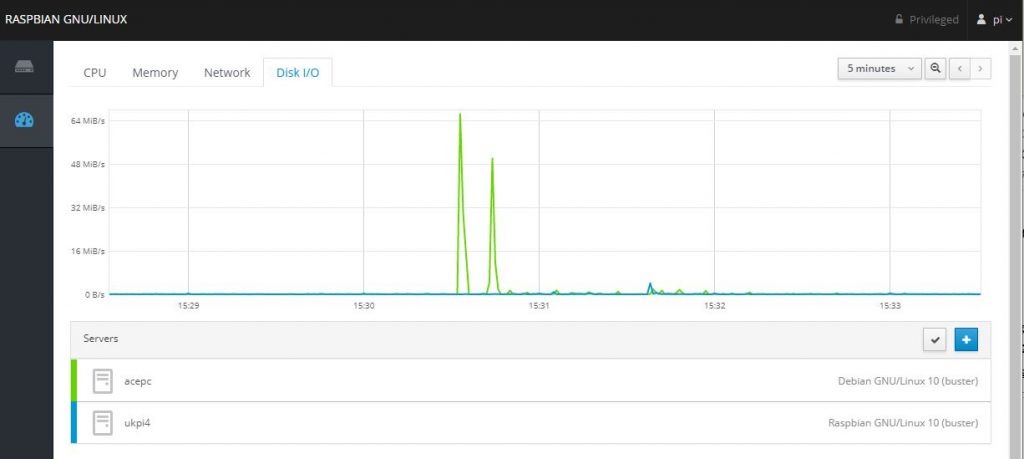
WELL, back to the command line version, after griping about NANO I’d forgotten that in the script I install MCEDIT along with other utilities – you could try that out — AND… until this morning I’d never heard of the “Cockpit Project” – I have now (and so have you)… Its great. Apparently the mechanics are built into Debian Buster already so the install was quick and simple… 2nd line is optional – to have it Cockpit available by default from powerup.
sudo apt install cockpit
sudo systemctl enable cockpit.socket
Actually (August 2021) there’s a better way
Sign up with /cockpit and get an aPI
Install this on PI
bash -c “$(curl -k -s https://picockpit.com/setup.sh)”
It will ask for the API – provide it.
On your PC login to Cockpit site.
While I was on, I also installed Cockpit on my RPi4… so now… in any browser (I use Chrome on my PC and indeed on the AcePC) – so that’s running right now – LOVE IT. Thanks for the tip Antonio. See below it is monitoring both machines – what fun.


just me being picky …
su doesn’t stand for “super user”, it means “substitute user” since it allows a command to be run as some other user. of course, most of the time, this is used for a “normal” user to be able to run a command as root.
Oh, dear…SUDO is SUPER USER DO whereas SU is SUBSTITUTE USER. Maybe I didn’t make that clear initially, now it is – but this is not a “teach me Linux” blog.
hello Pete
I remember now that a backup of the bios in the computer I did before
was possible in fact it was recommended to make. Perhaps its
possible on my t11. If you cant get a update Bios from Acepc then In the bios in the save menu on my acepc is a connection to the UEFI Built-in Shell. If Mr Shark knows what to
do perhaps I can make a copy for you
regards Brian
Ah, Antonio? You reading this? DOES this help? I last did a bios update maybe 30 years ago as well..
nope, never done
Hello Pete
I did it some 30 years ago by hand with bin file
and a com install file all from the bios firm
cant remember much else. if it is efi I havent the foggiest about that but it could be legacy. The acepc site says to contact them for a bios update. So it must be possible.
Regards Brian
Hello Pete
You can also enter bios by pressing esc
as unit reboots
Regards Brian
Thanks – that bit works – ESC..
hello Pete
I am useing t11.
According to various on internet should be same bios on T9
maybe mine is a later version it is
AMI version 2.18.1263 2019
My wife said my earlier photos were unclear
so attached one more under BOOT Auto power on enable
regards Brian
My bios is like yours BUT it is 2017 and there is no “automatic power on” option, unbelievably. I sonder how you update a bios – never done that….
ask them for a new bin file: https://www.iacepc.com/forum/showthread.php?tid=6700
as this file seems not good: https://www.iacepc.com/forum/showthread.php?tid=10061
and their forum was clearly violated, look how much random posts just in a few hours: https://www.iacepc.com/forum/forumdisplay.php?fid=12
other info: http://www.digitaljournal.com/pr/3716400
Hello Pete
sorry it was a switch of subject, but
I had to go to dr suddenly
regards brian
Hello Pete
your own layout
regards Brian
hello Pete
picture worth 1000 words
2 must be worth 2000?
Hello Pete
I had problem of freeze on last reply
You need to be in desk with keyboard and mouse
regards Brian
Hello Pete
I noticed you use Chrome
try extension Tab Resize
regards Brian
for what reason?
hello Pete
reboot press F7 F7 F7
Hi – after setting the timeout for F7 from 1 second… to 5 seconds – I can now use F7 to get into boot menu but I’m not seing anything about auto power on…
hi Pete
sorry I see i had German
English = Supports Auto Power on after unexpected shutdown (setting in BIOS).
Regards Brian
Assuming I have console mode turned on (not graphic as that caused the unit to go to sleep after a while despite my best efforts)… what do I need to press on power up to get to the right bios area? The AcePC has now been running for days without issue but I know if I get a power outage it will stay off as things are right now…
hello Pete
I use the ACEPC Mini PC T11 it has auto reset in bios
✔ Unterstützt Auto Power on nach unerwartetem Abschalten.(Einstellung im BIOS). Unterstützt 2,4G+5G Dual-Band WLAN, Gigabit Ethernet, Bluetooth 4.2, 2X USB 3.0
4 GB RAM und 64 GB Speicher geliefert. Unterstützt eine Micro-SD-Karte mit bis zu 128 GB, einen USB-Stick oder eine USB-Festplatte. Dieser stumme Mini-Desktop unterstützt auch eine 2,5″ SSD oder HDD (bis zu 2TB). + EMMC price at moment 118€ on offer
SSD, SATA, eMMC
regards Brian
Hi Brian – it is auto powerup I need….
Andreas just published Docker on Pi4 🙂
with all the needs for backup, too 🙂
Good but I REALLY do not want to start again with my NR setup, it is complex, with Alexa and other sound systems – and I have MANY mages of flows. I get the impresion that setting up Docker implies having to set everything up again the first time. I’ve managed to upgrade my system suggessfully all the way from well before Strecth through Buster without having to reinvent the sheel – and RPI CLone gives simple and reliable backup, now on Pi4. I’d need a really good reason to go to Docker.
I gave it a shot on RPI3B+ with Docker with the help of Andreas’ video and copied all my flows to it and it runs without any issues!
I miss a few things, which I will address later on, like no database in sqlite yet and your start menu is not there. It really looks promising!
we (me and gcgarner) are working on sqlite, just looking for the best way to do it (you need to add the sqlite node to nodered, AND add a new container with phpliteadmin and the actual sqlite db file)… you’ll have soon news 🙂
Its good once you get past that missing WIFI driver which was EASY onceI got the link from you… but I cannot get it to default to ON after power failure yet…does not seem to be a bios option for that unless I’m missing something.
Other than that, Buster is working a treat on it. Still some way to go to beat the Pi for easy backups.
sorry, yesterday i was on the rush, so now add the non-free repository and do the correct way and wifi should survive reboot… go back to ethernet and move away that brcd folder, before doing this:
read description for the commands, and particularly the last line about power…
Pete,
My original Z8350 from a couple of years back didn’t have a BIOS setting for auto power-on after power-fail, either. The latest one I picked up (a Tanix TX85 with 4GB/64GB) is a much nicer machine, with a “proper” BIOS, including auto-power-on and just about anything else you could think of:-
I currently have it sitting on the bench testing ZFS on root with Ubuntu 19.10, which looks great, so far.
-John-
Hi John… so the Tanix has auto power on…. is that combination any better for backups? I could not get rpi-clone to work on the AcePC after a few attempts – even though it is aware of the three partitions. EASY backups are important to me along with reliability and auto power on – ACEPC will come back to me on the latter.
using similar hardware (z83, 2gb ram, 32gb emmc), i’ve found that script runs about 10 times faster than on a raspberry 3b+… man, prepare to run docker on that, next week i’m home! 😀