Well, I wasn’t expecting THIS start to February 2022 – I just opened the post and not one but TWO rotary roller kits. I have the Aufero Laser 1 Engraver here and I’m frantically making wooden door signs for our cottage – covered elsewhere – not to mention the Ortur Laser Master 2 Pro back in Spain. While I can remember thinking about the rotary roller add-on, I don’t remember ordering it and I DEFINITELY didn’t order TWO – but here we are.
This pair of Ortur YRR 2.0 roller kits arrived in the post this morning, two quite small identical boxes in a single package – the YRR 2.0 is an optional add-on for the Ortur and Aufero Laser 1 laser engravers. Quite a few parts but compared to putting together an actual engraver like some I’ve reviewed in the past, I expect it’ll be simple enough.
Here we go… hopefully the image below (part of the 2-page guide that comes with the roller kit) will give you the general idea of what’s involved.
And what’s the point? Engraving drinking glasses, cans and the like. I’ve no idea yet how to engrave glass at this point – no doubt someone will tell me.
And here’s the relevant bit from page 2 of the 2-sided instruction sheet.. you no longer want the engraver to move forward and backward – that motor goes to the roller – they even supply a lead to save you wearing out your original.
I guess I’ll have to stop throwing out those wine bottles etc. and give this a shot. This device should work with other engravers and definitely other Ortur engravers – which I must say are the best I’ve played with up to now and as you’ll see I’ve had quite a few. Onto assembly then:
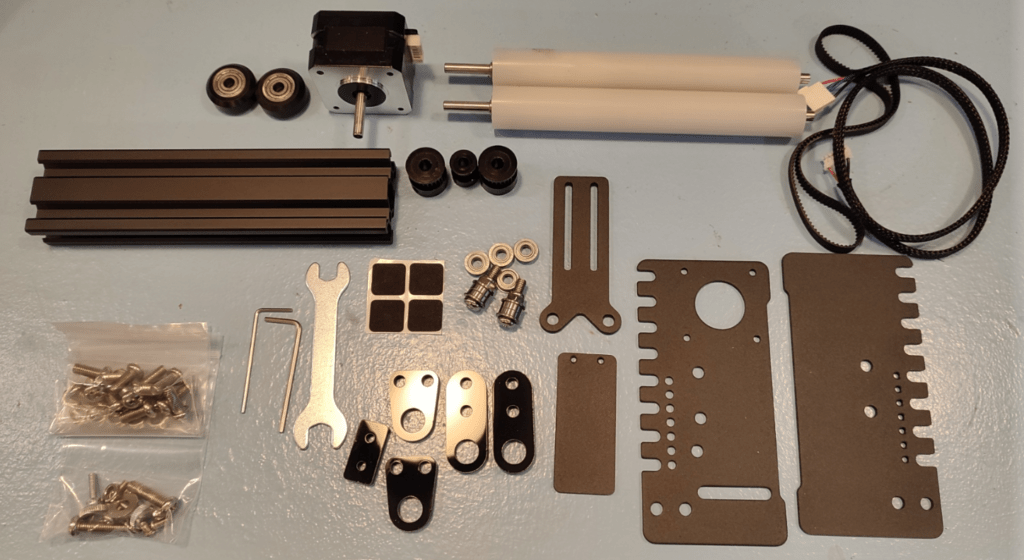
Well, I’m not going to do the whole unpacking thing – trust me, the last thing you want to watch is me struggling to get protective material off small acrylic parts and getting everything else out of clear bags. So here it is all spread out on the bench, 15 minutes after opening the box.
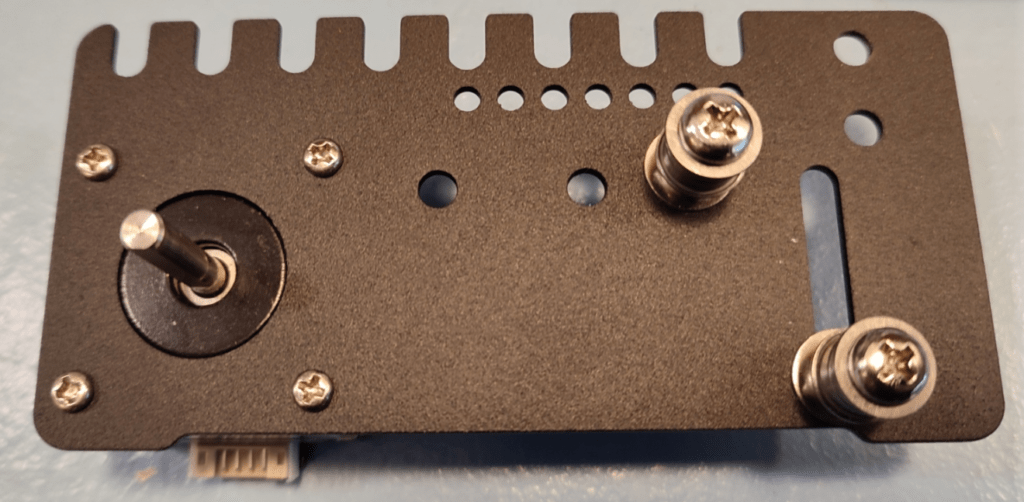
Looks simple but there’s a lot of parts for such a small device. I must admit I got stuck almost immediately – (1) in the instructions above is a bit vague on positioning the M5*20 screws with bearings – thankfully a photo on the web cleared it up – so I’ll include my own, here. While I’m on they provided 2 Allen keys and a spanner – why not a screwdriver?
30 minutes in and beginning to feel ever so slightly intimidated. Not all of the nuts are positioned so that using the spanner is easy. But I’ve not stripped any threads yet so that’s good.
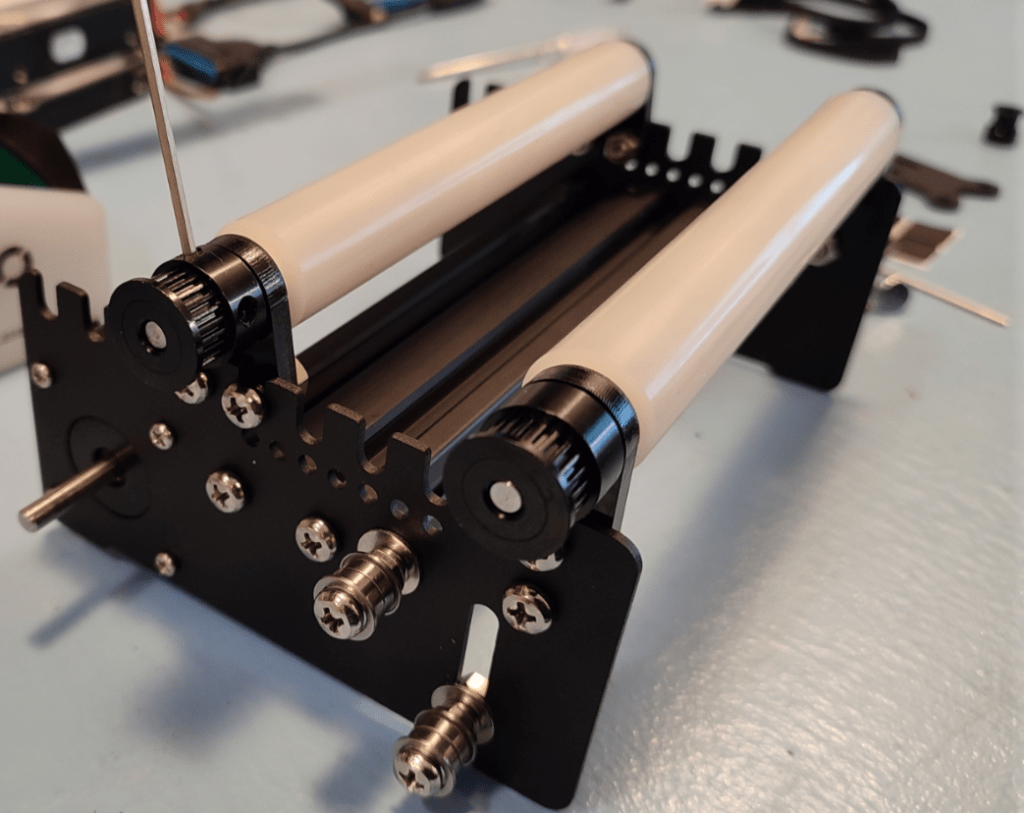
The two rollers go on pretty easily..
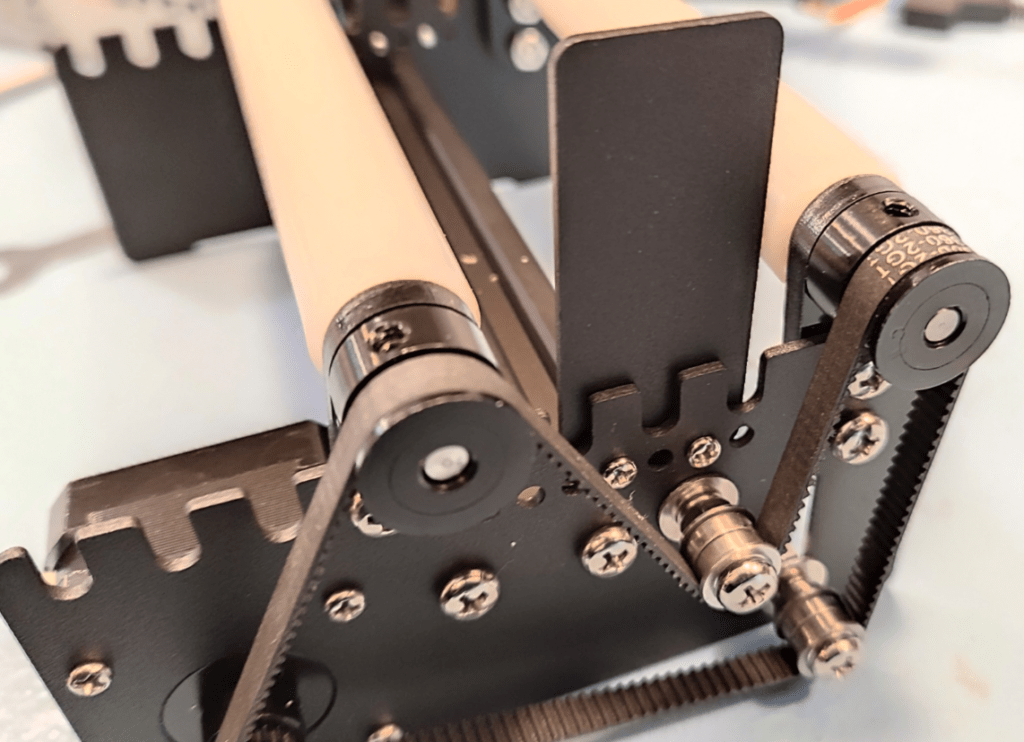
Next the belt assembly and the plain baffle plate.
Almost there, the guide wheels get attached to the lifting plate which then sits inside on the non-motor end. M5*20 bolts are used for this and the position of the plate depends on the job in hand. It’s nice that there are thumb screws for the lifting plate – as you may want to move this later – but ir would have been nicer if instead of M3 bolts they’d used thumbscrews for the roller baffle (simple plate) which sits, again inside at the other end.
Ortur have made a good job of this roller as they have with their engravers but with just a little thought they could be even better – the standard Z-lifter being a prime example of lack of thought which is why I’m waiting for the separately available add-on Z-lifter to arrive for use with my various Ortur engravers.
I ended up with one M3 bolt, one M5 bolt and one M5 nut spare. I must say that a certain amount of lining up is down to visual as the bolts and nuts give some latitude and the last thing you want is your can or bottle sliding up toward or away from the motor end. The two Allen keys and spanner will end up in my ever increasing spare tools draw – you can never have too many of either.
You might like this diagram which provides size info…
To be honest when it comes to actually engraving something other than a beer can, I’m going to need a better spanner as the positioning of the rollers is likely to be critical to doing a good job.
All done – the cable slots onto the end of the motor out of the back (or front depending on your perspective) of the unit and not, as I originally had, pointing out of the bottom 🙂


Hi Peter
In my previous employment I gained quite a bit of experience with an ‘up market’ Epilog laser.
I currently have a ‘down market’ K40 to keep me amused. Both of these are significantly more powerful than any LED laser but I think my observations are probably still relevant.
I don’t like the look of your rotary attachment. I note from Ortur’s own web page that it is for CYLINDER engraving. This might suit your penchant for beer cans but little else 🙁 Our Epilog machine had a similar facility, however rather than rollers it used two pairs of wheels. One pair for driving the rotation, the other pair as idlers simply to support the object. The clever (obvious?) feature being that the idler wheels are adjustable. They can move closer to the driven wheels, their height can be changed, their spacing too. It’s quite difficult to describe in words but essentially it enables cutting of ‘conical’ rather than cylindrical surfaces. How would you engrave a tapered glass tumbler with your thing? The Epilog device is actually a very simple piece of kit & I’m amazed that it’s not been copied. As a piece of ‘pro’ kit it’s sadly quite expensive.
When it comes to engraving glass it’s quite common to smear the glass with washing up liquid. Your laser should be on full power. It might be slow with a diode laser? Essentially you’re just fracturing the surface of the glass.
I’ve never used Borax. My recreational wood engraving has been in making personalised chopping boards. These shouldn’t be contaminated with Borax. I quite like the sepia tone on raw wood anyway but I believe sodium bicarbonate also gives good results without the health risks.
On the subject of health risks: many materials can produce some nasty fumes. Our Epilog machine was attached to a big & expensive filtration vacuum. My K40 is in my garage & I have a bathroom fan kit attached to it which leads outdoors through flexible ducting.
More on health risks: With a CO2 laser it’s extremely easy to start a fire! Maybe it’s less of a problem with a diode laser but… You should look at ‘air assist’ where air is blasted at the cutting surface. As well as preventing fires this also reduces smoke from staining your work. An aquarium air pump is ideal. Plumbing it in can be a PITA but it’s worth it.
Hi Ian
First, clarification – it’s not “mine” as I have no affiliation with Ortur. Their marketing people sent it to me so I’m simply covering what I see. It does look like it’ll handle conicl items hence the individual adjustments on either side. I’ll get a chance to prove that once I’m back in Spain – right now I’m starting to pack fo the long (car+ferry+car) trip so I can’t really do much with the roller device. Also my Oculus Quest 2 arrived this week and that’s taking up all my spare time as you might imagine 🙂
Smearing glass – happy to give that a go.
Sodium bicarb, not tested it but others say it’s no-where near as Borax. When I’m done with signs I either oil them (outside) or lacquer anyway. But your point is valid. It goes without saying that I would not use Borax an anything involving food – there must be a reason the EU “banned” it.
Fumes – yes I dislike the fumes from both engravers and 3D printers. I plan some kind of extraction once I’m in my permanent base and it isn’t freezing cold…
Air assist I have the bits and pieces but wan’t going to write until I’ve actually used it. Fires – well the Ortur LM2 Pro has an emergency cutout – I guess we should all put notes in our videos and blogs (some do) about potential fire hazard.
The aufero has no such button but 2 of the available lasers are the same power as those available for the LM2 Pro and Aufero Laser 1 and yes, though unlikely they are, at 5W output capable of starting a fire.