

This is the last in my current round of Shelly product reviews. “The Pill” is a TINY little module which comes with brief instructions and a USB-to-3.5 mm jack female adapter. The device supports DS18B20, DHT22, digital input, and various add-ons.
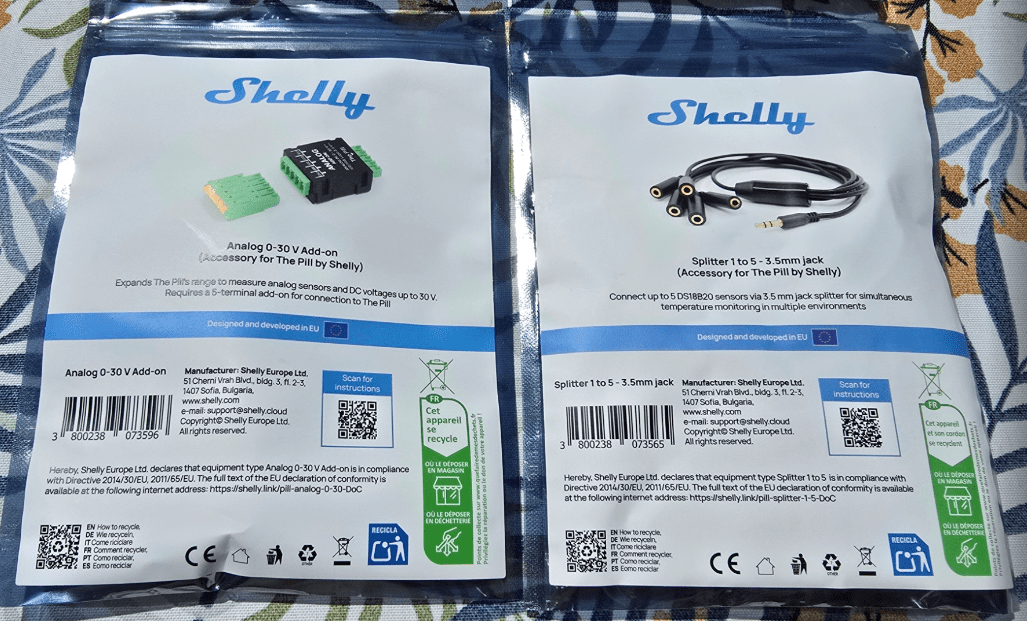
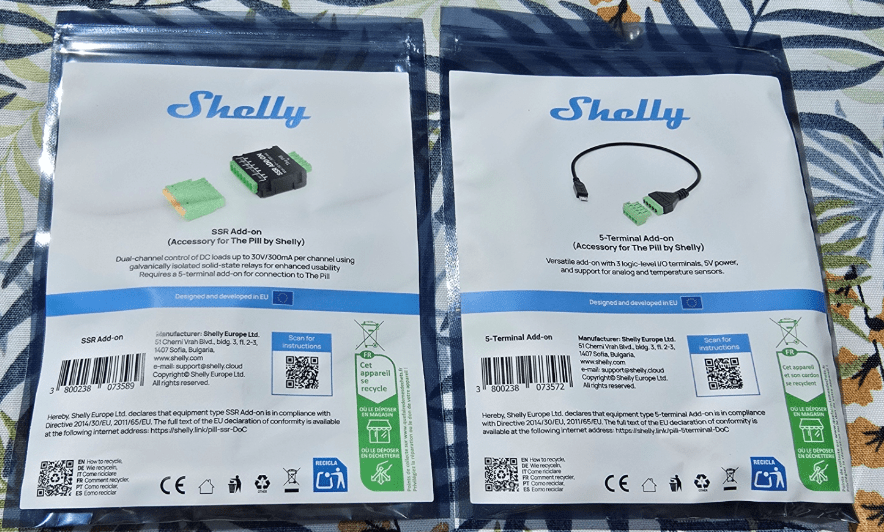
Shelly sent me The Pill along with several accessories: an analogue 0–30 V add-on, a splitter to connect up to five DS18B20 sensors, a five-terminal accessory, and a dual-channel DC load control board capable of switching loads up to 30 V at 300 mA per channel using solid-state relays. The latter requires the five-terminal add-on to work.
Sadly they didn’t send any DS18B20 sensors. I do of course have plenty of those in chip form but not complete with the 3.5 mm jack needed for a quick plug-and-play test.
The Pill is essentially a tiny Wi-Fi/Bluetooth bridge for sensors and low-voltage signals, turning simple sensors into network-connected devices. For size, the Pill is around 26 mm × 20 mm × 8.5 mm and weighs roughly 3 g, so it really is tiny.
I have the unit in front of me now. It has a USB-C input for power, a micro-USB connector used for accessories, and a reset button on the top. The Pill did not come with a USB-A to USB-C lead but I happen to have plenty of those lying around.
At first glance I wasn’t entirely sure what was new here compared to some earlier Shelly sensor interfaces, but it is certainly small and neat, that’s for sure. Time to set it up in Home Assistant.
So, I plugged the Pill into any old USB-C lead and a tiny red light at the top started flashing. My phone soon showed a new access point: ShellyPill followed by a long number. I connected the phone to that access point and in the Wi-Fi settings chose “manage router”.
At 192.168.33.1 I was prompted to configure Wi-Fi. I entered the details for my nearest 2.4 GHz access point and password. Interestingly, I was also given the option of configuring multiple access points, which could be useful if the device is mobile or near the edge of coverage.
After adding my first access point I noticed options to SAVE and ENABLE WiFi, although the latter initially appeared greyed out. Once I hit SAVE, the Wi-Fi option became ticked automatically. I’m not entirely sure why that step is separate but it worked.
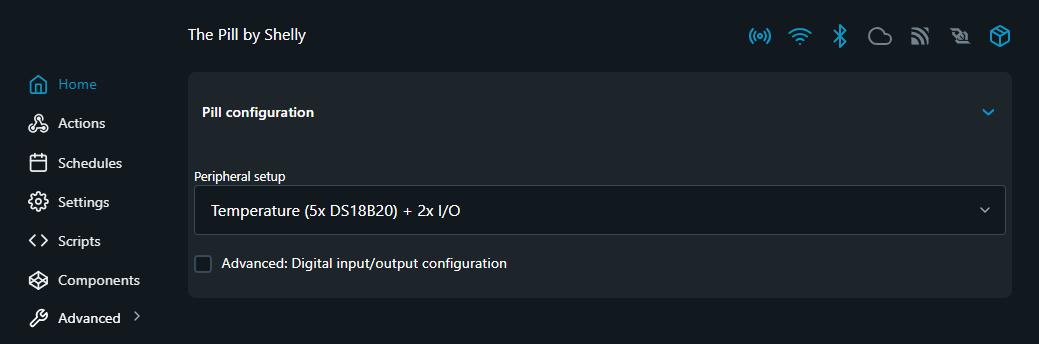
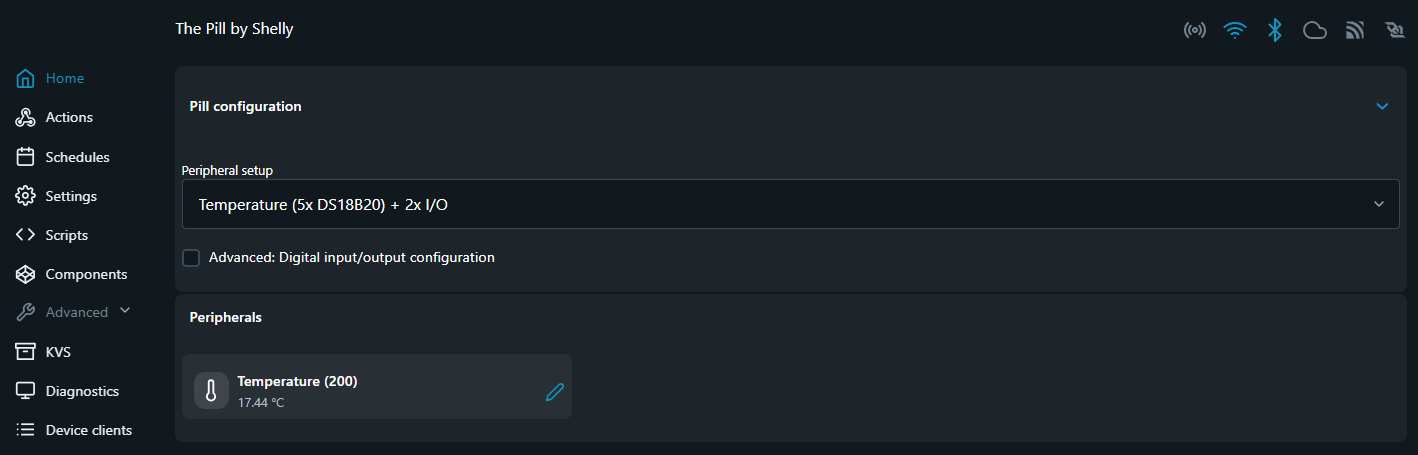
The next set of options related to peripherals.
At this point the local access point was still visible but the unit was now also on my Wi-Fi network, so I switched to my PC browser to take a look at the interface. There’s certainly a comprehensive menu in there.
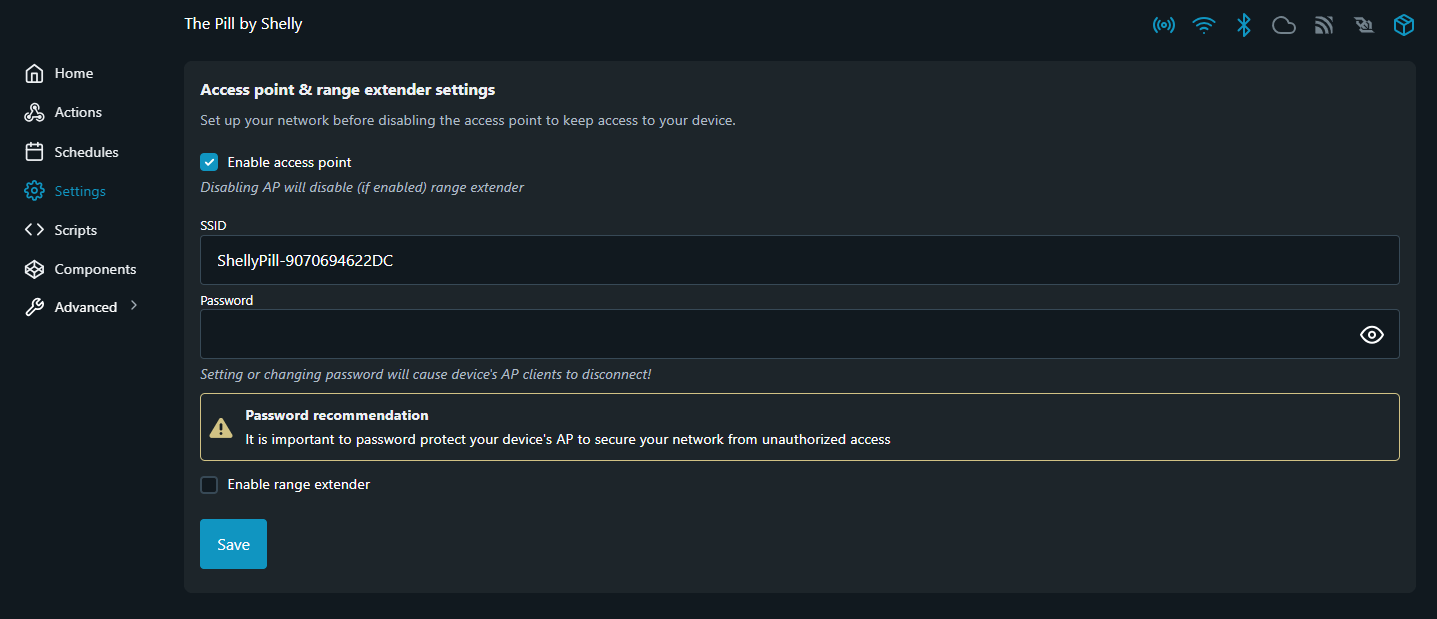
I manually disabled the Pill’s local access point just to confirm everything was working properly via my normal Wi-Fi before doing so.
For a moment I was slightly at a loss as to what to do with The Pill, then remembered that I actually have one DS18B20 sensor complete with a 3.5 mm jack lead. Perfect.
I plugged in the supplied micro-USB to 3.5 mm adapter and then plugged the sensor into that — all without removing power.
And lo and behold… a working temperature sensor. Well, that’s a start. I actually have a use coming up soon where I need a dual temperature sensor, so this could come in handy.
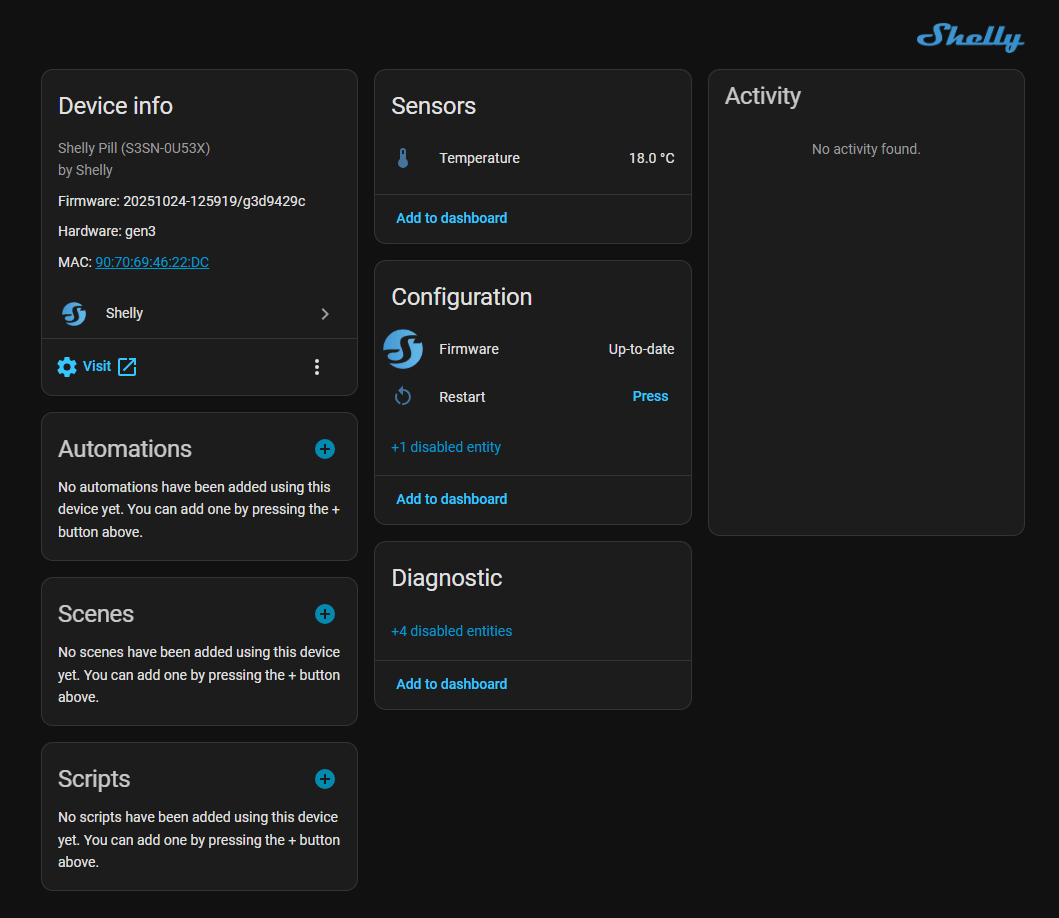
All very nice — but will this integrate automatically into Home Assistant?
It seems the answer is YES.
Did I miss out the bit where I hit firmware update? Yes — that happened seamlessly too.
I started off wondering what this device was really for — what use can it be? etc.
But (and this will depend on pricing where you live) I’m already thinking of several uses for The Pill.
For example:
- remote temperature monitoring
- multiple DS18B20 sensors on a single node
- battery voltage monitoring using the analogue add-on
- simple digital input monitoring
- small remote sensor hubs
I’ve seen the basic Pill (with the micro-USB to 3.5 mm adapter) available in parts of Europe for just over €8, which is surprisingly inexpensive for something with Wi-Fi, Bluetooth and Shelly’s firmware ecosystem. At that sort of price it could easily become one of those “stick it anywhere” sensor interface modules that you end up using more often than you originally expected.
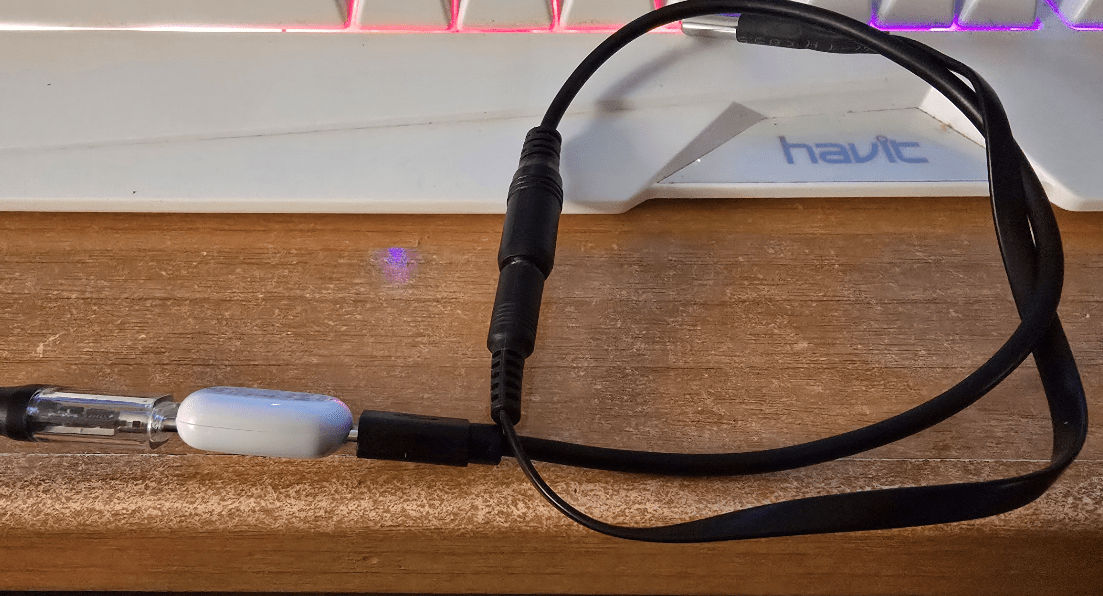
And here it is – not the most physically elegant setup for powering a DS19B20 (in the stainless can top right – widely available and inexpensive) – but it works – no setup or reboot needed…
Home Assistant integration
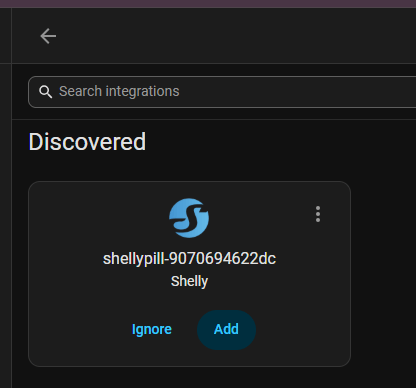
Once the Pill is connected to your Wi-Fi network it should appear automatically in Home Assistant via the Shelly integration.
You can either let HA discover it automatically or go to:
Settings → Devices & Services → Add Integration → Shelly
Once discovered, the Pill will appear as a device and the connected peripherals will create entities automatically.
Typical entities you might see depend on what you plug in.
Example: DS18B20 temperature sensor
If you plug in a DS18B20 probe using the supplied 3.5 mm adapter lead, Home Assistant typically creates an entity similar to:
sensor.shelly_pill_temperature
Example display in Home Assistant:
| Entity | Type | Example value |
|---|---|---|
| sensor.shelly_pill_temperature | Temperature | 21.6°C |
If you use the 5-way DS18B20 splitter, you will normally see one entity per sensor:
sensor.shelly_pill_temperature_1
sensor.shelly_pill_temperature_2
sensor.shelly_pill_temperature_3
sensor.shelly_pill_temperature_4
sensor.shelly_pill_temperature_5
Each sensor has a unique 1-Wire address, so Home Assistant can identify them individually.
Example: analogue voltage add-on (0–30 V)
With the analogue module attached, you may see something like:
sensor.shelly_pill_voltage
Example value:
sensor.shelly_pill_voltage = 12.4 V
Possible uses include:
- battery monitoring
- solar panel voltage
- DC supply monitoring
Example: digital input
If the digital input feature is used, Home Assistant will usually create a binary sensor:
binary_sensor.shelly_pill_input
Example uses:
- door contacts
- float switches
- PIR sensors
- alarm inputs
Example: DC load control module
If using the dual-channel SSR board, Home Assistant should expose two switches:
switch.shelly_pill_output_1
switch.shelly_pill_output_2
Each can switch DC loads up to 30 V / 300 mA.
Finally… Bluetooth proxy capability
One extra feature worth mentioning is that the Pill can also act as a Bluetooth gateway (proxy) for Shelly’s BLU devices. That means nearby Bluetooth sensors or buttons don’t need to talk directly to your Wi-Fi network. Instead, they connect over BLE to the Pill, which then forwards the data over Wi-Fi to Home Assistant or the Shelly ecosystem. In practice this lets you place small battery-powered Shelly BLU sensors in locations where Wi-Fi would be impractical while the Pill quietly bridges the gap. Given the tiny size of the unit, it could make a handy BLE coverage extender if you already use Shelly’s Bluetooth devices around the house.