
SEE AUGUST 2026 Update at the end..
Unlike the JetKVM, this new NanoKVM Pro, on connecting USB power and which came from the target machine, and the HDMI, this time a full-size HDMI connector, the target PC came up in my main PC browser (I found the address of the KVM from my router – I could have looked at the display but it’s at the other end of the room where at first it was showing the time several hours out because I didn’t set the region) and immediately asked me to enter username and password. So I just tried at random: admin and admin. That went in, and then it immediately asked me to put a new password in.
I didn’t get any documentation with the NanoKVM but quickly realised that there is an FAQ out there with more information than I could ever need. See below..
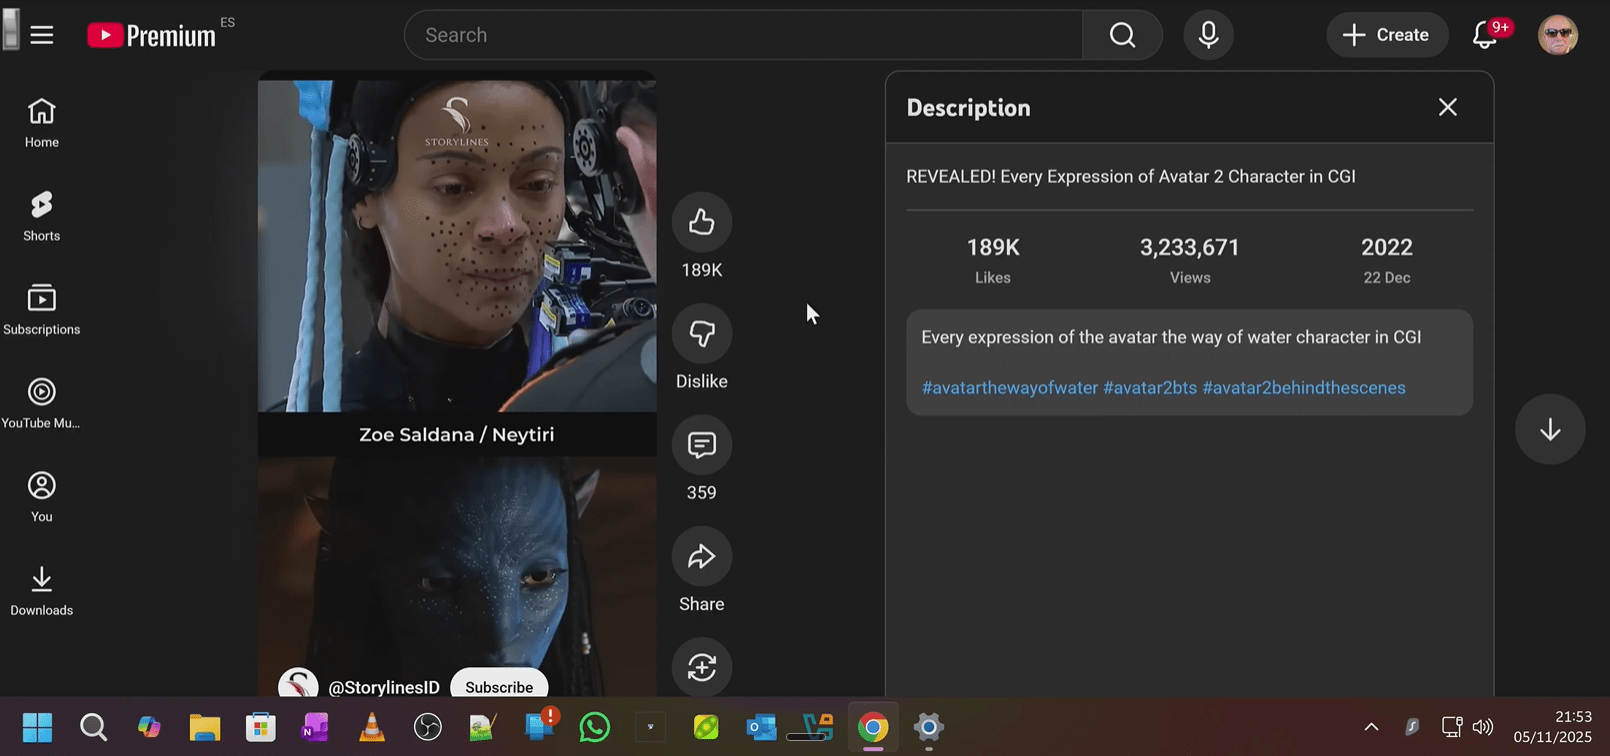
Here is YouTube running on the target machine – coming straight into my PC from the KVM – in Chrome browser.
And here below are the controls which actually sit at the top of the browser window. All looking very logical and I noticed a muted icon – which immediately confirmed that sound is supported by the KVM but muted on power-up… YUP – sound works great – video works great – but at first I could not seem to get the mouse and keyboard to control the target machine.. then realised there’s a USB for power (and more as it happens) and one for HID (i.e. mouse and keyboard control). Well, it turns out if you use the HID input and your target USB can provide enough USB-C power out – you only need the HID connection – I did that at first and it worked just fine.

Oh and I found the docs online – see below – if you are at all interested in KVMs you must read this document…
Step 1 complete – I had a working KVM that although not in the sturdiest box compared to the GL-iNet product or the JetKVM, still looked good and supported sound and rock-solid video no problem.
There’s a TINY lag on the mouse trail but the lowest I’ve seen so far. The little display on the front not only shows status, amazingly, it can also show a miniature version of the HDMI live image it is sending to the host PC – this is MARVELOUS. Am I too easily impressed? You tell me..

The rightmost image above is full-screen YouTube as appears on the target machine but shrunk down for the on-device display.
Host-Target keyboard copy-paste is partially implemented, could be better – but I’m assured the rest will come.
And if you don’t like the interface, the product can easily change to use PiKVM – all documented here.
At this point I could end by saying that the device is recommended, not necessarily the cheapest, but the best I’ve come across up to now. But that would be missing SO much. I’m going to keep this short for now as I have a couple of questions of the manufacturer – but – are you ready for this, with the addition of a 5v RGB LED strip (ws2812-type) which the company can supply, this unit also doubles up as an HDMI-driven AMBILIGHT. Have you seen the cost of HDMI-driven AMBILIGHTS?
AliExpress link here...
Update December 2025: Firmware updates out and the HDMI passthrough and Ambilight-type LED display works brilliantly.
This just keeps getting better: I’m about to head off to the UK for the Christmas, and I wondered whether I should take the KVM with me so I could play with the lights. I thought, “Well, I’m all Wi-Fi in the UK, how am I going to use it?” It turns out it’s got Wi-Fi 6, so that’s good. I started going through the menu, put it on its own access point so I could actually run it. I started going through the menu, and I just happened to stumble a clock cross a tail scale setting. Tailscale is not installed, but I shall hook the cable up again and install TailScale because I use TailScale for everything else.
Meanwhile, back to the Wi-Fi. After connecting to the inbuilt WiFi access point of the KVM Pro, I could choose then to hook the unit into my own WiFi. Unlike most systems where you key in 192.168.4.1, the unit uses 192.168.12.1 – not an issue because you can connect to the access point and then to it’s web page by simply scanning the QR code that comes up on the mini-screen. No more keying in addresses.
Update August 2026 – since our last route, I’m making a lot more use of KVMs, both for Windows and for machines I call my assistant. So I currently have a Jet KVM on my Home Assistant setup, because after all, I’m only looking at the console. In fact, really, do I need that? If there’s a problem starting up HAOS, then I guess it would come in handy, but I’m also using a pair of Sipeed KVM Pro units: one for a test Windows machine and another for our TV. The Latter is where the KVM Pro really shines with its Ambilight feature. I had LEDs supplied with the KVM Pro, and I’m using it on our 42-inch TV. I have to say, I don’t think they’re quite good enough LEDs in there. Could be more, but if I can get the USB wiring out of the company, I’ll be able to put my own WS2812 LEDs on the TV and make full use of the feature.
And that’s brilliant! I previously had a Govee TV backlight unit which used a camera, which takes a little bit of fiddly adjustment with the camera. This, of course, doesn’t use a camera but picks the signal data up without any cameras. Unlike the Govi, it doesn’t have any real adjustments, so you you can control the brilliance of the LEDs and how many LEDs you want to use in horizontal and vertical, but you can’t control how saturated the colors are or relative brilliance. Very good! Impressive add-on to an already good KVM.I do have one or two gripes about this KVM, one of which is to do with build quality.
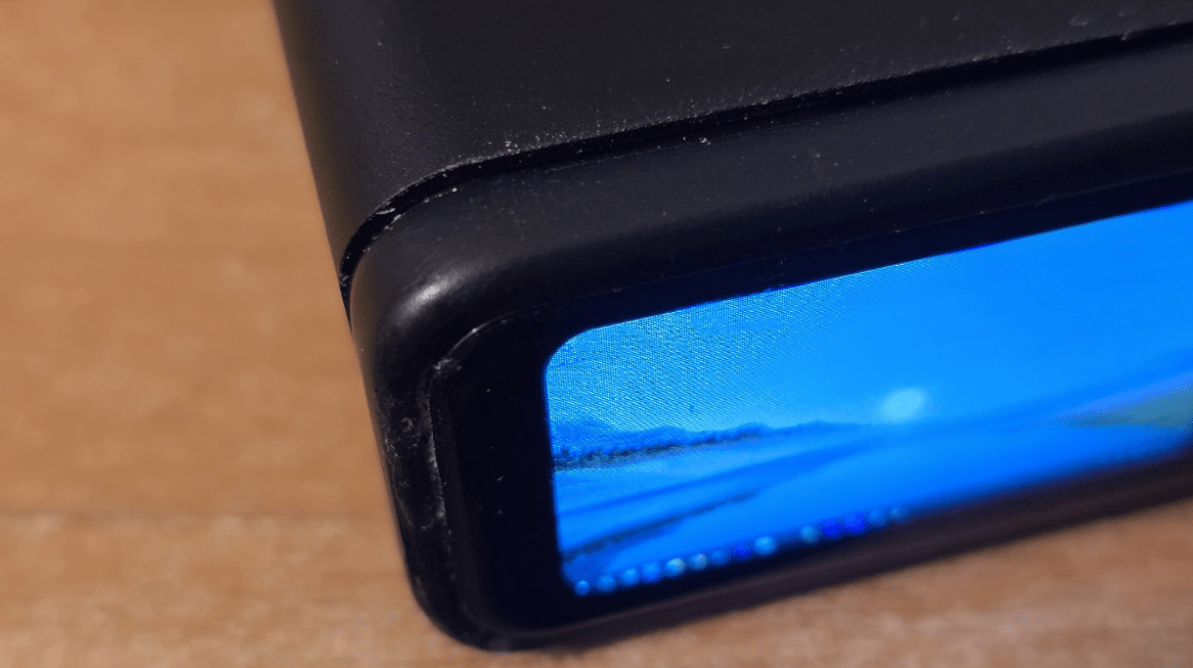
If you look at the picture above, there is a plastic beveled front, and within that is a clear touch-sensitive plate. You’ll notice on the top left-hand corner there’s what looks like the remnants of super glue on there. That is because the touch plate started to come away from the box, and I had to put a little bit of super glue in to put it back together. It’s been impossible to totally clean that up. If it wasn’t a touch plate, it would be just easy to get another piece of plastic and do the job, probably, but it’s really irreplaceable.
Also, look at the join between the sides and that front plate. You notice a slight gap there that is actually very slightly loose, so I’m going to have to do the same again. The front and sides are held together with 2 slight bumps in the front panel and presumably recesses in the sides – not quite good enough. Easy fixes, but making them look professional isn’t that easy. In short, a really clever device let down somewhat by manufacturing quality.
And yes, I’m absolutely sure it’s never been dropped on the ground. It’s been in use for a couple months now, and it’s just been sitting on my desk. I also have questions about some of the default settings: defaults to volume off if you’re trying to get the sound from the target device. None of these points are deal breakers, but it would have been better if I hadn’t had to bring them up. I hope someone from Sipeed is reading this.