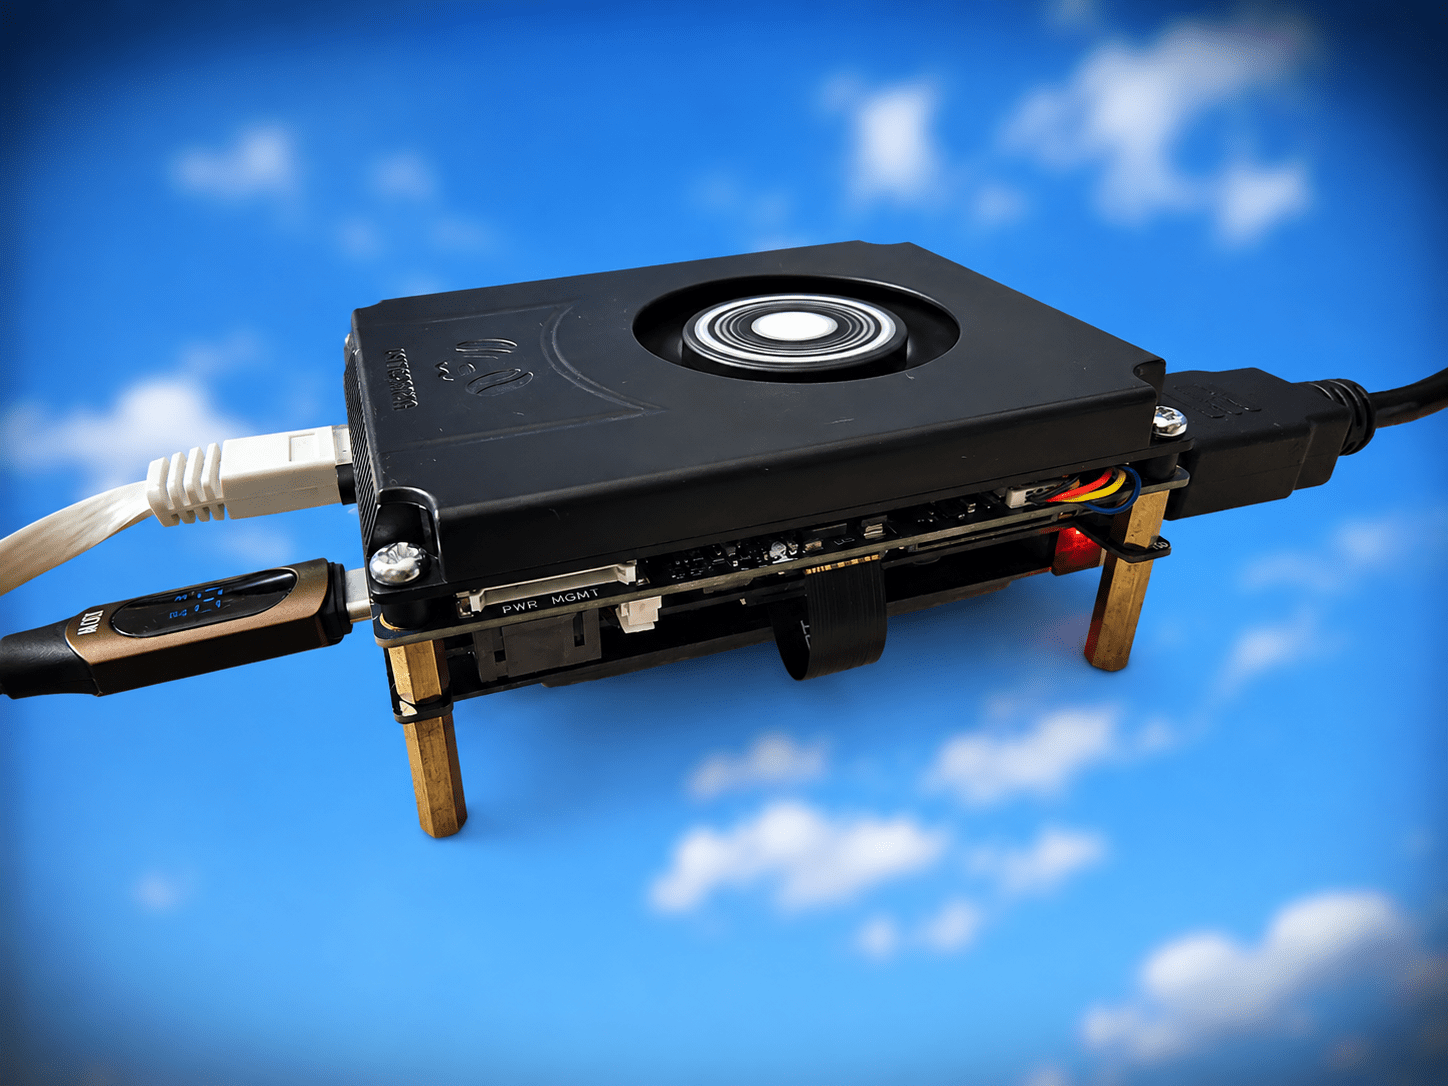
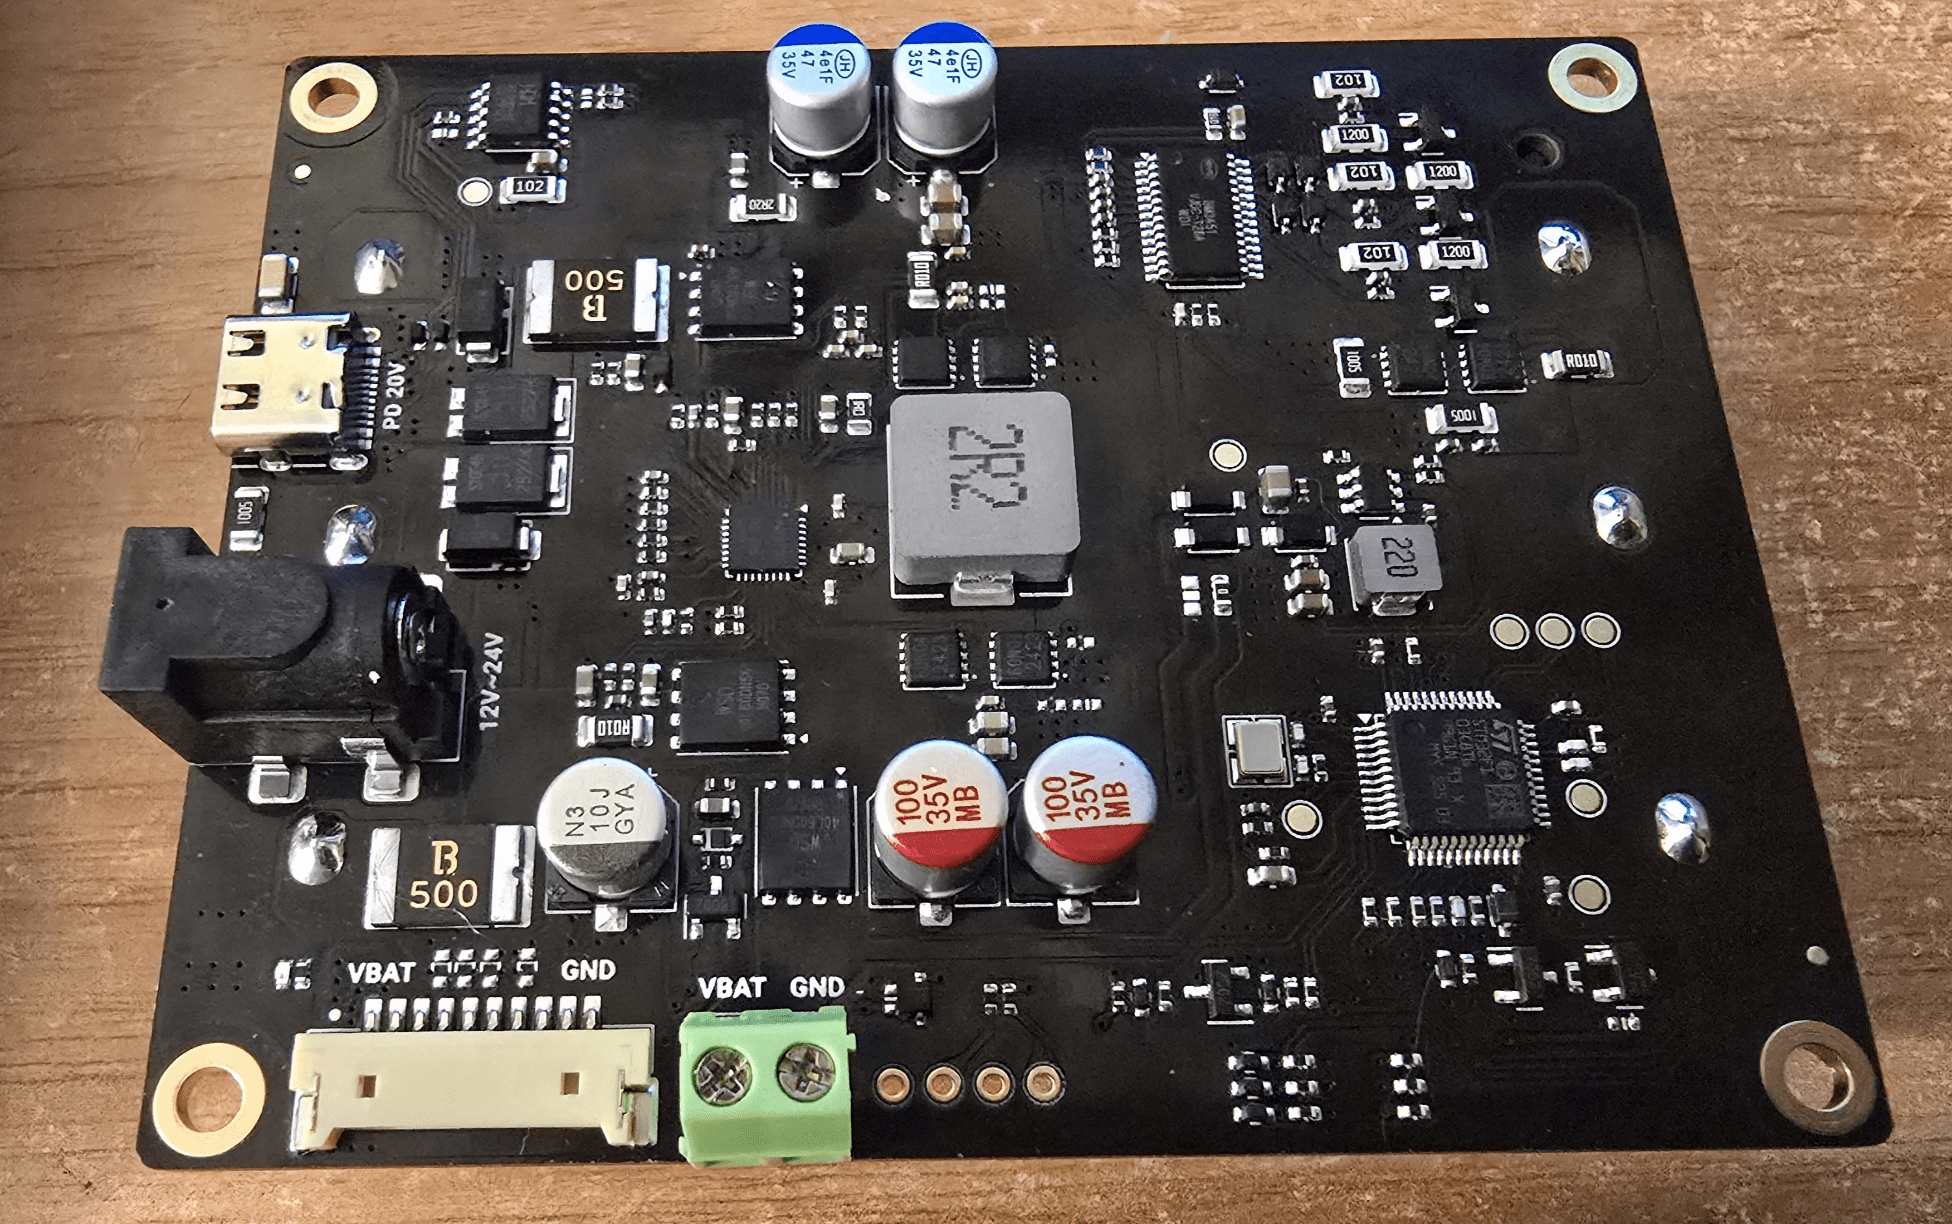
Some years ago, I owned the original LattePanda and at the start of 2026, the company sent me their new(ish) LattePanda IOTA as well as optional add-on extensions including a UPS board (minus batteries). M.2 4G M-Key expansion board, 4G board, active (fan) cooler and POE hat.
All good stuff. the IOTA name comes from their intention that the board is good for IOT projects – in which case I’m not sure why it came complete with Windows 11.
Forgive the title image – I’m sick of looking at photos of my untidy desk with gadgets on it… so I took the liberty of removing the background.
Anyway I’ll not bore you with the whole detailed assembly thing – many others have done that by now. Why the delay in writing about this device? Well, I totally underestimated our house-move at the beginning of 2026 – to another home initially with no electricity or water – and that’s the least of it. However I’m settled into my new office now and I figured it was about time I pulled out this N150-processor-based board.. has to be good, right?
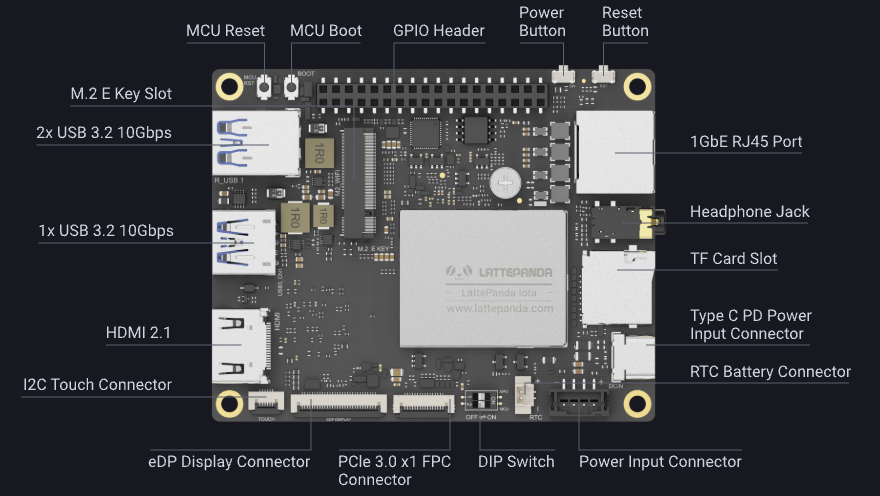
And it is. I ran up the built-in Windows 11 which works just fine – that is after struggling for hours to get their UPS to work with some 18650 batteries I had lying around (talking of which – the IOTA comes complete with a CR2032 battery for the RTC (not for the UPS) )
Why the rush to use the UPS? After mounting the heatsink, I tried plugging the IOTA board into one of my many USB-C power adaptors. No. It seems the USB-PD power input needs to be able to negotiate 15 volts. I thought all of mine did that – and at suitable current (up to 3A) – no. Not one of them (but read on). The alternative – a 12v input with the 4-pin connector – they didn’t give me the mating female connector to match up with their PH2.0 4-pin power input. LattePanda specifies 10–15V DC and I didn’t want to start soldering to the board and my various connectors are still in packing boxes from the house move.
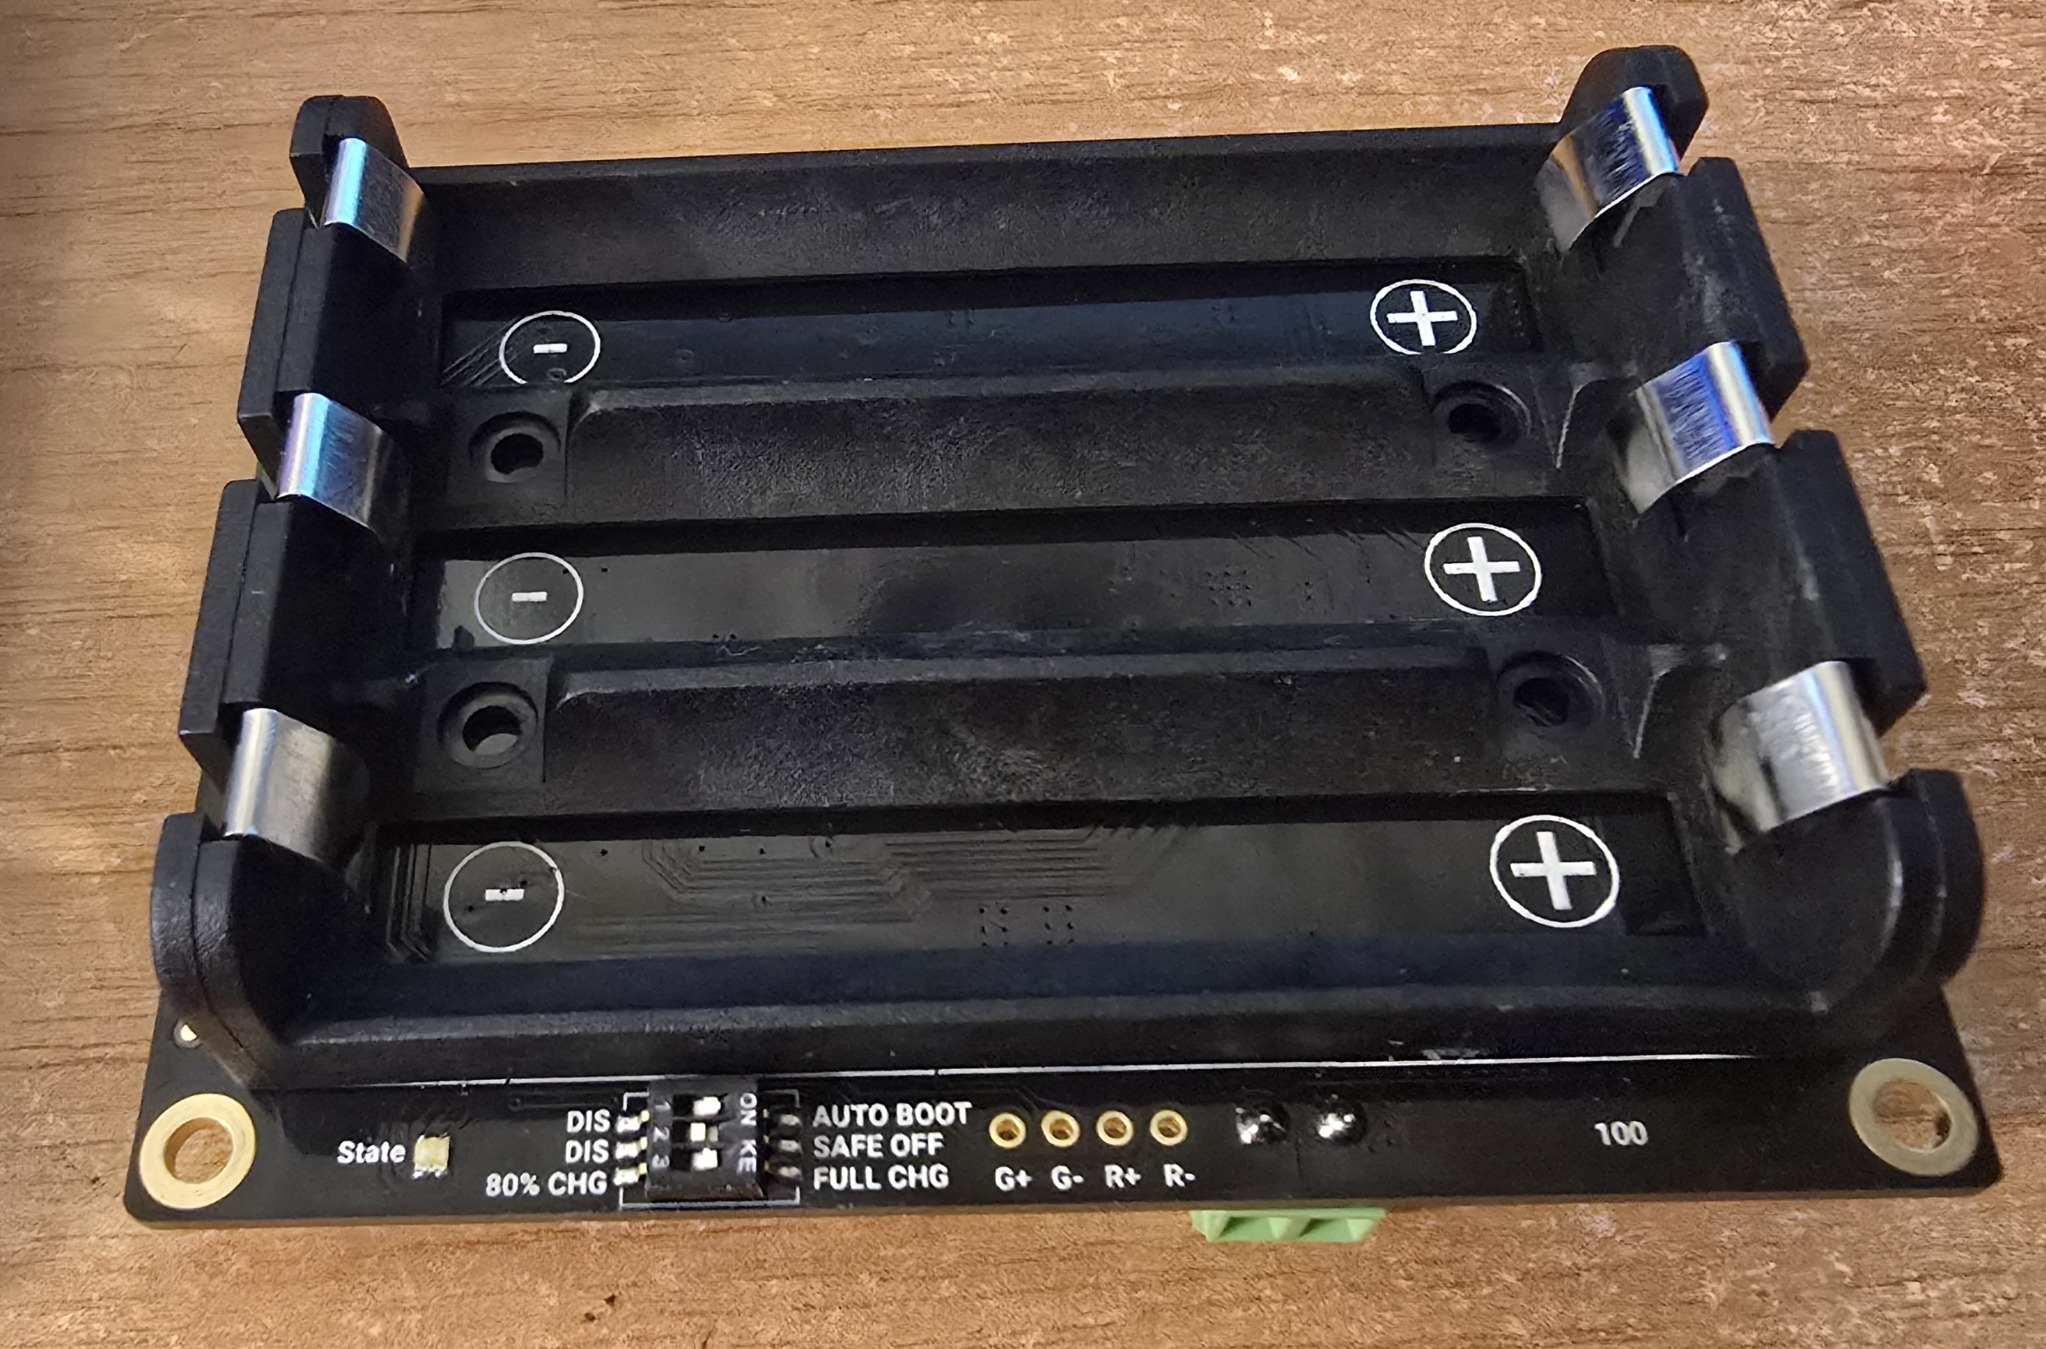
So, UPS it is – or was. I added 3 batteries and found a suitably powerful 12v supply from an old PC. Once all hooked together, I plugged in my KVM Pro, possibly the best KVM I’ve ever had – and that saved me hooking up a monitor, keyboard and mouse. After all, this was going to be a quick project.
The board came up with Windows 11 but that kept crashing every time I moved it ever so slightly. It took me an hour to figure out that the side the board was sitting on was the side with the TINY power and reset buttons protruding by just a mm or so. My bad.
Eventually I figured that out and after giving Windows and YouTube a good hammering (great even over the KVM) I figured it was time to see how well the UPS performed. With the UPS showing 100% battery charge in Windows 11, I confidently went off to do a Windows update. Half way through, the board died. Why? UPS had shut down even though my batteries were at 3.8v, 3.9v and 4v respectively.
Batteries or UPS fault? I couldn’t tell – voltage alone doesn’t tell me how healthy those old cells were. To find out requires spend 20+ euros for a replacement set from Amazon. I was fully prepared to buy a set of decent panasonics – except that Amazon.es only have brands from unknown far-eastern suppliers – nothing I recognised. They even had one 18650 battery claiming 9600mAh – someone’s having a laugh?
For the short term, I simply played with Windows 11 until the novelty wore off. After all, I have mini-PCs for that. I decided I might use the board for Home Assistant (HA) which is currently on a mini-PC – that would free up another mini-PC. Easy to install – yes… but the IOTA has 64GB of EMMC – that takes me back to my Raspberry Pi days and really, a little more storage would be good, I thought. So having wired up the M2 expansion and having an M2 drive lying around (1TB, WAY overkill but sitting doing nothing so why not) I set off installing Home Assistant Operating System (HAOS).
Installing HAOS was SO easy. The current Home Assistant generic x86-64 documentation recommends booting Ubuntu from a USB stick, selecting Try Ubuntu, and then using Ubuntu’s Disks utility to write the HAOS image to the internal drive. There is also a second method using Balena Etcher, but HA explicitly describes that as the alternative method
I soon had a Linux-based Panda running – and the HA site said to go and get the .img file for HA – again dead easy (I’m not showing off – REALLY easy) – and install it on whatever drive I wanted to use. I figured I’d keep Windows on the EMMC for a rainy day – and wrote the img file to my M2 drive which was plugged into the IOTA motherboard.
All good stuff and REALLY easy thanks to excellent instructions on the HA website. In no time at all I had HAOS running on the Panda. Transferring HAOS from my Mini PC would be a simple matter of restoring my latest HA backup to the Panda, turning off my original installation and making the Panda’s IP address the same as the original (you do that in settings on the HAOS installation). And to think – at one time I thought I could never move away from the Raspberry Pi and it’s backup system.
And that’s when it hit me. Despite recent hefty increases in the price of RAM and other components, mini-PCs have shot up in price… so at first glance, the Panda seems the sensible solution… the power of a PC in a kit form. But then I took a look at prices – LattePanda IOTA + heatsink +decent PSU + case + M2 expansion + M2 drive… that could come to 200 euros or more depending on where you buy stuff. You can STILL get a ready-made mini-PC for less than 200 euros though there aren’t that many…
If you have the IOTA and are looking to give it a job – then yes – great. If you have to buy everything – then a sub-200 euros/dollars mini-PC would have initially been my choice but now I’m having second thoughts…
2 days later after a break at the beach. I took the plunge and backed up my HA setup to the IOTA. THEN it hit me, my HA is on a UPS already so I don’t need the UPS hat – all I had to do was find a USB supply that actually IS true PD (power delivery). I stumbled on a GREENCELL 65W job, PD at up to 20V at 3A… and it WORKS – no more need for the IOTA UPS. I now have HA up and running properly – an exact replica of my MiniPC version. I just had to make sure the original MINIPC was turned off – reboot my Ethernet-based Zigbee2MQTT coordinators here and in the UK (Tailscale on the router) and of COURSE re-authenticate with Tuya (that’s a known issue people have been griping about in the last few days) and it’s all working a treat.
I happen to have a USB lead with a neat OLED power display on it, so I know for sure the complete LattePanda setup was drawing around 9–11W while outputting video to the KVM. A case that handles the IOTA + active cooler and M2 adaptor would be nice… the official case is not cheap but I’m sure AliExpress will have something..
Last update for the night.. I’ve disconnected the display output and USB to/from the KVM – and the LattePanda is, with the display output and USB connection to the KVM disconnected, running at a mere 6W. according to my USB-C lead…. it’s now hidden away in a cupboard along with my routers and NAS – and running FASTER than my original mini-PC version – magic.. AND The IOTA has a configurable TDP from 6W to 15W, according to LattePanda – so I can even give HA a boost if I want – and I haven’t even mentioned the RP2040 co-processor, which gives the IOTA a whole additional layer of GPIO and real-time control capability — perhaps I’ll get into that in another article.. GOOD decision to go down this route.
The IOTA also has proper Gigabit Ethernet, which makes rather more sense for a little server than the 100Mbps Ethernet on the original LattePanda.
August 17, 2026 Update
7 days later – the IOTA is running Home Assistant 24/7 and has been 100% reliable (it’s on a UPS along with my router) and faster than anything I’ve used before. Well impressed.