Back in 2021 I wrote about Athom IoTorero-brand Smart lamps (ESPHome-driven) and before then I wrote about my first ever Athom Iotorero 15w Tasmota-driven bulb (E27) but I can’t find the blog entry. Suffice it to say it could not have been later than 2020 – and I’ve had one of those bulbs running every day several hours a day since then – moving home this January and bringing the bulb along with other Athom (and others) with us.
Well, finally that early superb 15W – E27, physically large bulb gave up recently, losing the warm-white component. This one in particular was in my office and so I’m guessing on average 12 hours use day (I need soft, consistent light when working so sunlight is out). 6 years at 12 hours a day average (and that’s probably pessimistic use) – not to be sneezed at.
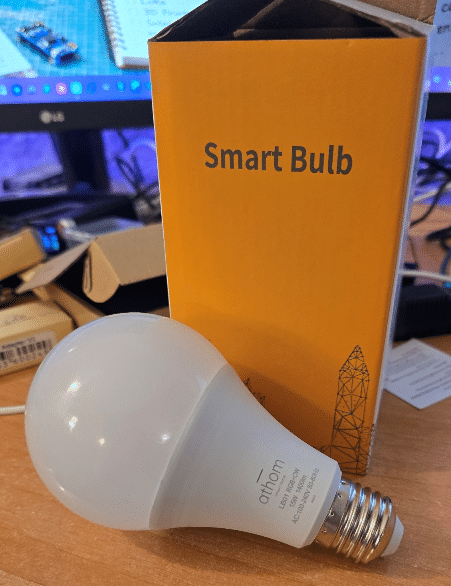
During that time I could not tell you how many AliExpress lights I’ve gone through but the Athom lights have been flawless – and I missed that 15w light in particular when it gave up a couple of weeks ago at last. Bright not only in white but also reasonably bright in colour unlike many of my AliExpress (up to 18w) bulbs.
Well, I’m now the proud owner of no less than SIX of these WiFi Tasmota-driven lights (I will move them over to ESPHome below – which is now trivial to do – just because I can) but for now – it’s opening time…
Of course the first thing I did was take the bulb out of the box and drop it on the ground (solid tiles) – wish me luck….
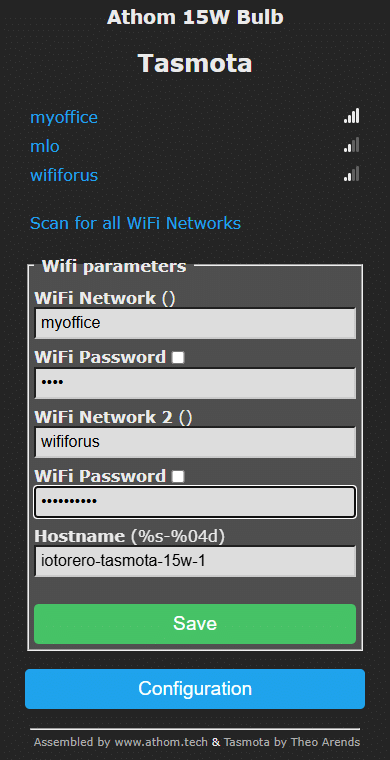
The label on the lamp reports these as 1400 lumens – and on start-up they have their own WiFi access point at 192.168.4.1 so you set them up using your mobile phone – typical of Tasmota-driven devices. I plugged the lamp into the mains and HURRAY – it works – I didn’t smash it – once powered – it started cycling though colours indicating it was in pairing mode. I found a new WiFi access point on my phone called Tasmota-xxxxxx-yyyy – “connected without internet” – that’s the clue – next – hit the access point on the phone – hit the cog – “Manage router” -and at 192.168.4.1 you see the familiar Tasmota setup page.
I put in my nearest WiFi access point and it’s password at which point the bulb almost immediately appeared on my WiFi network complete with lamp controls but still the same name – standard practice at this point is to change the name under WiFi and OTHER… I could do it all on the phone but I type better on the PC so I simply went to it’s new local address on my PC and filled in the details to give the lamp a unique name.
I would normally go on to set up MQTT for my Home Assistant setup – but as this first lamp was an immediate success I thought I’d go for gold and convert it to ESPHome as that’s now my preferred tool.
Before I go off on a tangent, for those of you happy to use these bulbs as Tasmota bulbs – let me say they work well, work locally – have proven (by me) long term reliability with all the benefits of using Tasmota. They are based on the 8285 chip.
And now to my ESPHome conversion:
As the module was simply called “Athom 15W bulb (0) I thought it prudent to check the actual template though this is documented on the web – please note that Athom ALSO do these (branded Iotorero) bulbs pre-programmed with ESPHome but the ones I have are Tasmota – and anyway I have my own preferences for ESPHome devices including a WiFi NETWORK i.e. a list of all of my WiFi access points – and a v3 webUI. Read on. This device is currently sitting on my network as 192.168.1.66
Here is the esphome config… you’ll see a “colour interlock”- thats just to avoid using RGB AND white at the same time – it works from experience but that COULD lead to lamp overheating.
Note my WiFi passwords are all the same so I don’t need wifi_password2, 3 etc.
substitutions:
  device_name: athom-15w-bulb-esphome-1
  friendly_name: "Athom 15W Bulb ESPHome 1"

preferences:
  flash_write_interval: 10s

esphome:
  name: ${device_name}
  friendly_name: ${friendly_name}

esp8266:
  board: esp8285
  restore_from_flash: true

logger:

api:

ota:
  - platform: esphome
  - platform: web_server

# Your existing multi-access-point WiFi arrangement
wifi:

  networks:
    - ssid: !secret wifi_ssid
      password: !secret wifi_password
    - ssid: !secret wifi_ssid2
      password: !secret wifi_password
    - ssid: !secret wifi_ssid3
      password: !secret wifi_password
    - ssid: !secret wifi_ssid4
      password: !secret wifi_password
    - ssid: !secret wifi_ssid5
      password: !secret wifi_password

  post_connect_roaming: true

# ESPHome WebUI V3
web_server:
  port: 80
  version: 3

# Original Tasmota GPIO mapping
output:
  - platform: esp8266_pwm
    id: red_output
    pin: GPIO4

  - platform: esp8266_pwm
    id: green_output
    pin: GPIO12

  - platform: esp8266_pwm
    id: blue_output
    pin: GPIO14

  - platform: esp8266_pwm
    id: cold_white_output
    pin: GPIO5

  - platform: esp8266_pwm
    id: warm_white_output
    pin:
      number: GPIO13
      inverted: true

# Combined RGB and tunable white light
light:
  - platform: rgbct
    name: "${friendly_name}"
    id: athom_light

    red: red_output
    green: green_output
    blue: blue_output

    white_brightness: cold_white_output
    color_temperature: warm_white_output

    cold_white_color_temperature: 167 mireds
    warm_white_color_temperature: 333 mireds

    color_interlock: true

    # Restore complete previous state after power failure
    restore_state: all

# Mode selection buttons for WebUI
button:
  - platform: template
    name: "${friendly_name} RGB Colour"
    icon: mdi:palette
    on_press:
      - light.turn_on:
          id: athom_light
          color_mode: RGB

  - platform: template
    name: "${friendly_name} White Mode"
    icon: mdi:lightbulb
    on_press:
      - light.turn_on:
          id: athom_light
          color_mode: COLOR_TEMPERATURE

  - platform: restart
    name: "${friendly_name} Restart"

# WiFi information
text_sensor:
  - platform: wifi_info
    ip_address:
      name: "${friendly_name} IP"
    ssid:
      name: "${friendly_name} SSID"

# Diagnostics
sensor:
  - platform: wifi_signal
    name: "${friendly_name} WiFi Signal"
    update_interval: 60s

  - platform: uptime
    name: "${friendly_name} Uptime"
    update_interval: 60s
As I have that YAML info above set up and thought out… I simply go to ESPHOME and create a new blank device.. saving a .BIN file locally as we can’t do USB initial flashing on a bulb – and we can use Tasmota’s FIRMWARE UPGRADE control to flash the ESPHOME binary initially.
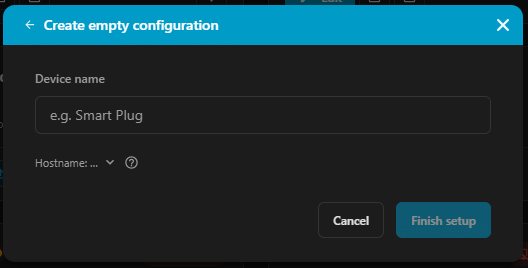
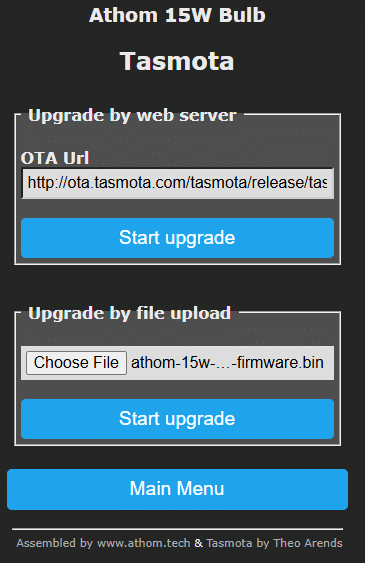
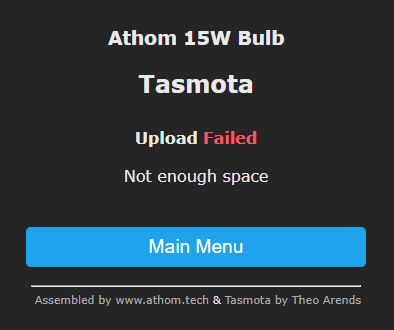
Ah but then – the usual issue – not enough space… SO – next step – gzip that .BIN file..
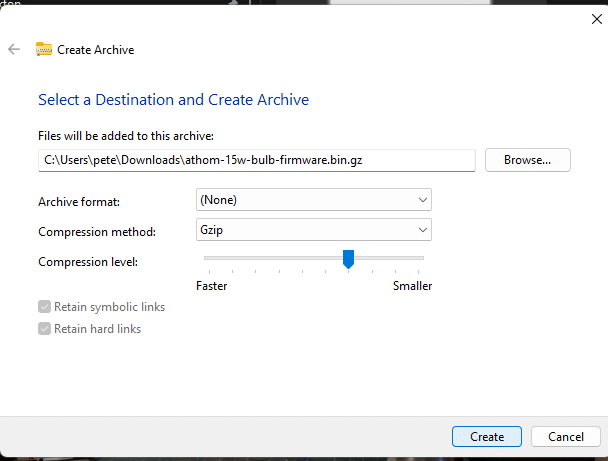
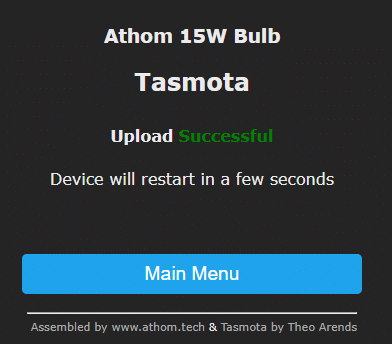
.And there we have an ESPHome light with ON and OFF control, brilliance, colour and – once into Home Assistant I, the controls as you’d expect.
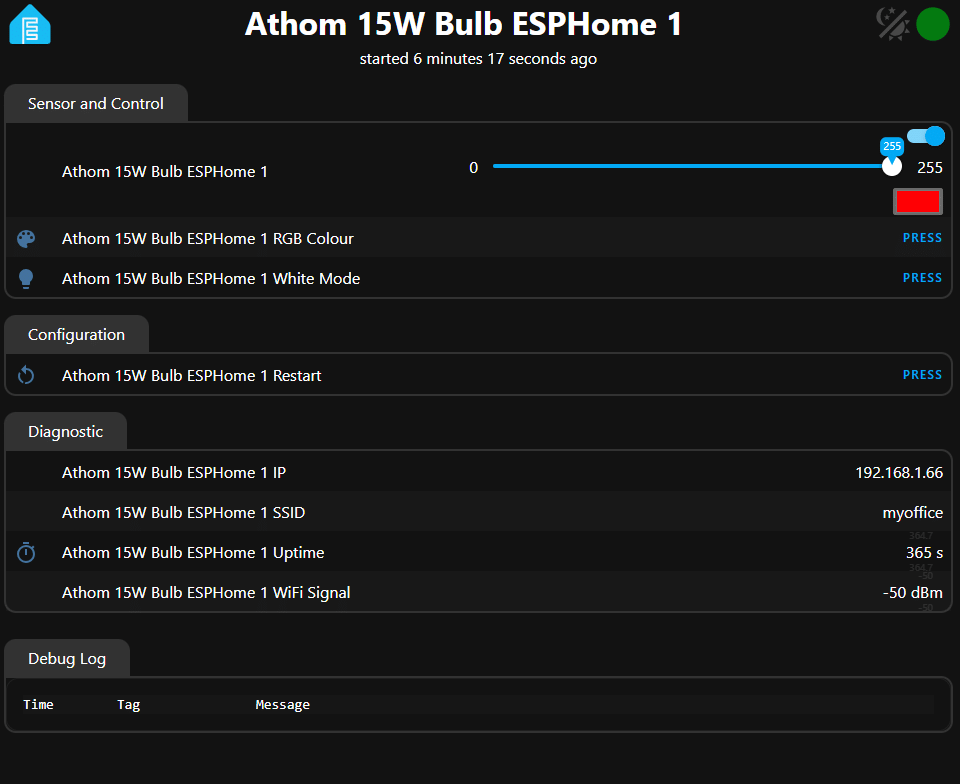
Rename for additional bulbs and that’s it.
But having done the conversion for the sake of it – I used the OTA function in the webUI to restore Tasmota. I took the latest tasmota.bin.gz from the Tasmota site – pushed that into the OTA section (using a file)…. ran it – and that was Tasmota restored to the device – Using my phone I put the local SSID back into the device as I did originally – then replaced the template (make Tasmota Generic 18, make a template called, say, Athom with the following settings and then apply that template)… and finally put in my MQTT settings and a name for the lamp into the Tasmota webUI (I put the same name into WiFi, MQTT and OTHER)… back to square one – but more knowledgeable. The new light appeared in Home Assistant quite quickly, working perfectly.
| GPIO | Function | Channel |
|---|---|---|
| GPIO4 | PWM | 1 |
| GPIO5 | PWM | 4 |
| GPIO12 | PWM | 2 |
| GPIO13 | PWM inverted | 5 |
| GPIO14 | PWM | 3 |
All other GPIOs were None, with the template based on Generic (18).