This blog entry has ended up as a multi-day job thanks to the reTerminal E Series E1003 10.3″ display being fairly new and information being scattered all over – I’m sure I’ve helped Seeed update their info and so if this interests you, between my final ESPHOME YAML code at the bottom, much experimenting with the beep and the recently updated info on the Seeed site, it should be easy to make a working touch display. I’m sure there has to be a better way of lining up touch coordinates with the my actual pump and light examples – but I’ve had enough for a while… it all works just fine.
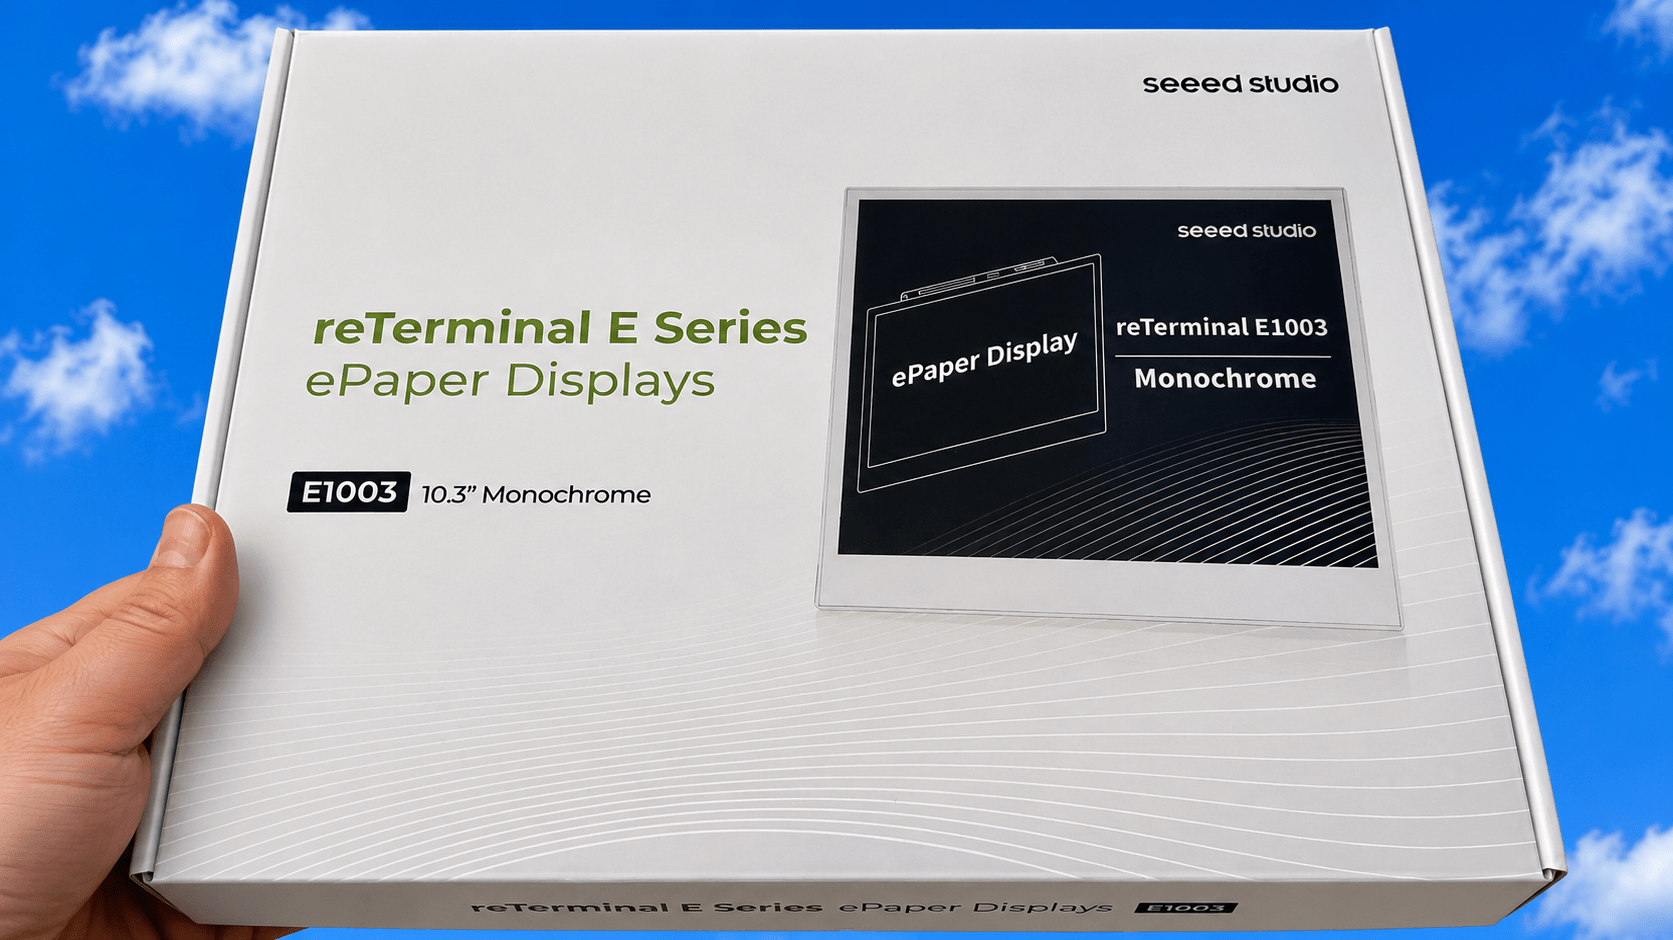
The display – which runs on it’s internal battery, consuming very little power and USB-chargeable, arrived on my desk just a few days ago and at first, when I looked at the Seeed site, I couldn’t see any reference to setting it up. I emailed Seeed, and within hours their website seemed to be updated. I found sufficient information to run a basic Home Assistant demo in ESPHome because this device uses an ESP32 driving a very pretty 1872 by 1404 grayscale paper display.
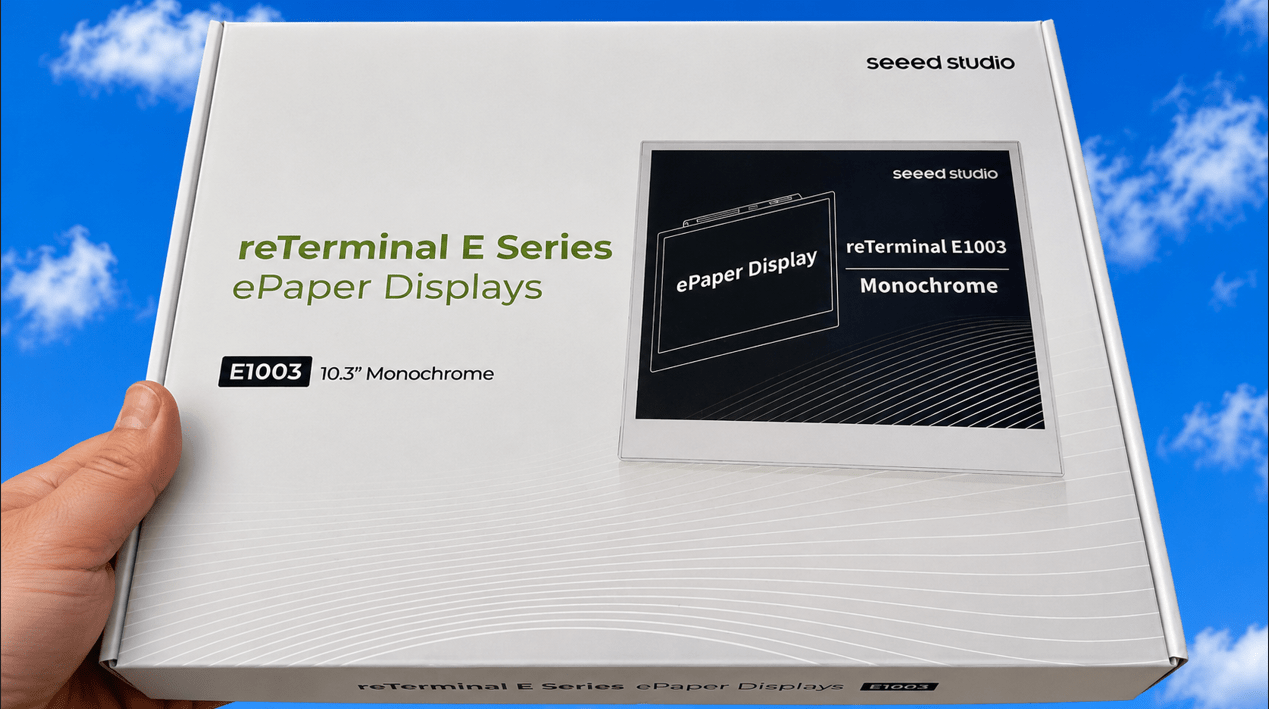
But I’m jumping ahead, I firstly opened the package…

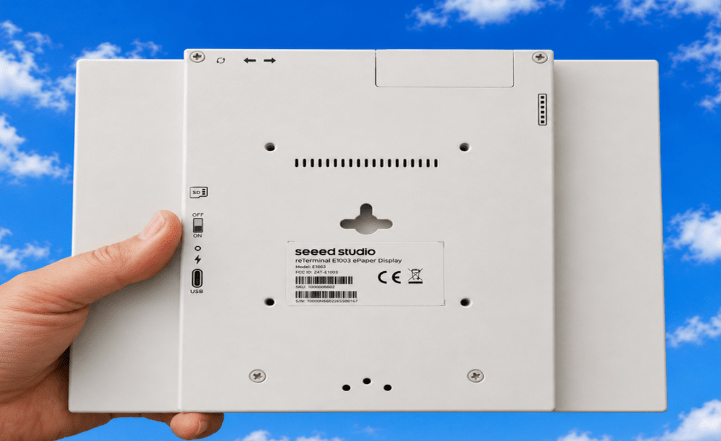
and here it is (that strange pattern is my cave-home roof, not the display). If you’ve noticed that roof in the image above – I should say that Seeed have taken this into consideration and apparently the next batch of boards will have a less glossy finish.
I plugged the display (which comes with it’s own USB-C to USB-A extension lead) into USB on my PC and ran one of their simple demos requiring no installation on the PC – all from a web page (a bit like setting up TASMOTA or WLED – first time USB connection, from there-on over the wireless lan).
This is what you see on first applying power (mine arrived partly charged and there’s a tiny on-off switch on the side):
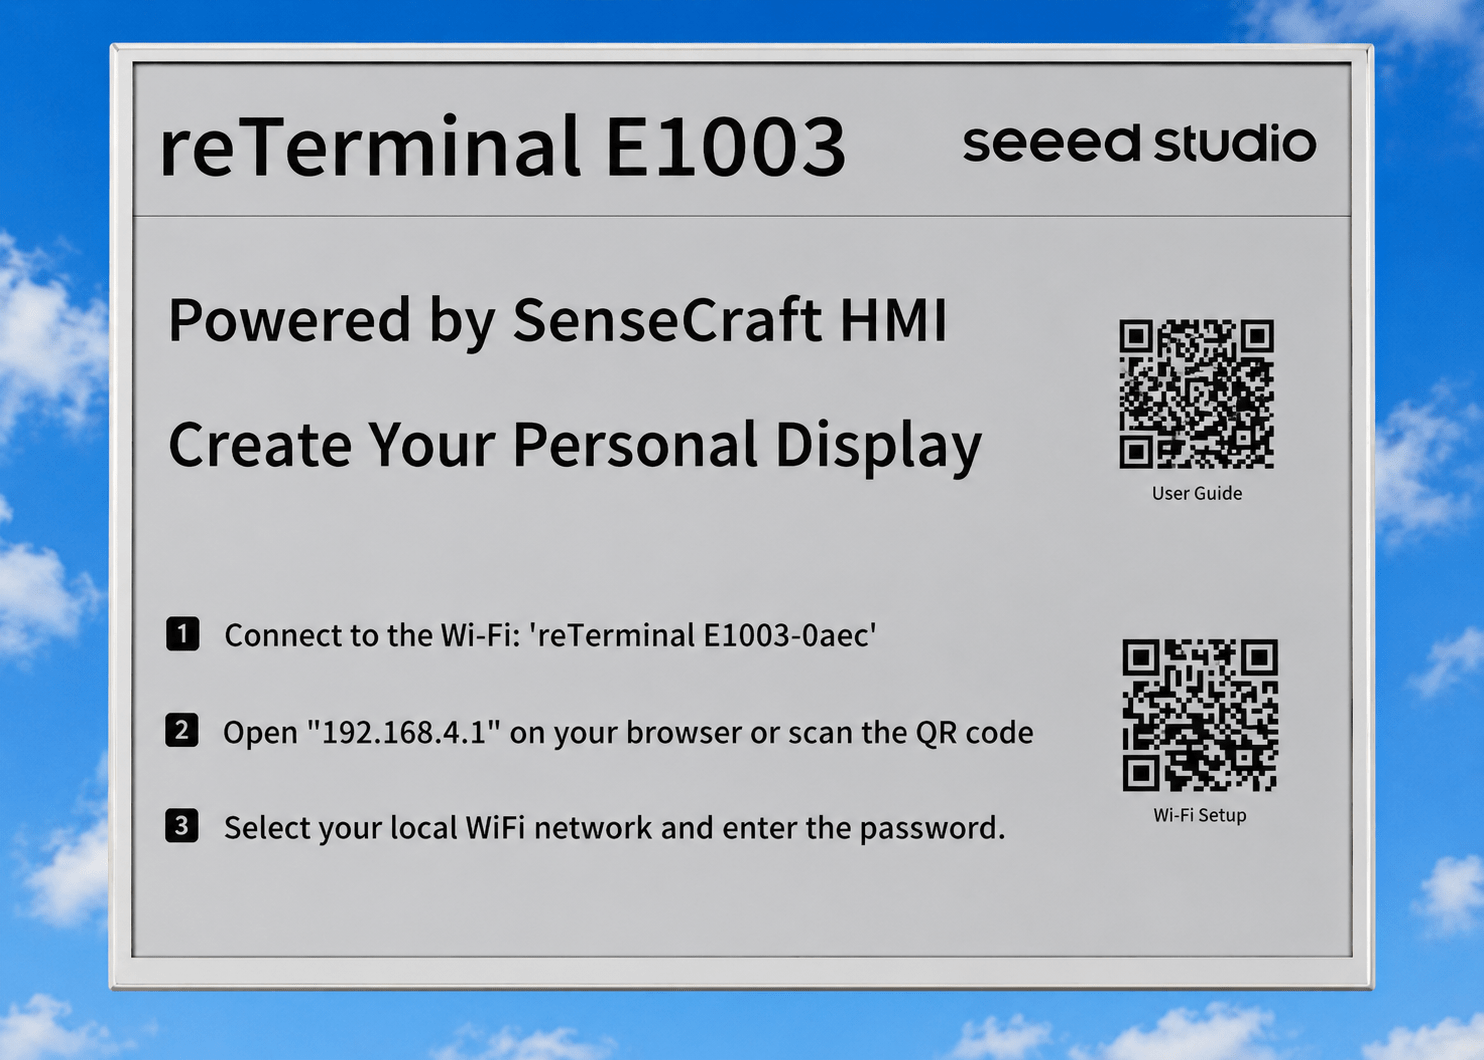
As a seasoned Tasmota user I understood the above immediately… might’ve been better if they’d said “Open ‘192.168.4.1’ on your phone or other Wi-Fi-enabled device…” but I’m being picky.
Then I found that my ESPHome installation (fully up to date at July 22, 2026) magically had a basic demo for the E1003 – see image further down… but note at the top – the line that says “reTerminal E1003 demo?” – I ran the first install without having a clue what I was doing and it just worked like magic – but then, my first epiphamy – the source code is in ESPHOME and is kind of inderstandable, enough that I could add that “demo?” text to the top line – that’s the ONLY change I made initially to the demo code.
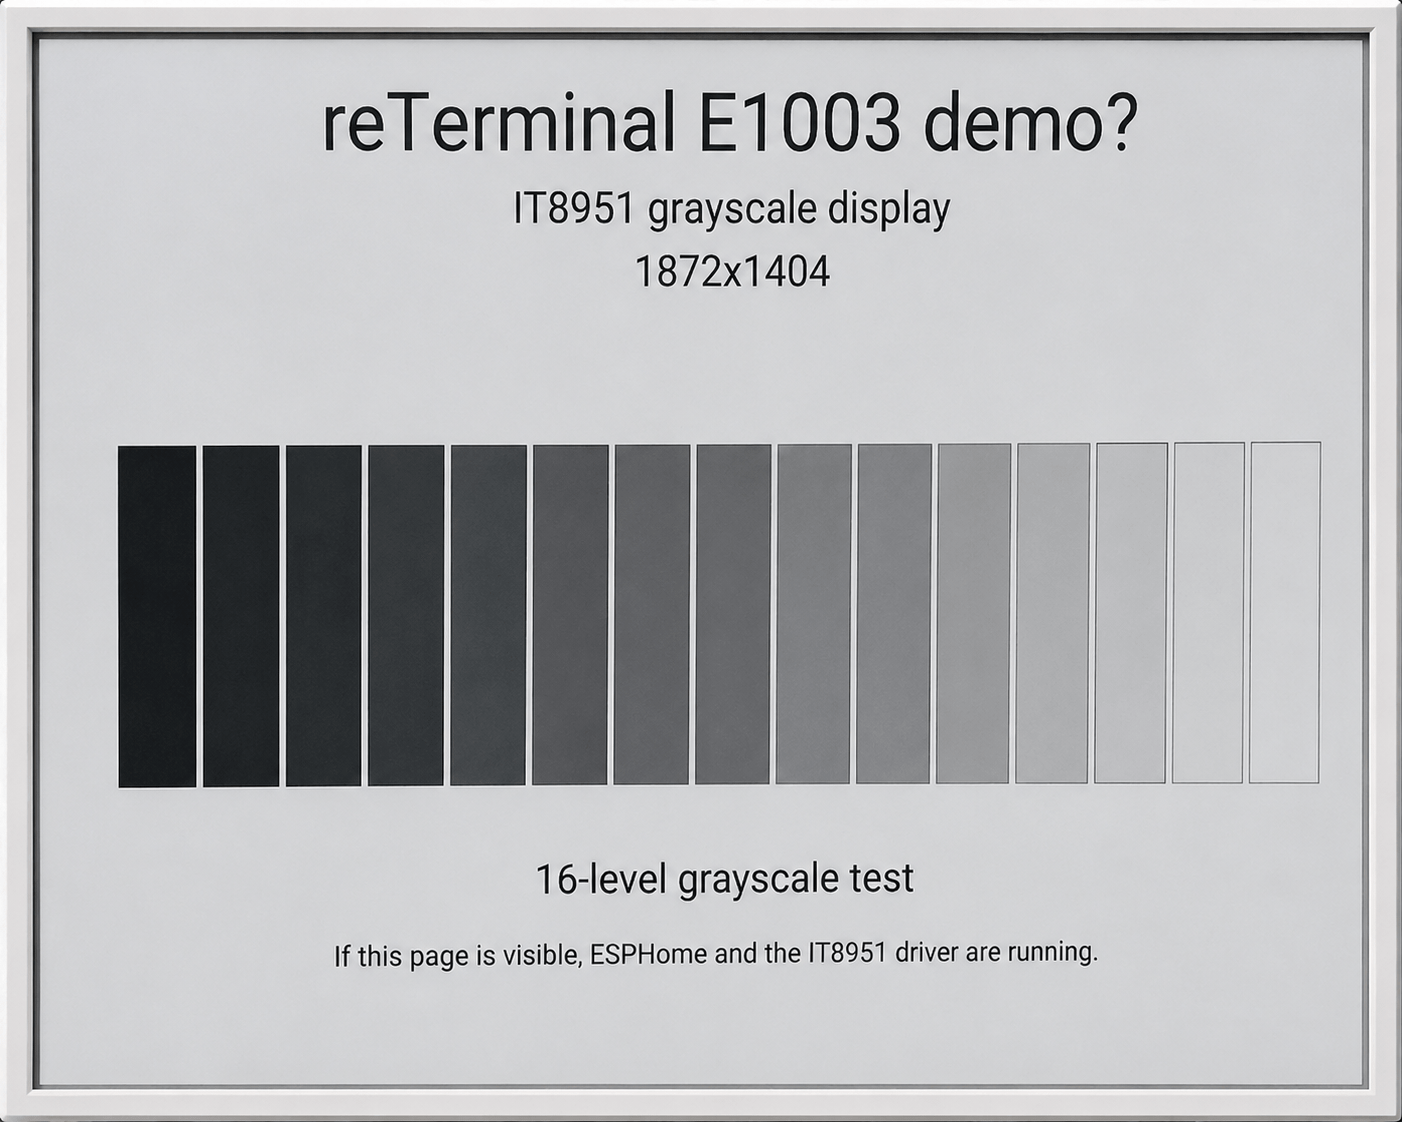
This time I deliberately disconnected the USB lead which had remained connected overnight, safe in the knowledge that the battery would be fully charged and as expected, I could do an update over the air.
he second epiphany came when I took a look back to September last year and realized that I already had some experience of this in the form of their earlier, smaller terminal, the Seeed 7.5″ ePaper panel which had/has a 7-inch display.
While nice, it was pretty low resolution and, in the end, not a great deal of use to me. This one however, with a 1872 by 1404 display, I can see lots of uses for this, showing all sorts of sensor states, weather information and more from Home Assistant from my entities in Home Assistant.
Armed with the success of my trivial change, I went back over the original blog and as you’ll see, adding some HA entities was trivial – once I’m done here I’ll set about getting to grips with that and the new display logic in the E1003 – pretty clear in the ESPHome Demo – and figure out how to make some buttons. The only thing I’m not clear about is the touch-sensitivity – but having first tried one of Seeed’s demos which showed basic touch sensitivity logic – how hard can it be?
So if you’re new to all of this – you might be thinking – a display – so what? Well, firstly it is of course programmable and secondly runs for months (depending on how may screen changes you make) on the internal battery. It also has a couple of discrete buttons on the top fo switching screen pages – but bewaer, updates ar not instant so dynamic, high speed movement is out. As for regular updates – if that’s your intende applicationb, well you could always leave it on USB charge. I just have it connected to one of the USB ports on my PC so no major current requirements.
As for adding sensors – I’m pretty sure this code from my old 7.5″ display is useable… just as an example..
sensor:
  - platform: homeassistant
    id: temp1
    entity_id: sensor.snzb_02ld_temperature
So I’m looking at the code I used in the old 7.5″ display…. above… and the method of displaying is the same for the new display – going from their demo. If you look at my original blog… there’s a line :
it.printf(it.get_width() - 10, 10, id(font1), COLOR_ON, TextAlign::RIGHT, "Tank temperature %.1f°C", id(temp1).state);
that prints out my old sensor…. looking at the ESPHome demo code, my code above SHOULD pretty much drop into their demo. Can it be THAT easy? My office temperature sensor uses a Sonoff SNZB 02WD sensor – so sensor.snzb_02wd_temperature should just drop right in…
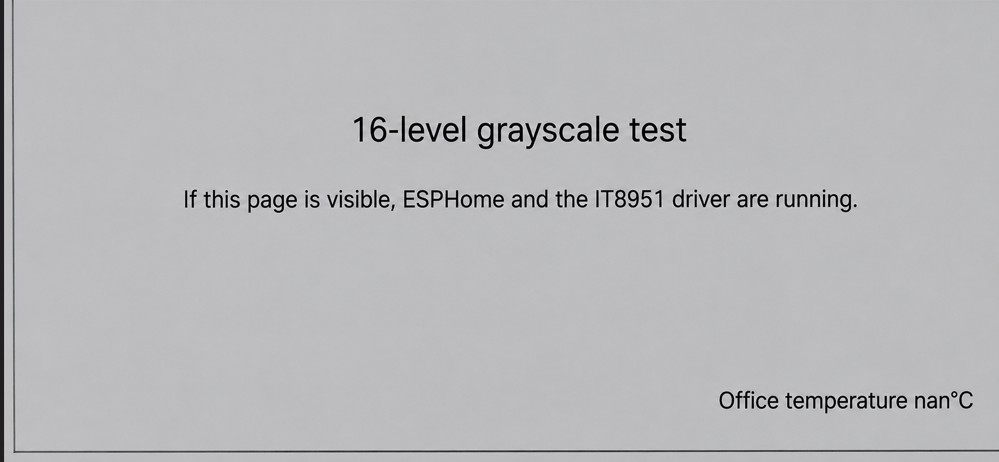
Ok, so the actual temperature doesn’t display – it turns out that the stock demo shows only once – a single line in the display section needs changing from “never” to in my case “30s”.
For my next trick with help from my pal chatGPT I put the office temperature text and value in a reversed out box. Because the display is high definition, it looks ok even without graphics. It’s a start anyway.
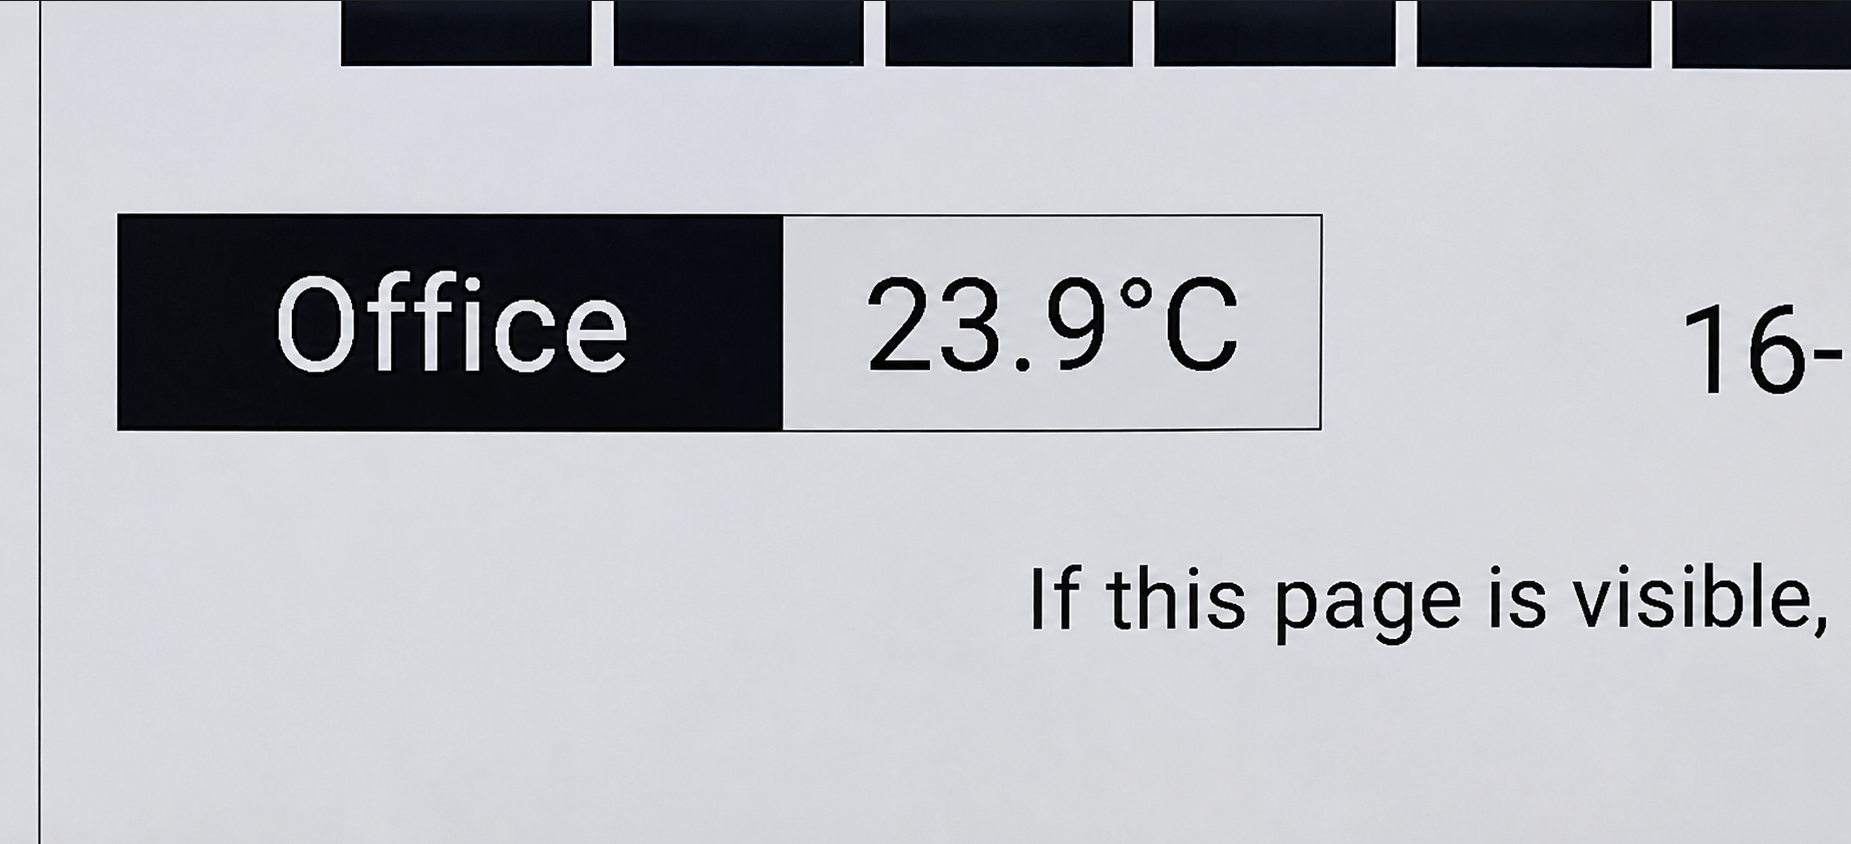
The next step is to look over their examples to see how the touch works and add that and touch different parts of the screen to get it to do things. Oh and sound for notifications.
Be aware – as I’ve now found out – a screen refresh for this technology is not pretty – but then I have a very expensive Switchbot AI colour photo frame that is exactly the same when transitioning images.
Update after days of struggle
Depending on your needs, I might just save someone a lot of work here. Between reading various articles that are just plain wrong for this display, contacting Seeed, talking to Claude and ChatGPT and refreshing my C++ skills, I finally have the beginnings of a Home Assistant ePaper dashboard that works for me.
In the code below I have 4 temperature/humidity sensors and 2 test outputs – a pool pump and a light, both of the latter have a fairly optimised beep on touch… (all from my Home Assistant setup) and having remembered how to put often-used code into scripts – here is the entirety of my YAML code (all one file) to run the display in ESPHome with Home Assistant. I like it as a start, at some point (I’ve checked – loads of code space left) I’ll likely have a dozen or more touch-sensitive outputs and maybe 20 or more sensor readings… I’ll likely add the weather – but I’m stopping the blog here while this is at least semi-readable.
I hope it is useful to someone – it all works – I had a 30 second display update – now reduced to only on-state-changes and every minute (at second 0) for the clock – so you can forget long battery life (easy to change the automatic update interval). and touch responses – beep is instant when the output block screen areas are touched, display update on touch takes less than a second – given the nature of these displays, that’s not bad.
Note the weather icons are there for the future. A couple of times I ended up with small – maybe 96px square images (starting off as transparent PNGs taken from the web then using Windows Paint to remove the transparency before bringing into ESPHome and storing in the ESPHOME folder (I know, I should really have put them in esphome/images to be professional 🙂 )
The various sensor names are straight out of my Home Assistant entities. I hope the yaml in here copies ok, indentation is very important.
Oh, last minute update thanks to Claude – substitutions – I originally had to define the button x and y coordinates and widths then separately code the touch areas – thanks to “substitutions” the repetition is gone it should now be EASY to add more outputs or move the buttons about…
Clearly – anyone using this should replace home assistant sensor and output IDs with their own.
Each sensor or output has an on_state or on_value section to force a screen update rather than having regular power-wasting screen updates, though in the interval section I have a 60 second update just for the clock. That can be adjusted or removed as needed (if you don’t display a clock, you don’t need it).
If you want to use the code below – in the YAML box – hover at the top right – click RAW then COPY….
substitutions:
  name: reterminal-e1003
  friendly_name: "reTerminal E1003"
  # Button layout: x, y = top-left corner, w/h = size of the drawn box
  pool_pump_x: 1410
  pool_pump_y: 1000
  pool_pump_w: 430
  pool_pump_h: 90

  office_lights_x: 1410
  office_lights_y: 1100
  office_lights_w: 430
  office_lights_h: 90

esphome:
  name: ${name}
  friendly_name: ${friendly_name}
  on_boot:
    priority: -100
    then:
      - delay: 2s
      - it8951.update:
          id: epaper_display
          mode: GC16

esp32:
  board: seeed_xiao_esp32s3
  framework:
    type: esp-idf

psram:
  mode: octal

logger:
  hardware_uart: UART0
  baud_rate: 115200
  level: INFO

api:

ota:
  - platform: esphome

wifi:
  ssid: !secret wifi_ssid
  password: !secret wifi_password
  ap:
    ssid: "${name} Fallback"
    password: "12345678"

globals: ##to set default reboot behavior
  - id: wifi_connection
    type: bool
    restore_value: no
    initial_value: "false"

interval:
  - interval: 10s
    then:
      - if:
          condition:
            wifi.connected:
          then:
            - lambda: |-
                bool changed = !id(wifi_connection);
                id(wifi_connection) = true;
                if (changed) {
                  id(refresh_display)->execute();
                }
          else:
            - lambda: |-
                bool changed = id(wifi_connection);
                id(wifi_connection) = false;
                if (changed) {
                  id(refresh_display)->execute();
                }

time:
  - platform: homeassistant
    id: homeassistant_time
    on_time:
      - seconds: 0
        then:
          - script.execute: refresh_display

captive_portal:

# Not needed for ESPHOME 2026.7.0 onwards
#external_components:
#  - source: github://pr#15346
#    components: [it8951]
#    refresh: 1h

spi:
  - id: epaper_spi_bus
    clk_pin: GPIO7
    miso_pin: GPIO8
    mosi_pin: GPIO9

sensor:
  - platform: homeassistant
    id: outside_temperature
    entity_id: sensor.outdoor_meter_65_temperature
    on_value:
      then:
        - script.execute: refresh_display
  - platform: homeassistant
    id: outside_humidity
    entity_id: sensor.outdoor_meter_65_humidity
    on_value:
      then:
        - script.execute: refresh_display
  - platform: homeassistant
    id: office_temperature
    entity_id: sensor.snzb02m_temperature
    on_value:
      then:
        - script.execute: refresh_display
  - platform: homeassistant
    id: office_humidity
    entity_id: sensor.snzb02m_humidity
    on_value:
      then:
        - script.execute: refresh_display
  - platform: homeassistant
    id: livingroom_temperature
    entity_id: sensor.shellyhtg3_54320463831c_temperature
    on_value:
      then:
        - script.execute: refresh_display
  - platform: homeassistant
    id: livingroom_humidity
    entity_id: sensor.shellyhtg3_54320463831c_humidity
    on_value:
      then:
        - script.execute: refresh_display
  - platform: homeassistant
    id: uk_outside_temperature
    entity_id: sensor.d1_am2301_temperature
    on_value:
      then:
        - script.execute: refresh_display
  - platform: homeassistant
    id: uk_outside_humidity
    entity_id: sensor.d1_am2301_humidity
    on_value:
      then:
        - script.execute: refresh_display

binary_sensor:
  - platform: homeassistant
    id: office_lights
    entity_id: light.office_lights
    on_state:
      then:
        - script.execute: refresh_display

  - platform: homeassistant
    id: pool_pump
    entity_id: switch.pool_pump
    on_state:
      then:
        - script.execute: refresh_display

  - platform: touchscreen
    name: "Pool Pump Touch"
    id: pool_pump_touch
    x_min: ${pool_pump_x}
    x_max: ${pool_pump_x + pool_pump_w}
    y_min: ${pool_pump_y}
    y_max: ${pool_pump_y + pool_pump_h}
    filters:
      - delayed_on_off: 100ms
    on_press:
      then:
        - homeassistant.action:
            action: switch.toggle
            data:
              entity_id: switch.pool_pump
        - script.execute: beep

  - platform: touchscreen
    name: "Office Lights Touch"
    id: office_lights_touch
    x_min: ${office_lights_x}
    x_max: ${office_lights_x + office_lights_w}
    y_min: ${office_lights_y}
    y_max: ${office_lights_y + office_lights_h}
    filters:
      - delayed_on_off: 100ms
    on_press:
      then:
        - homeassistant.action:
            action: light.toggle
            data:
              entity_id: light.office_lights
        - script.execute: beep

script:
  - id: beep
    then:
      - output.set_level:
          id: buzzer_pwm
          level: 50%
      - delay: 80ms
      - output.turn_off: buzzer_pwm

  - id: refresh_display
    mode: restart
    then:
      - delay: 200ms
      - component.update: epaper_display

image:
  - file: "images/homeassistant-icon-96px.png"
    id: ha_logo
    type: BINARY

  - file: "toggle_switch_off.png"
    id: switch_off
    type: BINARY

  - file: "toggle_switch_on.png"
    id: switch_on
    type: BINARY

  - file: "lightbulb_off.png"
    id: light_off
    type: BINARY
    resize: 82x82

  - file: "lightbulb_on.png"
    id: light_on
    type: BINARY
    resize: 82x82

i2c:
  sda: GPIO19
  scl: GPIO20

output:
  - platform: ledc
    pin: GPIO45
    id: buzzer_pwm
    frequency: 2000Hz

touchscreen:
  platform: gt911
  id: touch_screen
  interrupt_pin: GPIO2   # board's actual interrupt pin contrary to initial advice from Claude
  #reset_pin: GPIO48     # only if your wiring uses one - that IS the reset pin according to Seeed engineers


display:
  - platform: it8951
    id: epaper_display
    spi_id: epaper_spi_bus
    model: seeed-reterminal-e1003
    update_interval: never # was 30s
    full_update_every: 30
    grayscale: true
    dithering: true
    update_mode: GC16
    transform:
      mirror_x: true
      mirror_y: false
    lambda: |-
      const Color light_grey(240, 240, 240);
      const Color dark_grey(100, 100, 100);
      enum IconType
      {
          LIGHT,
          POWER
      };

      // function to print a sensor and it's bounding box
      auto draw_sensor = [&](int h1, int v1,
                             const char *title,
                             float temp,
                             float hum=NAN)
      {

          it.filled_rectangle(h1, v1, 320, 90, Color::BLACK);
          it.filled_rectangle(h1+320, v1, 320, 90, light_grey);
          it.rectangle(h1+320, v1, 320, 90, Color::BLACK);
          it.rectangle(h1+321, v1+1, 318, 88, Color::BLACK);
          it.print(h1+10, v1+45, id(text_font), Color::WHITE, TextAlign::CENTER_LEFT, title);

          if (isnan(temp))
          {
             it.print(h1+480, v1+45,
             id(text_font), Color::BLACK,
             TextAlign::CENTER,
             "--");
          }
          else if (isnan(hum))
          {
               it.printf(h1+480, v1+45,
                    id(text_font), Color::BLACK,
                    TextAlign::CENTER,
                    "%.0f°C",
                    temp);
          }
          else
          {
               it.printf(h1+480, v1+45,
                    id(text_font), Color::BLACK,
                    TextAlign::CENTER,
                    "%.0f°C  %.0f%%",
                    temp, hum);
          }
      };
      // end function


      auto draw_state = [&](int h1, int v1,
                            const char *title,
                            bool is_on,
                            IconType type)
      {
          // Black title box
          it.filled_rectangle(h1, v1, 320, 90, Color::BLACK);

          // Title
          it.print(h1 + 15, v1 + 45,
                   id(text_font),
                   Color::WHITE,
                   TextAlign::CENTER_LEFT,
                   title);

          // Draw state indicator
          switch (type)
          {
              case LIGHT:
                  it.image(h1 + 332, v1+2,
                           is_on ? id(light_on) : id(light_off));
                  break;

              case POWER:
                  it.image(h1 + 325, v1,
                           is_on ? id(switch_on) : id(switch_off));
                  break;
          }
          // Icon/image box
          it.rectangle(h1 + 320, v1, 110, 90, Color::BLACK);
          it.rectangle(h1 + 321, v1 + 1, 108, 88, Color::BLACK);

      };

      it.fill(Color::WHITE); // screen white

      it.rectangle(20, 20, it.get_width() - 40, it.get_height() - 40, Color::BLACK);  // thin border
      it.line(20, 1230, it.get_width()-20, 1230, Color::BLACK);  // thin divider
      it.printf(it.get_width() / 2, 1300, id(title_font), Color::BLACK, TextAlign::CENTER, "Home Assistant ePaper Dashboard"); // title

      // WiFi indicator top left
      it.filled_rectangle(30, 30, 130, 40, Color::BLACK);
      it.filled_rectangle(115, 30, 2, 40, Color::WHITE);
      it.printf(35, 30, id(small_font),Color::WHITE, "WiFi");
      it.printf(120, 33, id(icon_font),Color::WHITE, "%s", id(wifi_connection) ? "\U000F05A9" : "\U000F05AA");

      // timestamp top right
      char str[22];
      time_t currTime = id(homeassistant_time).now().timestamp;
      it.filled_rectangle(1280, 30, 560, 60, Color::BLACK);
      strftime(str, sizeof(str), "%a %H:%M %d/%m/%Y", localtime(&currTime));
      it.printf(1280,30, id(text_font), Color::WHITE, " %s", str);

      draw_sensor(30,800,"UK outside", id(uk_outside_temperature).state, id(uk_outside_humidity).state);
      draw_sensor(30,900,"Outside", id(outside_temperature).state, id(outside_humidity).state);
      draw_sensor(30,1000,"Office", id(office_temperature).state, id(office_humidity).state);
      draw_sensor(30,1100,"Livingroom", id(livingroom_temperature).state, id(livingroom_humidity).state);

      draw_state(${pool_pump_x},${pool_pump_y},"Pool pump",id(pool_pump).state,POWER);
      draw_state(${office_lights_x},${office_lights_y},"Office lights",id(office_lights).state,LIGHT);

      it.image(40, 1260, id(ha_logo));
      it.image(it.get_width() - 140, 1260, id(ha_logo));

font:
  - file: "gfonts://Roboto"
    id: title_font
    size: 96
  - file: "gfonts://Roboto"
    id: text_font
    size: 52
  - file: "gfonts://Roboto"
    id: small_font
    size: 36

  - file: "fonts/materialdesignicons-webfont.ttf"
    id: icon_font
    size: 36
    glyphs: [
      "\U000F05A9", #wifi
      "\U000F05AA", #no wifi
      "\U000F050F", # Thermometer
      "\U000F058E", # Humidity
      "\U000F1AAF", # heating coil
      "\U000F059D", # Wind speed
      "\U000F0D60", # Atmospheric pressure
      "\U000F0590", # Cloudy weather
      "\U000F0596", # Rainy weather
      "\U000F0598", # Snowy weather
      "\U000F0599", # Sunny weather
      "\U000F078F", # light bulb on
      "\U000F171E", # light bulb off
      "\U000F0F92", # boiler on
      "\U000F0433", # boiler off
      "\U000F07E4", # CO2
      ]

  - file: "fonts/materialdesignicons-webfont.ttf"
    id: large_icon_font
    size: 72
    glyphs: [
      "\U000F05A9", #wifi
      "\U000F05AA", #no wifi
      "\U000F050F", # Thermometer
      "\U000F058E", # Humidity
      "\U000F1AAF", # heating coil
      "\U000F059D", # Wind speed
      "\U000F0D60", # Atmospheric pressure
      "\U000F0590", # Cloudy weather
      "\U000F0596", # Rainy weather
      "\U000F0598", # Snowy weather
      "\U000F0599", # Sunny weather
      "\U000F078F", # light bulb on
      "\U000F171E", # light bulb off
      "\U000F0F92", # boiler on
      "\U000F0433", # boiler off
      "\U000F07E4", # CO2
      ]
Finally some links – Seeed have been so helpful.
That’s it for now. I hope this is useful. Ok I lied about pausing for a while – I’ve done more but as the code now looks a little more complicated, I suggest anyone wanting to use this tries the above code first.
Now I’m starting to split the display into pages – what’s the big deal about that ? Well not a lot unless you are using the touch facility. You can split your display code into one or more pages and jump between them using the physical buttons… I’ve used the green button to go to the home page and the other two buttons to sequence through any available pages. All very good – but I made an empty test page… then on a hunch, touched the area where one of my control buttons WOULD have been – sure enough – I heard the beep and managed to turn off my office lights – even on a blank page. The solution is simple – you can make a touch-screen action page-dependent. Check out the updated code below… notice the additional condition on each button area in platform: touchscreen.
substitutions:
  name: reterminal-e1003
  friendly_name: "reTerminal E1003"
  # Button layout: x, y = top-left corner, w/h = size of the drawn box
  pool_pump_x: 1410
  pool_pump_y: 1000
  pool_pump_w: 430
  pool_pump_h: 90

  office_lights_x: 1410
  office_lights_y: 1100
  office_lights_w: 430
  office_lights_h: 90

esphome:
  name: ${name}
  friendly_name: ${friendly_name}
  on_boot:
    priority: -100
    then:
      - delay: 2s
      #- it8951.update:
      #    id: epaper_display
      #    mode: GC16
      - display.page.show: main_page
      - component.update: epaper_display
esp32:
  board: seeed_xiao_esp32s3
  framework:
    type: esp-idf

psram:
  mode: octal

logger:
  hardware_uart: UART0
  baud_rate: 115200
  level: INFO

api:

ota:
  - platform: esphome

wifi:
  ssid: !secret wifi_ssid
  password: !secret wifi_password
  ap:
    ssid: "${name} Fallback"
    password: "12345678"

globals: ##to set default reboot behavior
  - id: wifi_connection
    type: bool
    restore_value: no
    initial_value: "false"

interval:
  - interval: 10s
    then:
      - if:
          condition:
            wifi.connected:
          then:
            - lambda: |-
                bool changed = !id(wifi_connection);
                id(wifi_connection) = true;
                if (changed) {
                  id(refresh_display)->execute();
                }
          else:
            - lambda: |-
                bool changed = id(wifi_connection);
                id(wifi_connection) = false;
                if (changed) {
                  id(refresh_display)->execute();
                }

time:
  - platform: homeassistant
    id: homeassistant_time
    on_time:
      - seconds: 0
        then:
          - script.execute: refresh_display

captive_portal:

# Not needed for ESPHOME 2026.7.0 onwards
#external_components:
#  - source: github://pr#15346
#    components: [it8951]
#    refresh: 1h

spi:
  - id: epaper_spi_bus
    clk_pin: GPIO7
    miso_pin: GPIO8
    mosi_pin: GPIO9

sensor:
  - platform: homeassistant
    id: outside_temperature
    entity_id: sensor.outdoor_meter_65_temperature
    on_value:
      then:
        - script.execute: refresh_display
  - platform: homeassistant
    id: outside_humidity
    entity_id: sensor.outdoor_meter_65_humidity
    on_value:
      then:
        - script.execute: refresh_display
  - platform: homeassistant
    id: office_temperature
    entity_id: sensor.snzb02m_temperature
    on_value:
      then:
        - script.execute: refresh_display
  - platform: homeassistant
    id: office_humidity
    entity_id: sensor.snzb02m_humidity
    on_value:
      then:
        - script.execute: refresh_display
  - platform: homeassistant
    id: livingroom_temperature
    entity_id: sensor.shellyhtg3_54320463831c_temperature
    on_value:
      then:
        - script.execute: refresh_display
  - platform: homeassistant
    id: livingroom_humidity
    entity_id: sensor.shellyhtg3_54320463831c_humidity
    on_value:
      then:
        - script.execute: refresh_display
  - platform: homeassistant
    id: uk_outside_temperature
    entity_id: sensor.d1_am2301_temperature
    on_value:
      then:
        - script.execute: refresh_display
  - platform: homeassistant
    id: uk_outside_humidity
    entity_id: sensor.d1_am2301_humidity
    on_value:
      then:
        - script.execute: refresh_display

binary_sensor:
  - platform: homeassistant
    id: office_lights
    entity_id: light.office_lights
    on_state:
      then:
        - script.execute: refresh_display

  - platform: homeassistant
    id: pool_pump
    entity_id: switch.pool_pump
    on_state:
      then:
        - script.execute: refresh_display

  - platform: gpio
    pin:
      number: GPIO3   # Key 0 - green button
      inverted: true
    name: "Home Button"
    on_press:
      then:
        - display.page.show: main_page
        - component.update: epaper_display

  - platform: gpio
    pin:
      number: GPIO4   # Key 1
      inverted: true
    name: "Page Down Button"
    on_press:
      then:
        - display.page.show_next: epaper_display
        - component.update: epaper_display

  - platform: gpio
    pin:
      number: GPIO5   # Key 2
      inverted: true
    name: "Page Up Button"
    on_press:
      then:
        - display.page.show_previous: epaper_display
        - component.update: epaper_display


  - platform: touchscreen
    name: "Pool Pump Touch"
    id: pool_pump_touch
    x_min: ${pool_pump_x}
    x_max: ${pool_pump_x + pool_pump_w}
    y_min: ${pool_pump_y}
    y_max: ${pool_pump_y + pool_pump_h}
    filters:
      - delayed_on_off: 100ms
    on_press:
      then:
        - if:
            condition:
              display.is_displaying_page:
                id: epaper_display
                page_id: main_page
            then:
              - homeassistant.action:
                  action: switch.toggle
                  data:
                    entity_id: switch.pool_pump
              - script.execute: beep

  - platform: touchscreen
    name: "Office Lights Touch"
    id: office_lights_touch
    x_min: ${office_lights_x}
    x_max: ${office_lights_x + office_lights_w}
    y_min: ${office_lights_y}
    y_max: ${office_lights_y + office_lights_h}
    filters:
      - delayed_on_off: 100ms
    on_press:
      then:
        - if:
            condition:
              display.is_displaying_page:
                id: epaper_display
                page_id: main_page
            then:
              - homeassistant.action:
                  action: light.toggle
                  data:
                    entity_id: light.office_lights
              - script.execute: beep

script:
  - id: beep
    then:
      - output.set_level:
          id: buzzer_pwm
          level: 50%
      - delay: 80ms
      - output.turn_off: buzzer_pwm

  - id: refresh_display
    mode: restart
    then:
      - delay: 200ms
      - component.update: epaper_display

image:
  - file: "images/homeassistant-icon-96px.png"
    id: ha_logo
    type: BINARY

  - file: "toggle_switch_off.png"
    id: switch_off
    type: BINARY

  - file: "toggle_switch_on.png"
    id: switch_on
    type: BINARY

  - file: "lightbulb_off.png"
    id: light_off
    type: BINARY
    resize: 82x82

  - file: "lightbulb_on.png"
    id: light_on
    type: BINARY
    resize: 82x82

i2c:
  sda: GPIO19
  scl: GPIO20

output:
  - platform: ledc
    pin: GPIO45
    id: buzzer_pwm
    frequency: 2000Hz

touchscreen:
  platform: gt911
  id: touch_screen
  interrupt_pin: GPIO2   # board's actual interrupt pin contrary to initial advice from Claude
  #reset_pin: GPIO48     # only if your wiring uses one - that IS the reset pin according to Seeed engineers


display:
  - platform: it8951
    id: epaper_display
    spi_id: epaper_spi_bus
    model: seeed-reterminal-e1003
    update_interval: never # was 30s
    full_update_every: 30
    grayscale: true
    dithering: true
    update_mode: GC16
    transform:
      mirror_x: true
      mirror_y: false
    pages:

      - id: title_page
        lambda: |-
          it.fill(Color::WHITE);
          it.printf(it.get_width() / 2, it.get_height() / 2,
                    id(title_font), Color::BLACK, TextAlign::CENTER,
                    "Home Assistant ePaper Dashboard");


      - id: main_page

        lambda: |-
          const Color light_grey(210, 210, 210);
          const Color dark_grey(100, 100, 100);
          enum IconType
          {
              LIGHT,
              POWER
          };

          // function to print a sensor and it's bounding box
          auto draw_sensor = [&](int h1, int v1,
                                 const char *title,
                                 float temp,
                                 float hum=NAN)
          {

              it.filled_rectangle(h1, v1, 320, 90, Color::BLACK);
              it.filled_rectangle(h1+320, v1, 320, 90, light_grey);
              it.rectangle(h1+320, v1, 320, 90, Color::BLACK);
              it.rectangle(h1+321, v1+1, 318, 88, Color::BLACK);
              it.print(h1+10, v1+45, id(text_font), Color::WHITE, TextAlign::CENTER_LEFT, title);

              if (isnan(temp))
              {
                 it.print(h1+480, v1+45,
                 id(text_font), Color::BLACK,
                 TextAlign::CENTER,
                 "--");
              }
              else if (isnan(hum))
              {
                   it.printf(h1+480, v1+45,
                        id(text_font), Color::BLACK,
                        TextAlign::CENTER,
                        "%.0f°C",
                        temp);
              }
              else
              {
                   it.printf(h1+480, v1+45,
                        id(text_font), Color::BLACK,
                        TextAlign::CENTER,
                        "%.0f°C  %.0f%%",
                        temp, hum);
              }
          };
          // end function


          auto draw_state = [&](int h1, int v1,
                                const char *title,
                                bool is_on,
                                IconType type)
          {
              // Black title box
              it.filled_rectangle(h1, v1, 320, 90, Color::BLACK);


              // Title
              it.print(h1 + 15, v1 + 45,
                       id(text_font),
                       Color::WHITE,
                       TextAlign::CENTER_LEFT,
                       title);

              // Draw state indicator
              switch (type)
              {
                  case LIGHT:
                      it.image(h1 + 332, v1+2,
                               is_on ? id(light_on) : id(light_off));
                      break;

                  case POWER:
                      it.image(h1 + 325, v1,
                               is_on ? id(switch_on) : id(switch_off));
                      break;
              }
              // Icon/image box
              it.rectangle(h1 + 320, v1, 110, 90, Color::BLACK);
              it.rectangle(h1 + 321, v1 + 1, 108, 88, Color::BLACK);

          };

          it.fill(Color::WHITE); // screen white

          it.rectangle(20, 20, it.get_width() - 40, it.get_height() - 40, Color::BLACK);  // thin border
          it.line(20, 1230, it.get_width()-20, 1230, Color::BLACK);  // thin divider
          it.printf(it.get_width() / 2, 1300, id(title_font), Color::BLACK, TextAlign::CENTER, "Home Assistant ePaper Dashboard"); // title

          // WiFi indicator top left
          it.filled_rectangle(30, 30, 130, 40, Color::BLACK);
          it.filled_rectangle(115, 30, 2, 40, Color::WHITE);
          it.printf(35, 30, id(small_font),Color::WHITE, "WiFi");
          it.printf(120, 33, id(icon_font),Color::WHITE, "%s", id(wifi_connection) ? "\U000F05A9" : "\U000F05AA");

          // timestamp top right
          char str[22];
          time_t currTime = id(homeassistant_time).now().timestamp;
          it.filled_rectangle(1280, 30, 560, 60, Color::BLACK);
          strftime(str, sizeof(str), "%a %H:%M %d/%m/%Y", localtime(&currTime));
          it.printf(1280,30, id(text_font), Color::WHITE, " %s", str);

          draw_sensor(30,800,"UK outside", id(uk_outside_temperature).state, id(uk_outside_humidity).state);
          draw_sensor(30,900,"Outside", id(outside_temperature).state, id(outside_humidity).state);
          draw_sensor(30,1000,"Office", id(office_temperature).state, id(office_humidity).state);
          draw_sensor(30,1100,"Livingroom", id(livingroom_temperature).state, id(livingroom_humidity).state);


          draw_state(${pool_pump_x},${pool_pump_y},"Pool pump",id(pool_pump).state,POWER);
          draw_state(${office_lights_x},${office_lights_y},"Office lights",id(office_lights).state,LIGHT);

          it.image(40, 1260, id(ha_logo));
          it.image(it.get_width() - 140, 1260, id(ha_logo));


font:
  - file: "gfonts://Roboto"
    id: title_font
    size: 96
  - file: "gfonts://Roboto"
    id: text_font
    size: 52
  - file: "gfonts://Roboto"
    id: small_font
    size: 36

  - file: "fonts/materialdesignicons-webfont.ttf"
    id: icon_font
    size: 36
    glyphs: [
      "\U000F05A9", #wifi
      "\U000F05AA", #no wifi
      "\U000F050F", # Thermometer
      "\U000F058E", # Humidity
      "\U000F1AAF", # heating coil
      "\U000F059D", # Wind speed
      "\U000F0D60", # Atmospheric pressure
      "\U000F0590", # Cloudy weather
      "\U000F0596", # Rainy weather
      "\U000F0598", # Snowy weather
      "\U000F0599", # Sunny weather
      "\U000F078F", # light bulb on
      "\U000F171E", # light bulb off
      "\U000F0F92", # boiler on
      "\U000F0433", # boiler off
      "\U000F07E4", # CO2

      ]

  - file: "fonts/materialdesignicons-webfont.ttf"
    id: large_icon_font
    size: 72
    glyphs: [
      "\U000F05A9", #wifi
      "\U000F05AA", #no wifi
      "\U000F050F", # Thermometer
      "\U000F058E", # Humidity
      "\U000F1AAF", # heating coil
      "\U000F059D", # Wind speed
      "\U000F0D60", # Atmospheric pressure
      "\U000F0590", # Cloudy weather
      "\U000F0596", # Rainy weather
      "\U000F0598", # Snowy weather
      "\U000F0599", # Sunny weather
      "\U000F078F", # light bulb on
      "\U000F171E", # light bulb off
      "\U000F0F92", # boiler on
      "\U000F0433", # boiler off
      "\U000F07E4", # CO2
      ]
Having gotten multiple pages working I DID spend some time with a full size JPG image and the online image function to pull out an image of palm trees from my Home Assistant www/images folder – but then I took it out – honestly the photo quality isn’t stunning and as for the overhead in screen refresh time – I think I’ll stick to instrumentation. Next stop the weather forecast with icons…
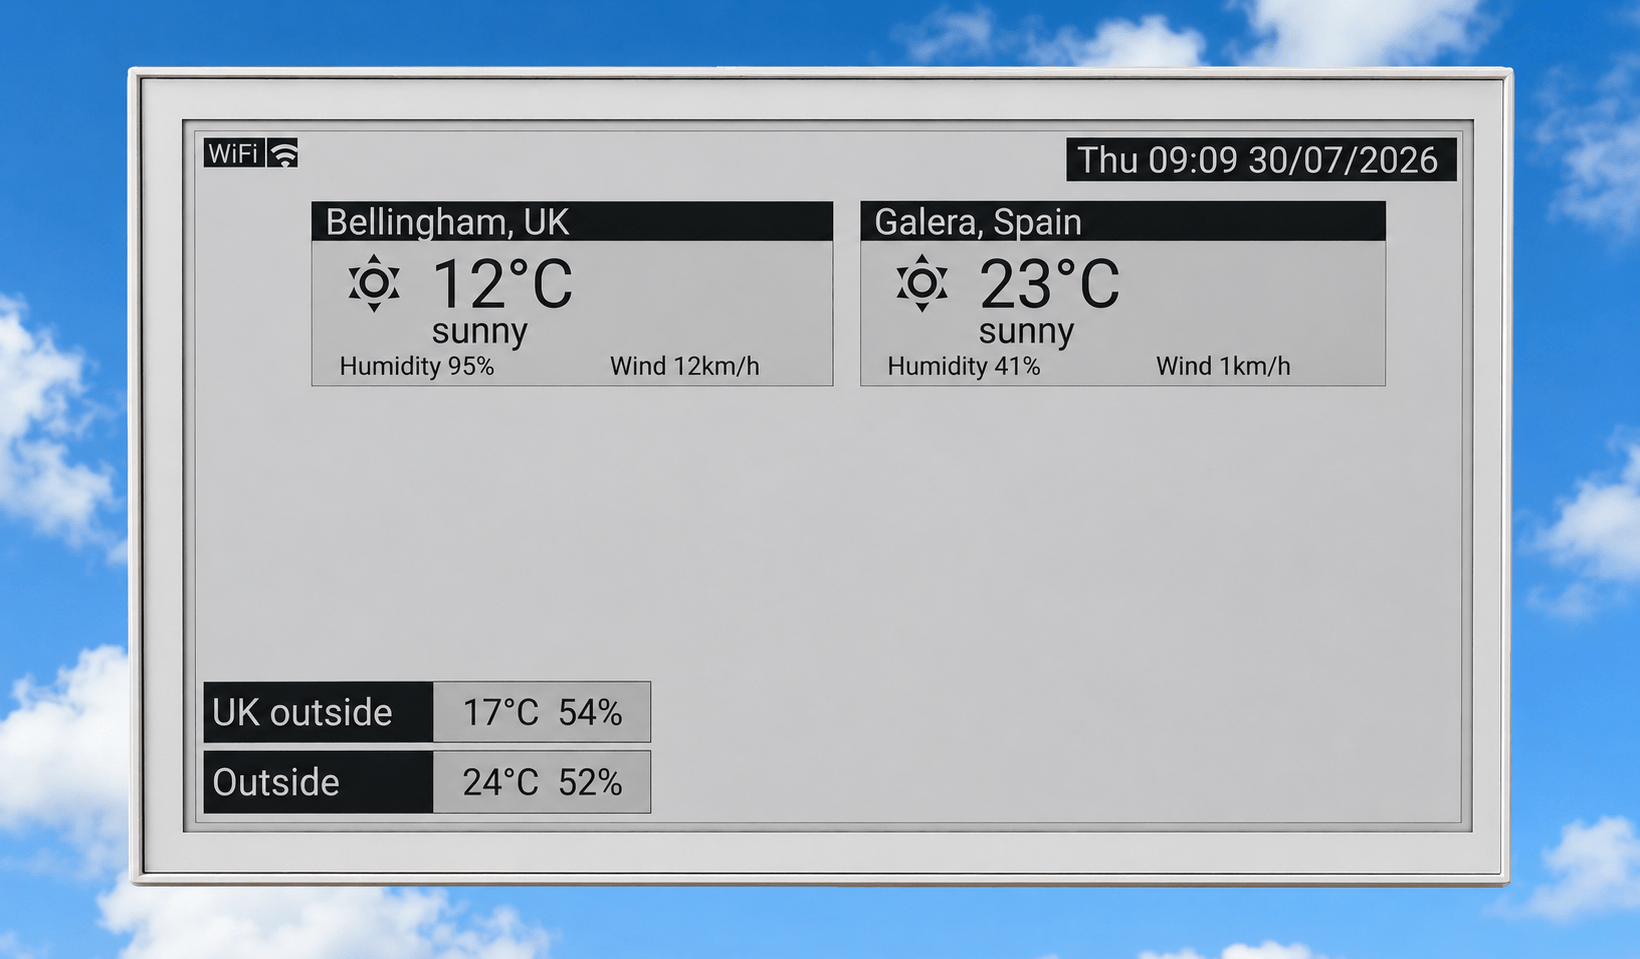
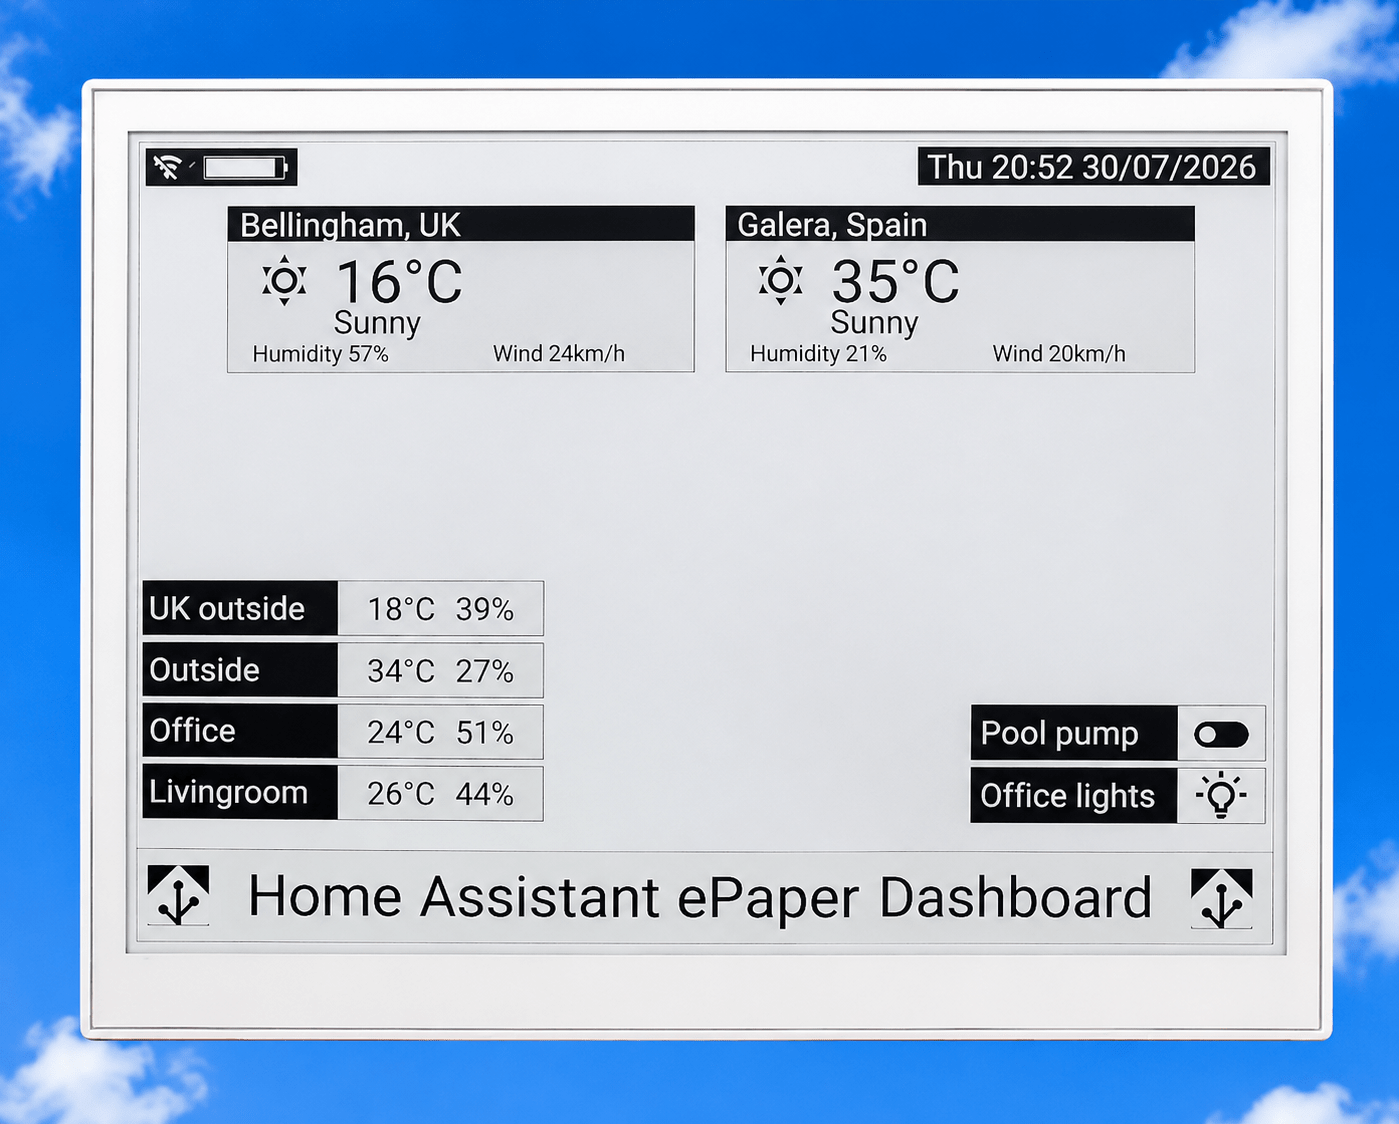
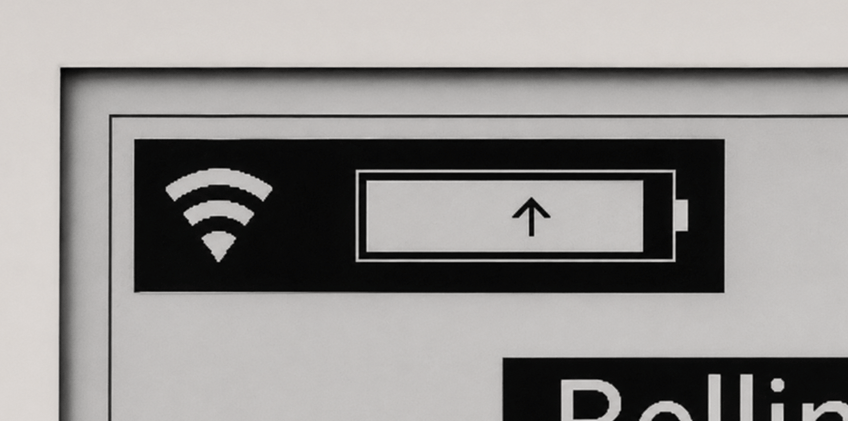
Ok, you may love this.. I took a photo of my E1003 screen just to show you the latest minor improvements (not in the blog code yet) and as usual the photo was AWFUL thanks to my office lighting and lots of reflections from the ceiling, me and a corner lamp not to mention my untidy desk. I fed it to ChatGPT and… this is perfect… and accurate… This is pretty much EXACTLY what you’d see on the paper-white ePaper display. I’ve added a battery level indicator – we discovered that the LED you see referred to on the SEEED site doesnt seem to be brought to the outside world(I’ll ask them) – and the GPIO port attached to charging doesn’t seem to be readable – so I’m simply inferring from the battery voltage changes whether it is charging or not. See the image below this full screen… up arrow for charge – down arrow for discharge… code for this latest version is on Github.
So this design isn’t going to win any awards for battery longevity. I was working on it last night, and this afternoon the battery is down just over 60%, but at least you get a full 24 hours out of it. I guess you could give it a charge overnight on cheap rate (assuming you have overnight electricity cheap rate). I’ve yet to find out how long it takes to fully charge, but let’s see: a couple of hours, put it on a cheap rate at night, and then you can have it sitting without charging during the day, no problem… pretty much like a phone really. The code is in one file on github.. You’ll need your own secrets file for WiFi and password.. and a couple of widely available fonts from the web.
Hello Pete, I did some similar experimental play with a display based on the same tyoe of processor(ESP32-S3). I created a display to be used for displaying some useful information from my summer house. To be able to achieve this in a simpe way, I have a Tailscale network and just added it to it. Very cool I must admit, now that there is a ESPHome module that makes it so easy! Basically you could have one of yours white paper panels in each of your locations; one in UK that provides info about your house in Spain and vice versa
Here is a link to the ESPHome module:
https://github.com/Csontikka/esphome-tailscale
Here is a link describing my experimental work:
https://discourse.nodered.org/t/remote-sensors-via-tailscale/101543
The image is from my display, in Swedish, but you get the idea
Best regards, Walter
PS Hope you are in a safe place considering those terrible wild fires
Thanks Walter – my entire setup used Tailscale – on the routers in Spain and the UK, so I have one Home Assistant here in Spain and it talks to the devices in the UK via the WIFI etc thanks to tailscale on the two routers (and of course on my phone so I can access the lot while away from home).
Safe place, yes, relatively though last weekend a huge area of dying bushes etc set fire – too close for comfort..thankfully by the time the fire services arrived, all the neighbours had clubbed together to put the fire out with hoses and endless buckets of water. WAY too close for comfort.
I’m sure others who are not up to speed on Tailscale will enjoy your links – thanks a lot.